Contents
outline
let’s start blog service by uploading jekyll project to github page. we manage basic source code by bitbucket and upload static page which is built by jekyll to github for the blog service.
if you don’t know how to make jekyll project, check my previous blogs.
create jekyll blog
jekyll project optionals
bitbucket
bitbucket is source control(version control) service like github. there are many features but we focus to introduce how to manage source code for uploading github. if you don’t mind revealing the your source to people, it’s better to skip this section.
click below link to go to bitbucket.
- bitbucket: https://bitbucket.org/
signup and signin
we don’t introduce how to signup and signin. it’s same process to signup and signin to normal service.
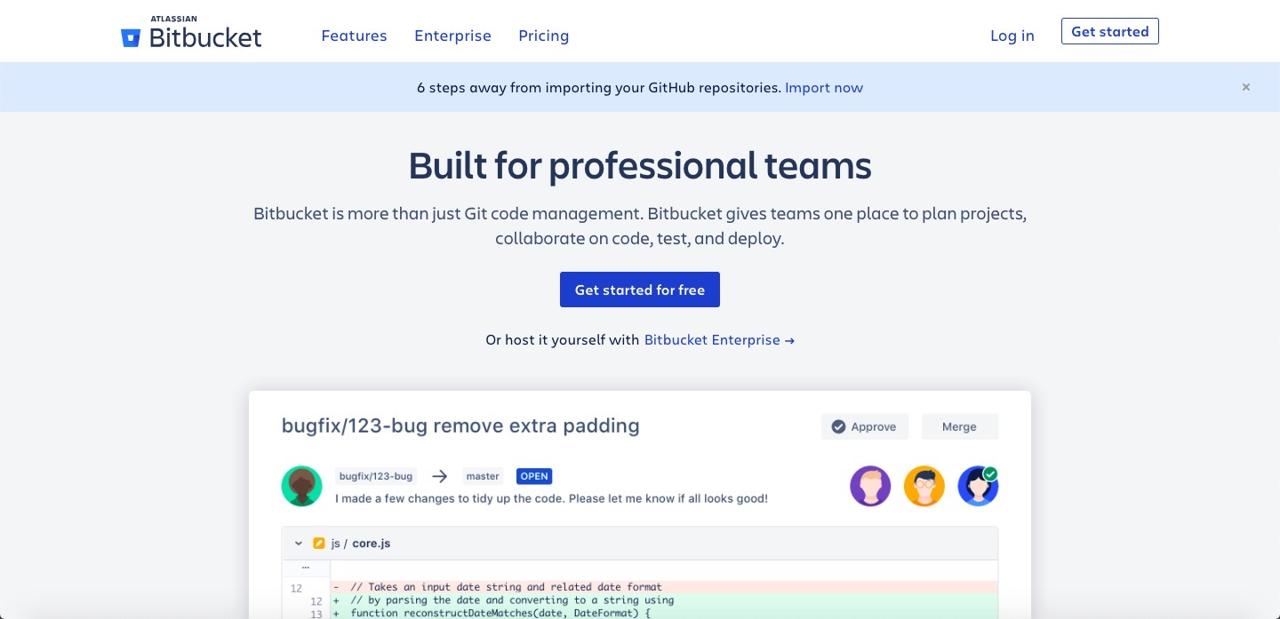
create repository
after login, you can see the menu on the screen. click + button.
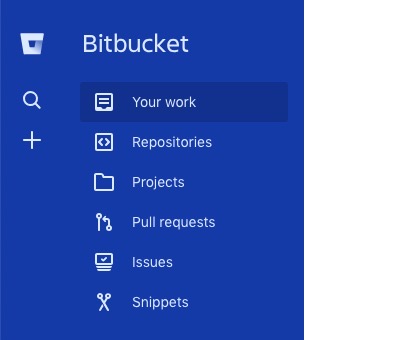
if you see the menu like below, click Repository for creating new repository.
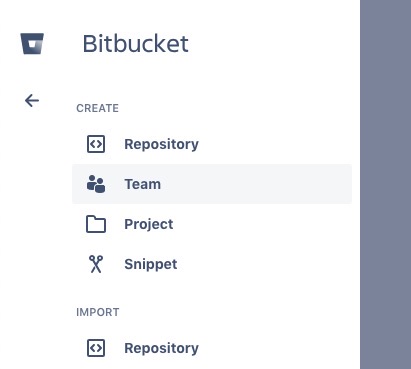
input repository information.
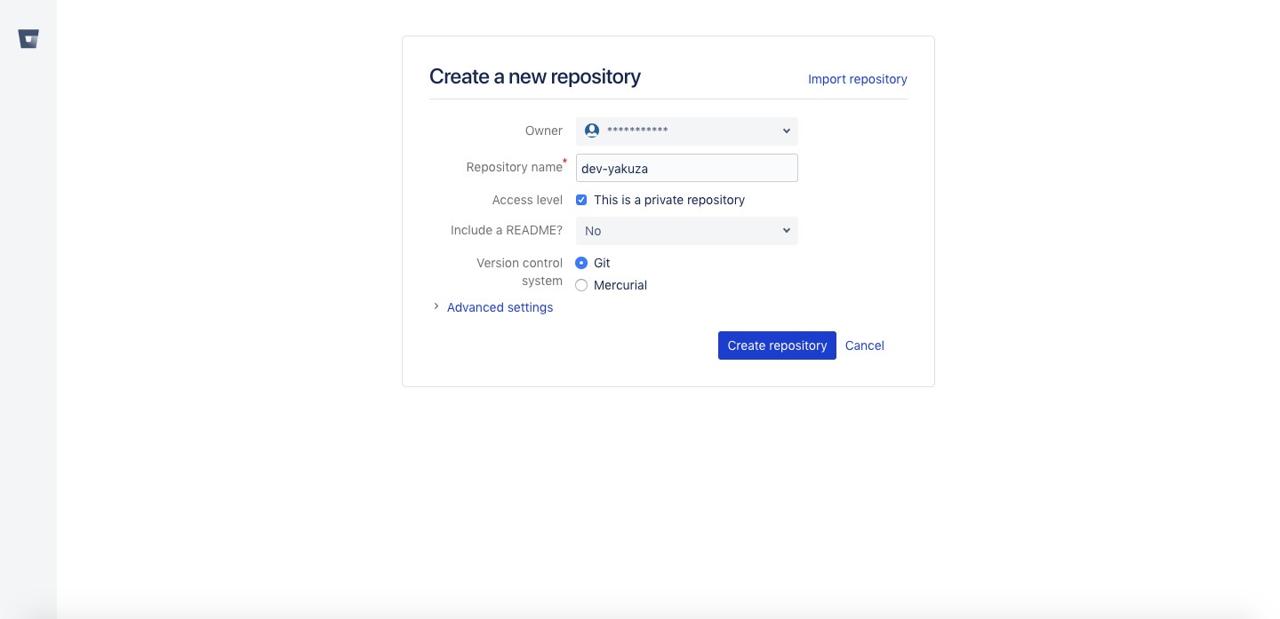
completed to create the repository.
clone repository to local PC
clone the created repository to local pc for developing. if you don’t know how to install git or use it, check my another blog.(git)
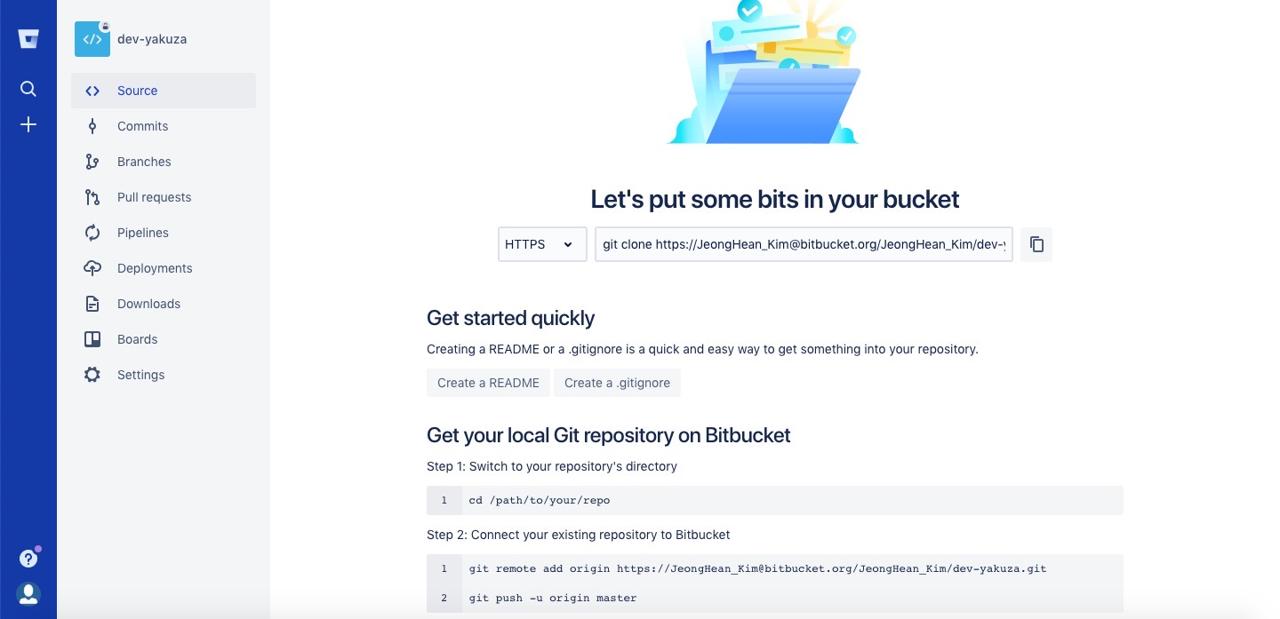
when repository is created, you can see the above screen. there is the detail about how to clone it. let’s do it.
// git clone [your bitbucket git url]

git clone https://[email protected]/dev-yakuza/dev-yakuza.git
clone the repository with the above command. copy jekyll project to the created folder.(or create new jekyll project on there.)
git add .

git commit -m 'add new project'

git push -u origin master
push the local(pc) source to bitbucket repository with the above command.
go to the bitbucket site and check the source which you pushed.
integrate github page
let’s upload the static files built by jekyll to github page for starting blog service.
signup and signin
click the below link to go to the github site and signup and signin. we don’t introduce how to signup and signin. it’s same process to signup and signin to normal service.
warning: when you signup, be careful to make username. we make github blog service with https://username.github.io.
- github site: https://github.com/

create Repository
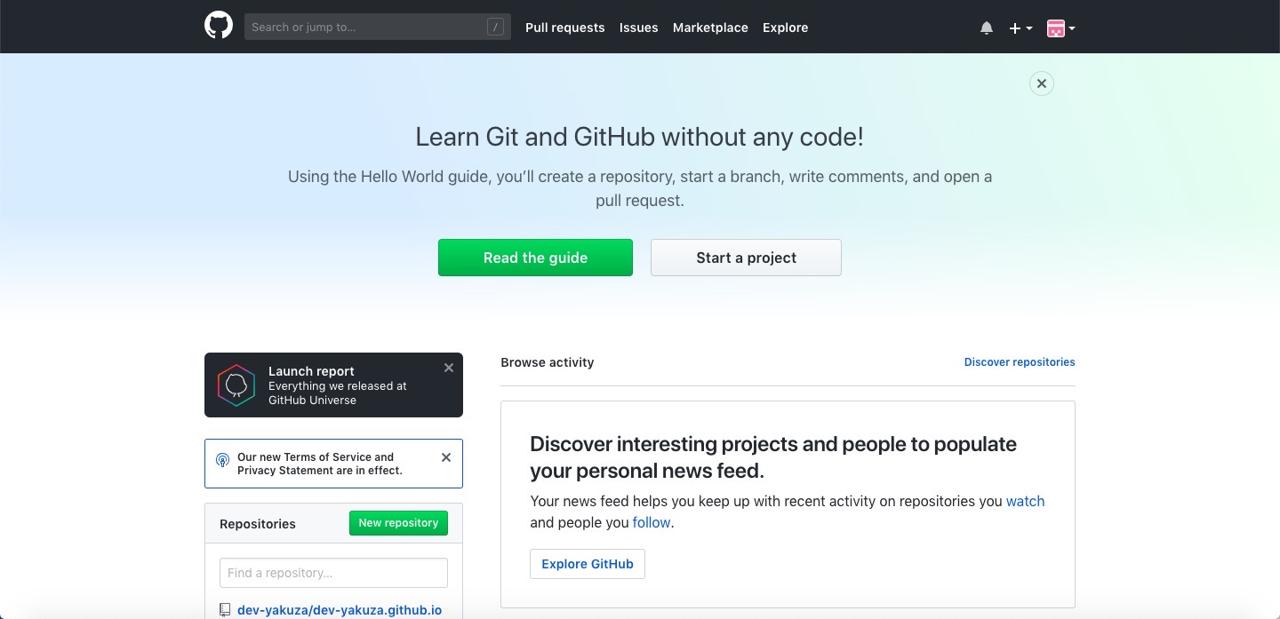
after login, you can see the below screen. click Start a project button to create new repository.
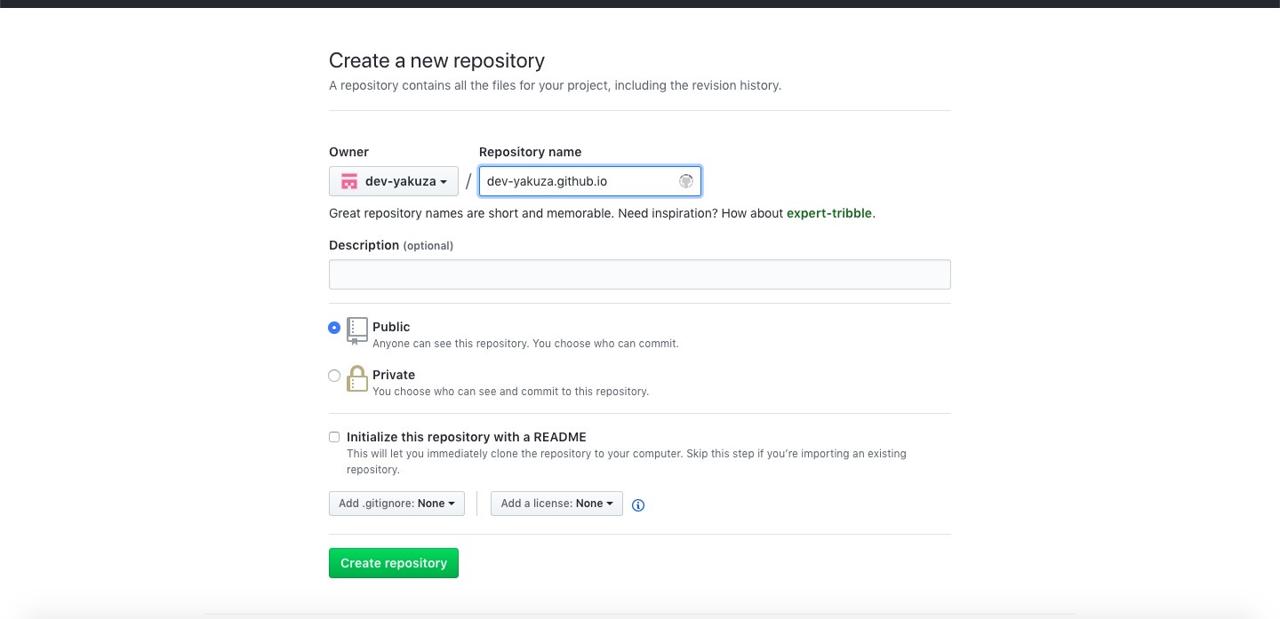
input username + github.io that username is when you created on signup and click Create repository button for creating the repository.
clone Repository to PC
there are the detail about how to clone it kindly, but we don’t do it because we already clone bitbucket to local(pc). we will do another way.
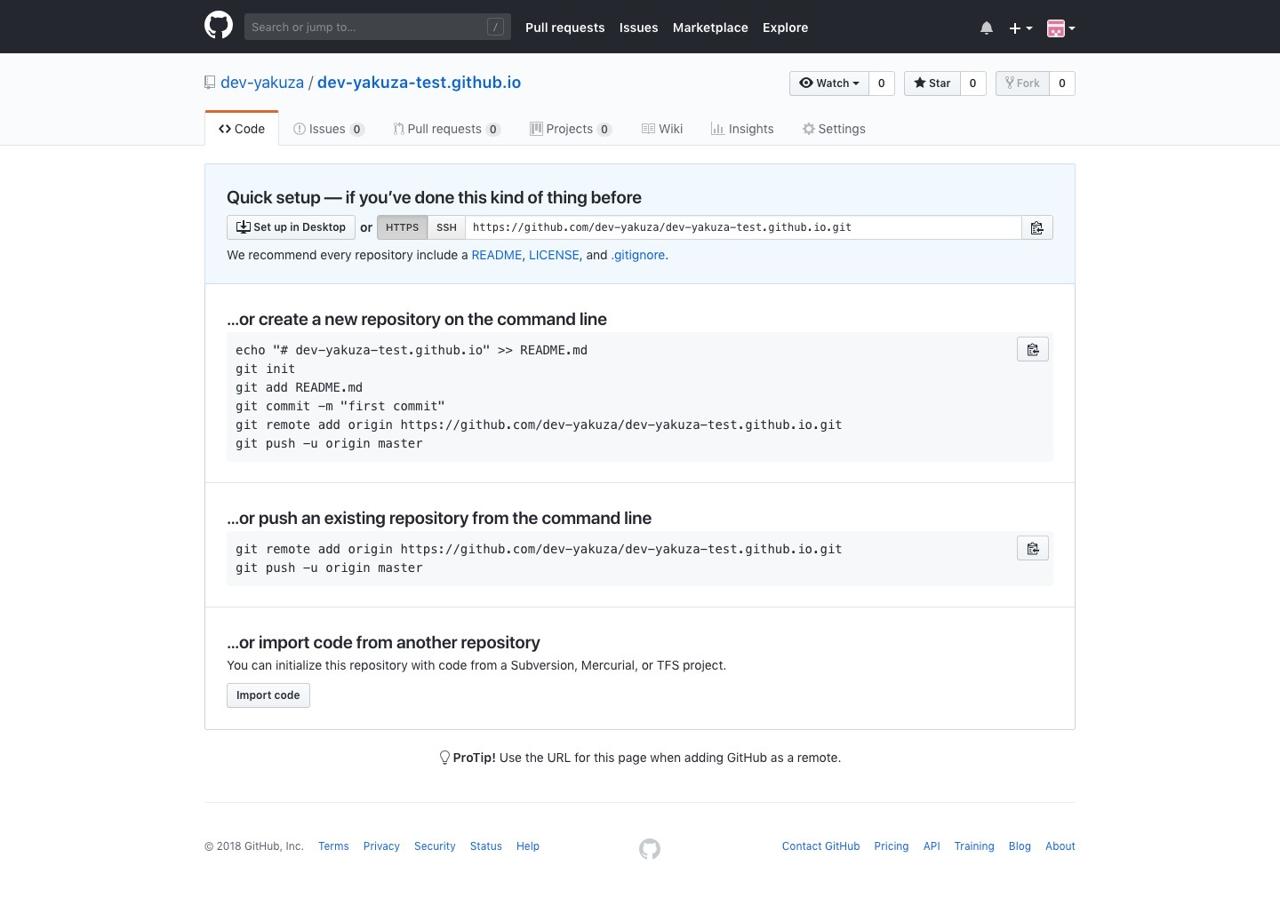
add remote repository with the below command.
// git remote add github [github repository url]

git remote add github https://github.com/dev-yakuza/dev-yakuza-test.github.io.git
completed to clone it. push only the source built by jekyll to the repository with the below command.
git subtree add --prefix _site/ github master

git subtree push --prefix _site/ github master
if the source is not built by jekyll, build it first.
bundle exec jekyll buildcheck the blog site on github page.
https://dev-yakuza.github.iocompleted
we looked how to integrate the source to github and bitbucket. we integrated the source which is before being built to bitbucket and integrated static pages built by jekyll to github page for the blog service. now, you can start own your blog.
Was my blog helpful? Please leave a comment at the bottom. it will be a great help to me!
App promotion
Deku.Deku created the applications with Flutter.If you have interested, please try to download them for free.


