目次
概要
React NativeプロジェクトでFirebaseを使うためreact-native-firebaseをインストールする方法について説明します。
- react-native-firebase(V6): https://rnfirebase.io/
react-native-firebaseの以前のバージョン(V5)を使う方法については下記のブログリストを参考してください。
このブログポストはシリーズで作成されております。他の内容を確認したい方は下記のブログリストを参考してください。
- react-native-firebase V6 インストール
- react-native-firebase V6 Crashlytics
- react-native-firebase V6 Admob
ライブラリインストール
下記のコマンドを使ってreact-native-firebaseをインストールします。
npm install --save @react-native-firebase/app下記のコマンドを使ってiOSプロジェクトへreact-native-firebaseを連結します。
cd ios
pod install
Firebaseプロジェクト生成
次はグーグルファイアベース(Google Firebase)でプロジェクトを生成する必要があります。下記のリンクを押してグーグルファイアベース(Google Firebase)へ移動します。
- グーグルファイアベース(Google Firebase): https://firebase.google.com
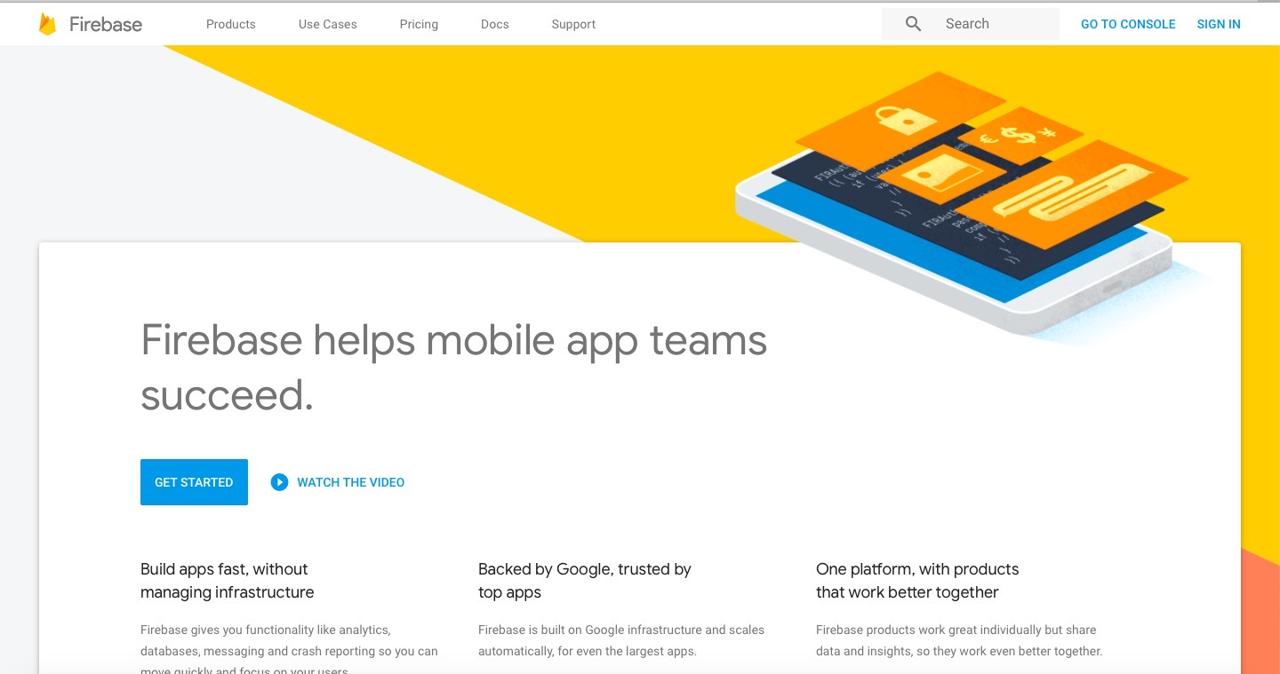
右上のSIGN INボタンを押してログインします。
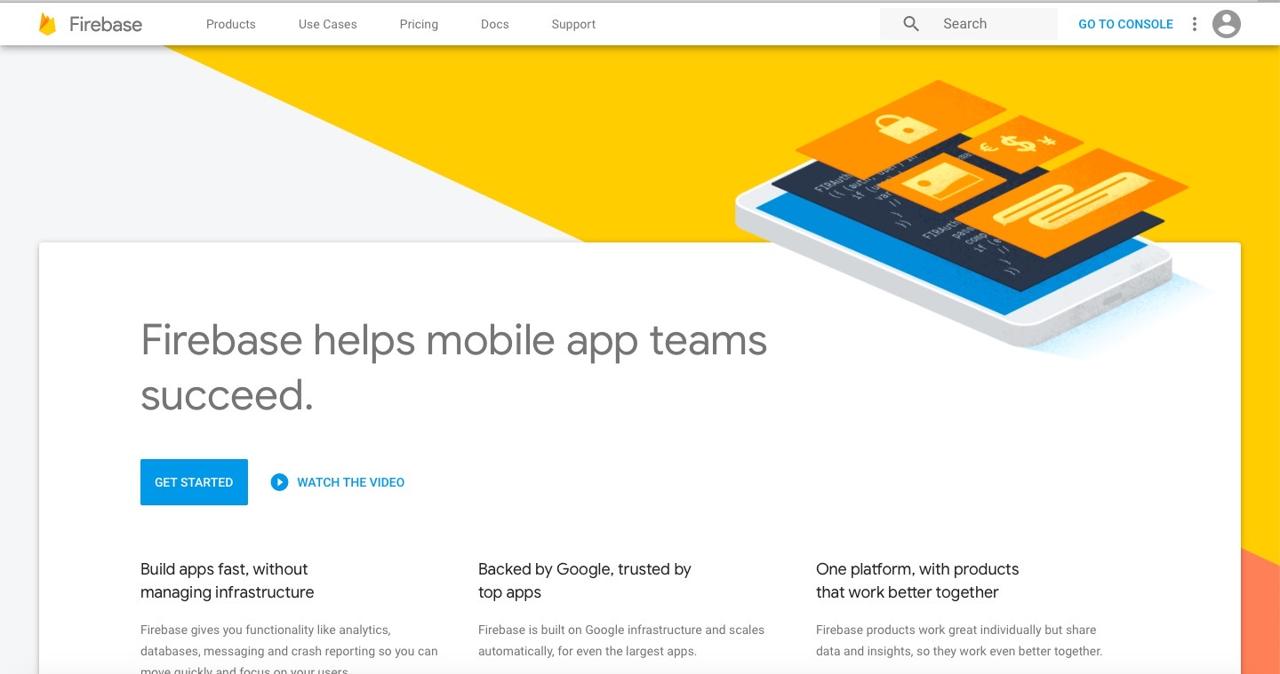
ログインしたら、右上のGO TO CONSOLEボタンを押してグーグルファイアベースコンソール(Google Firebase Console)へ移動します。
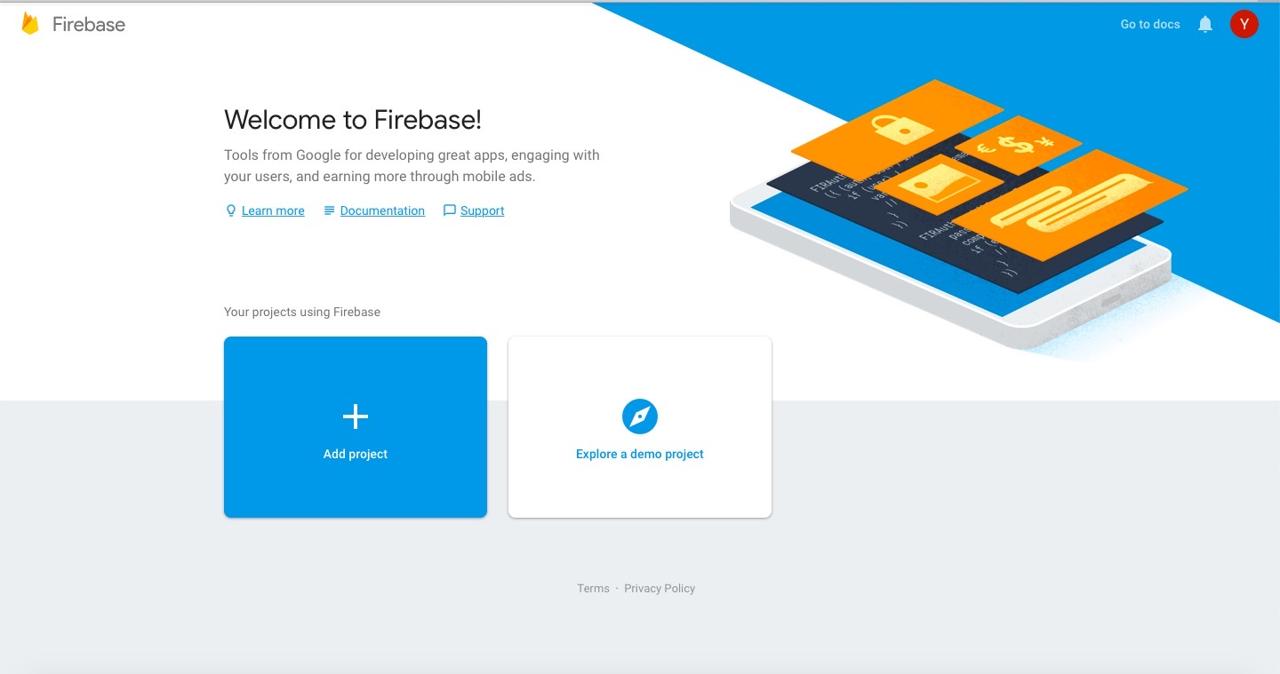
グーグルファイアベースコンソール(Google Firebase Console)で+ Add projectを押してプロジェクトを追加します。

上のような画面でEnter your project nameへ作りたいFirebaseプロジェクトの名前を入力します。入力が終わったら、下記にあるContinueボタンを押して次へ進めます。
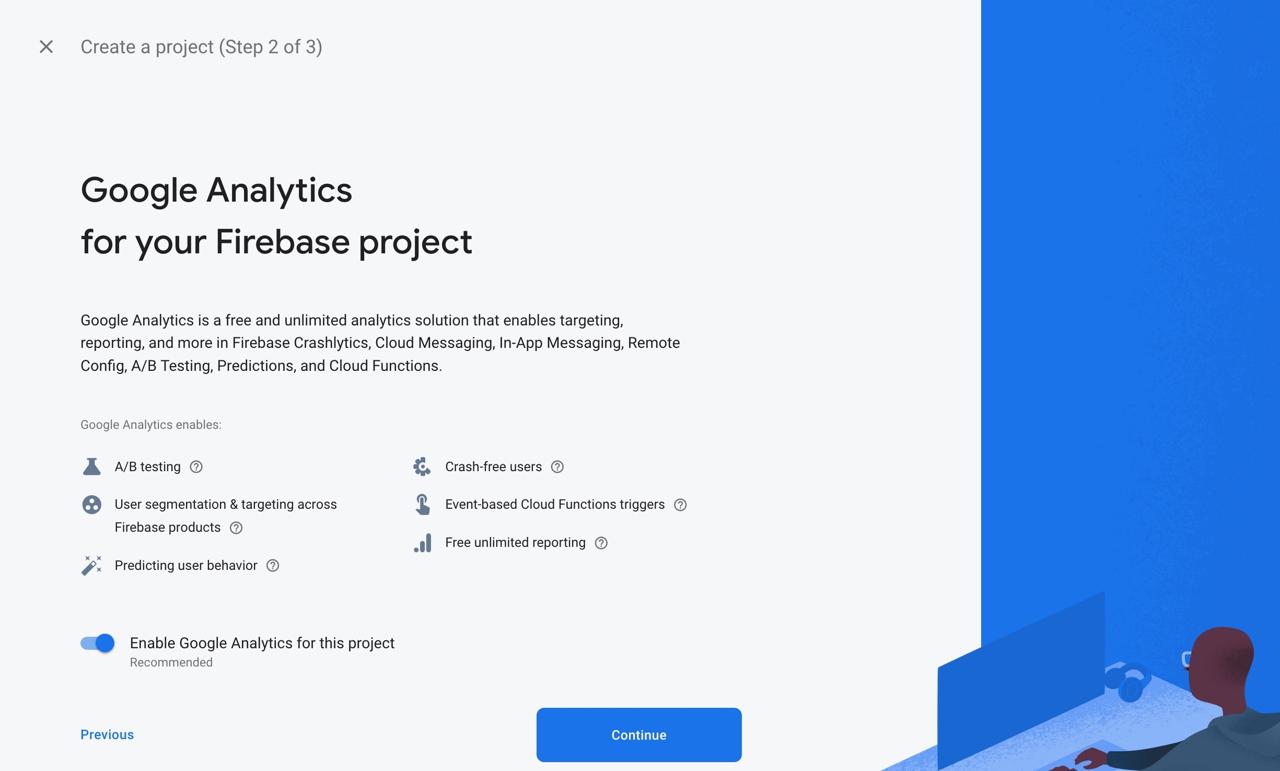
プロジェクト名を入力したら、上のようにGoogle Analyticsを連動する画面が表示されます。Google Analyticsと連動したくない場合、左下にあるボタンを押してDisableで変更してFirebaseプロジェクトを生成します。
Google Analyticsと連動したい方はContinueを押して進めます。
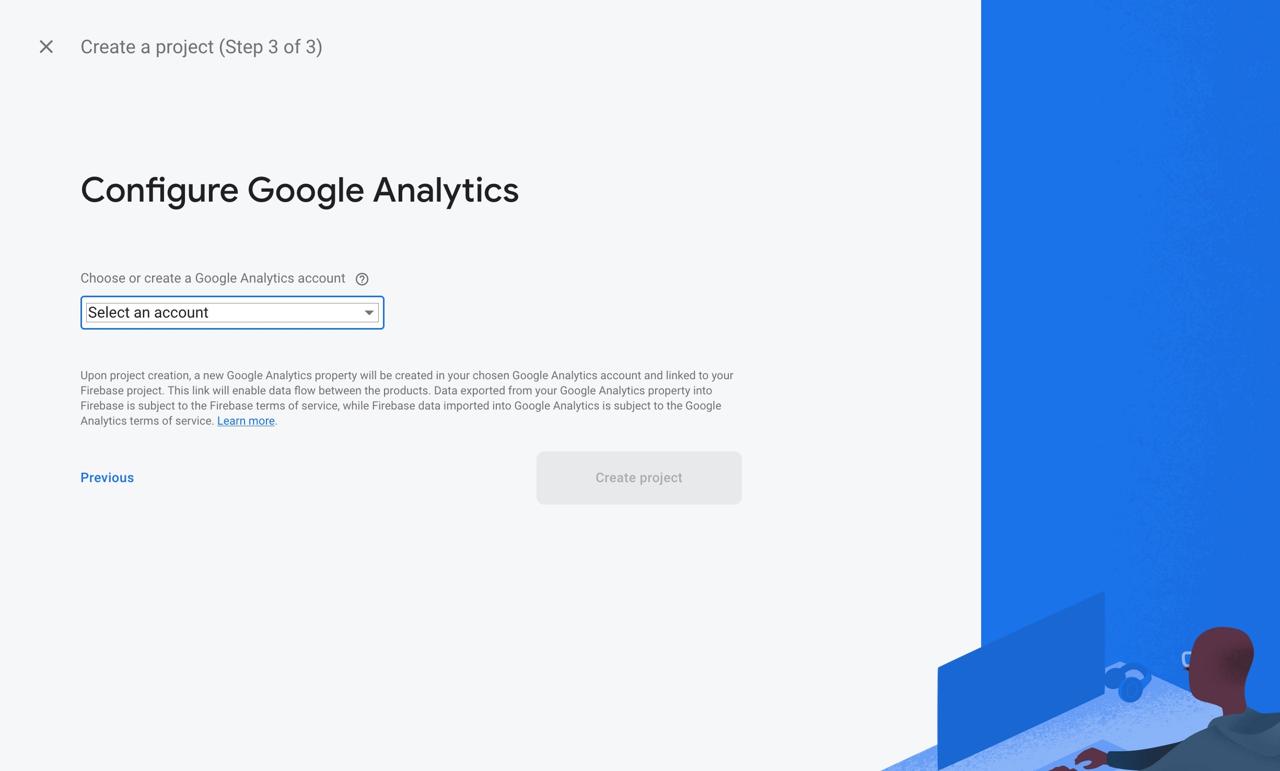
Google Analyticsのアカウントを選択して、Create projectボタンを押してFirebaseプロジェクトを生成します。
iOS設定
react-native-firebaseを使うためiOSを設定する方法について説明します。
Bundle ID変更
FirebaseへiOSプロジェクトを生成する前にiOSのBundle IDを変更する必要があります。ios/[project name].xcworkspaceを選択してXcodeを実行します。
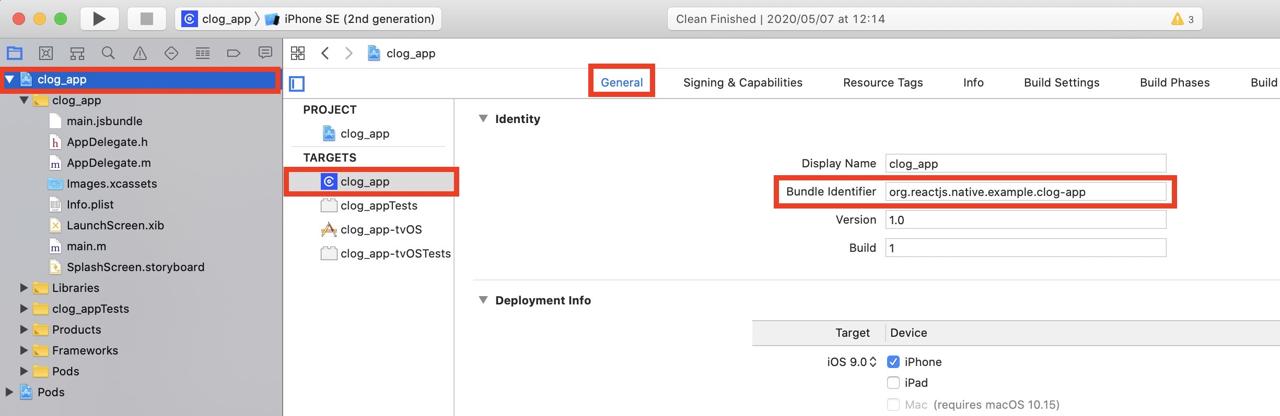
左上のプロジェクト名を選択してGeneralタブへ移動したら、上にBundle Identifierがあることが確認できます。このBundle IDを自分のプロジェクトへ合わせて変更します。
Firebase iOSプロジェクト設定
グーグルファイアベースコンソール(Google Firebase Console)でプロジェクトを選択したら下記のような画面が見えます。
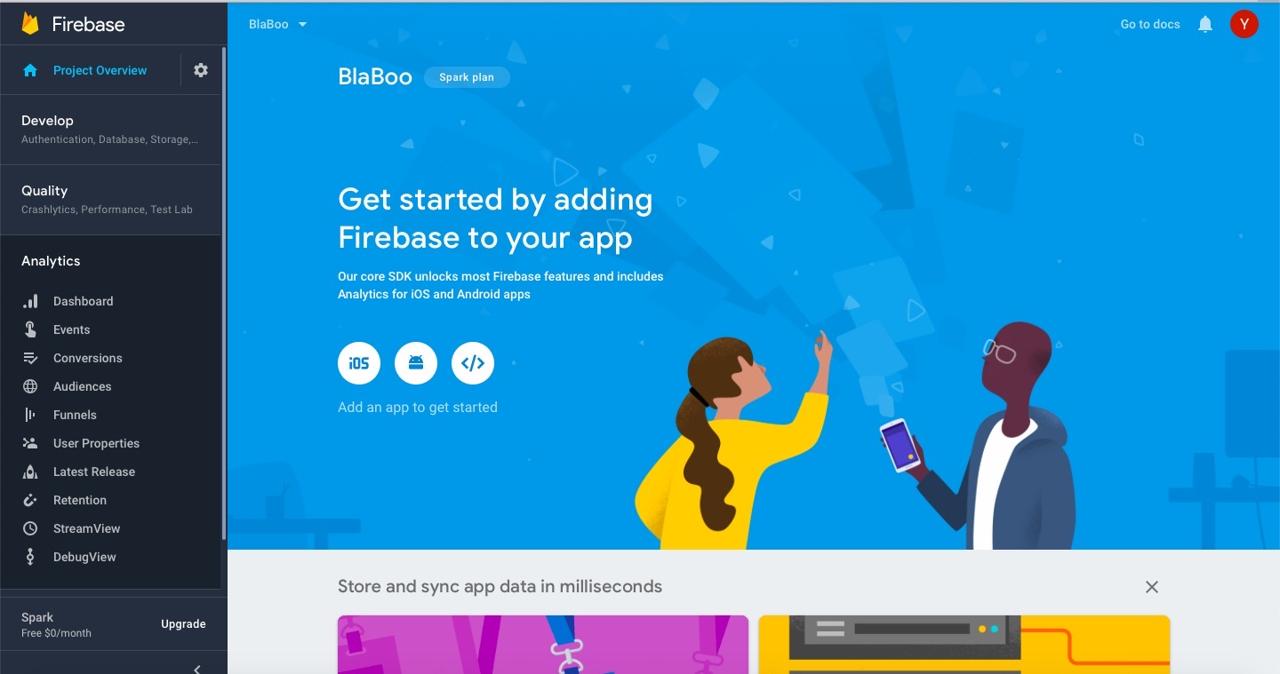
真ん中へiOSボタンを押してiOSの設定画面へ移動します。
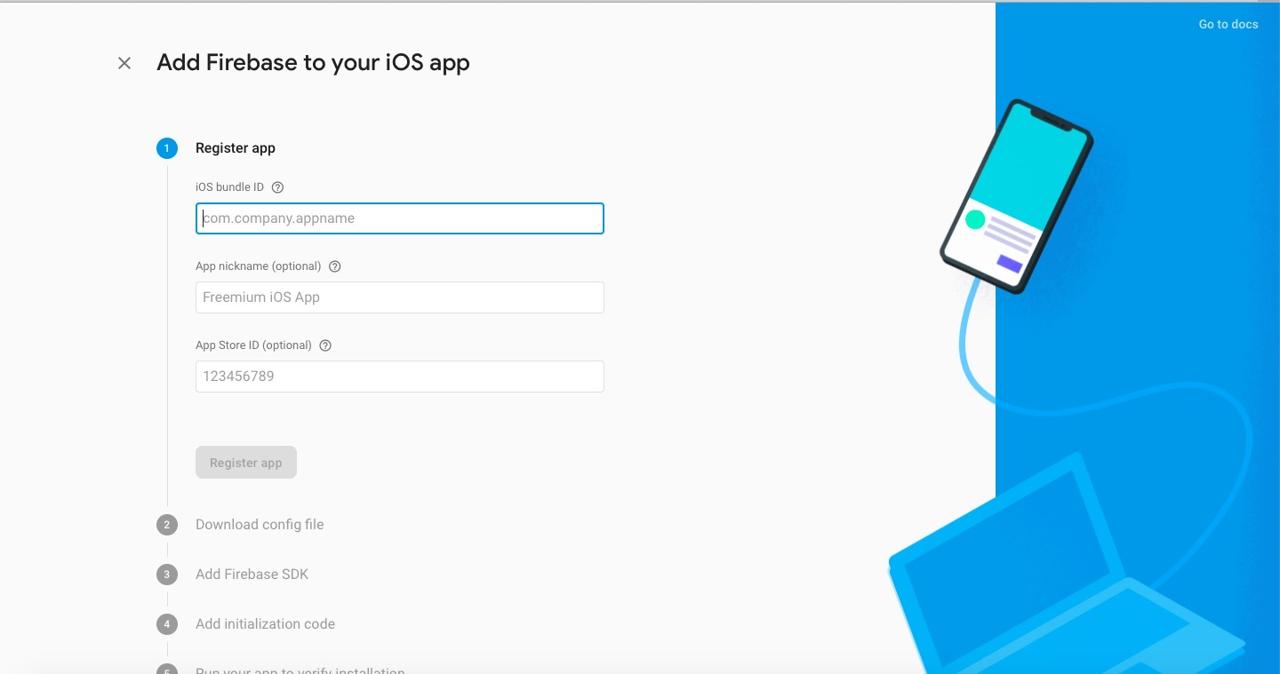
開発したアプリのID(bundle ID)を入力してRegister appボタンを選択します。
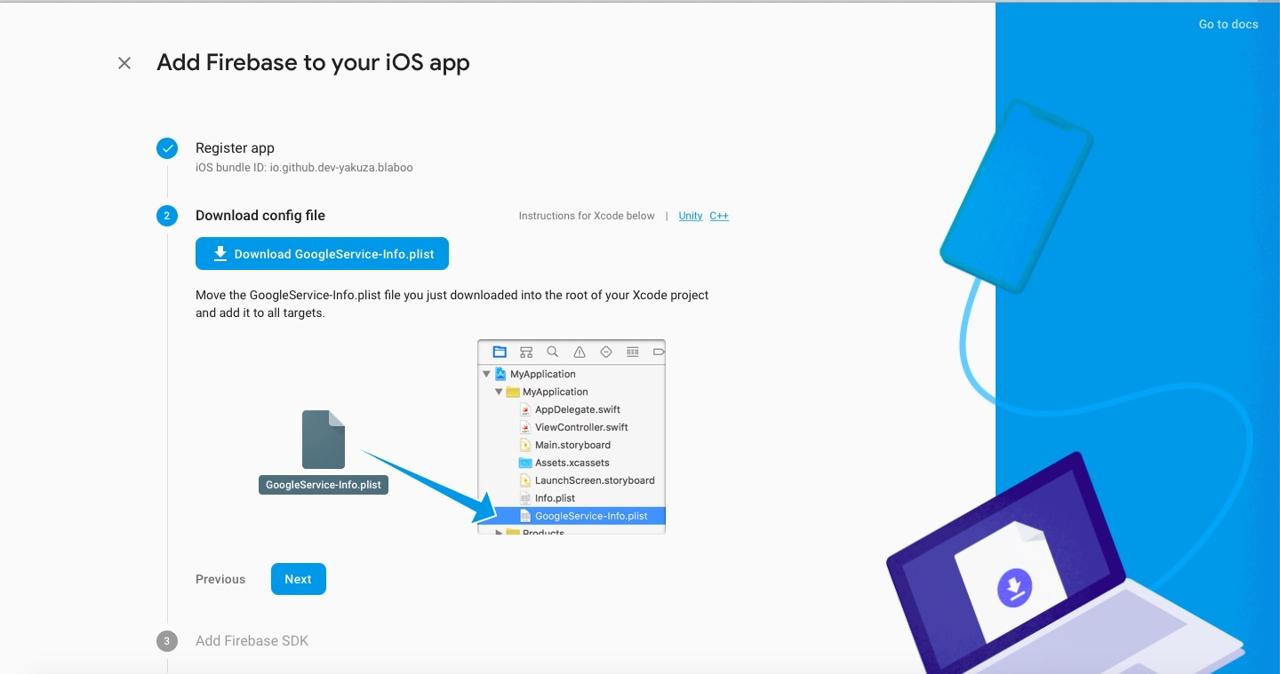
グーグルファイアベース(Google Firebase)が生成したGoogleService-Info.plistファイルをダウンロードしてinfo.plist同じ位置へ追加します。GoogleService-Info.plistファイルを追加したら、Nextボタンを押します。
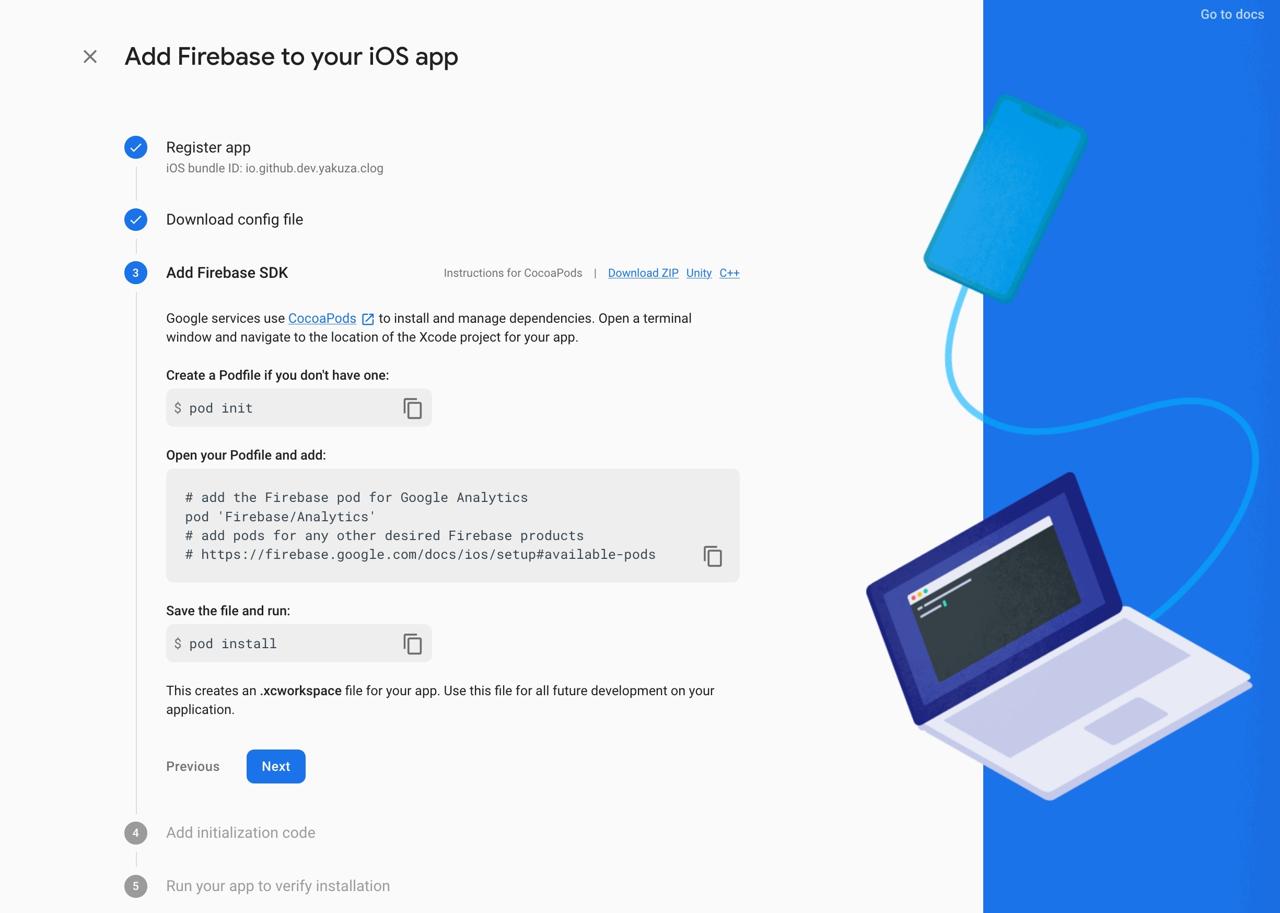
画面へ表示された方法でグーグルファイアベースSDK(Google Firebase SDK)をReact Nativeプロジェクトへ追加する必要があります。./ios/Podfileファイルを開いて下記のように修正します。
target 'blaboo' do
  ...
  pod 'Firebase/Analytics'
  ...
end
Google Analyticsを使ってない方は上のようにコードを修正する必要がないです。
下記のコマンドでグーグルファイアベースSDK(Google Firebase SDK)をインストールします。
pod install
# pod update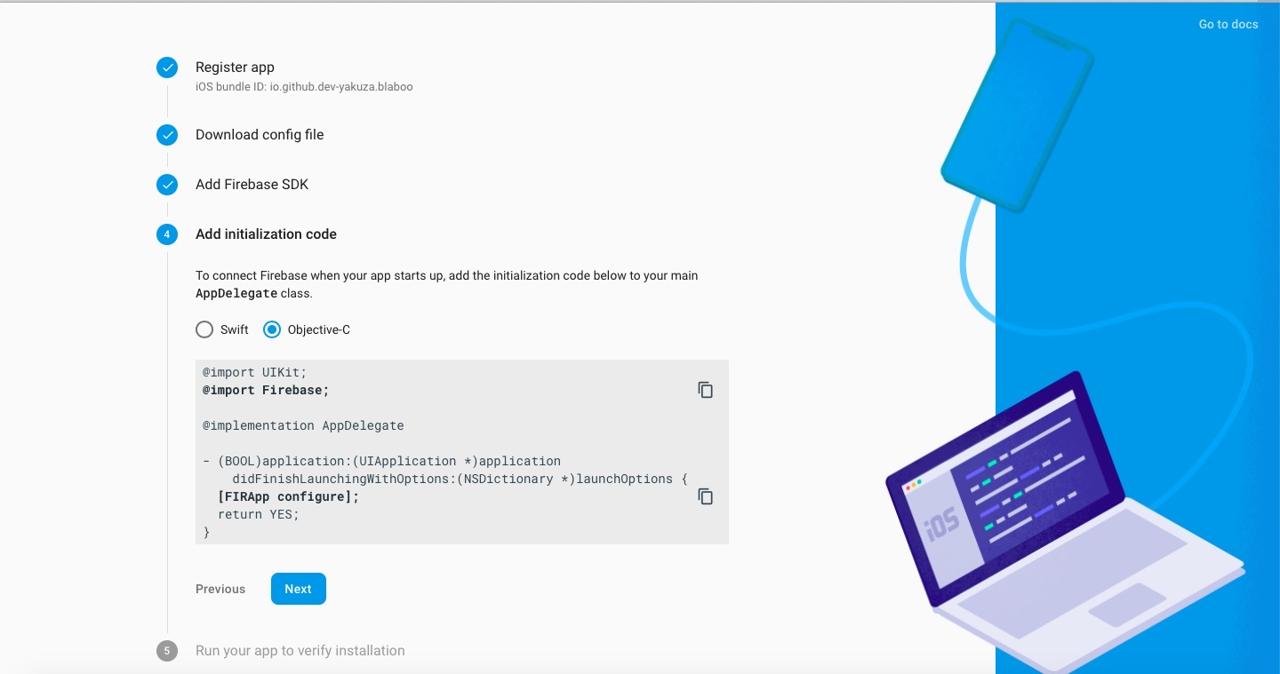
React NativeプロジェクトのAppDelegate.mファイルへ下記のようにコードを追加します。
...
@import Firebase;

@implementation AppDelegate
...
- (BOOL)application:(UIApplication *)application didFinishLaunchingWithOptions:(NSDictionary *)launchOptions
{
  [FIRApp configure];
  ...
  return YES;
}
...
グーグルファイアベースSDK(Google Firebase SDK)を初期化します。
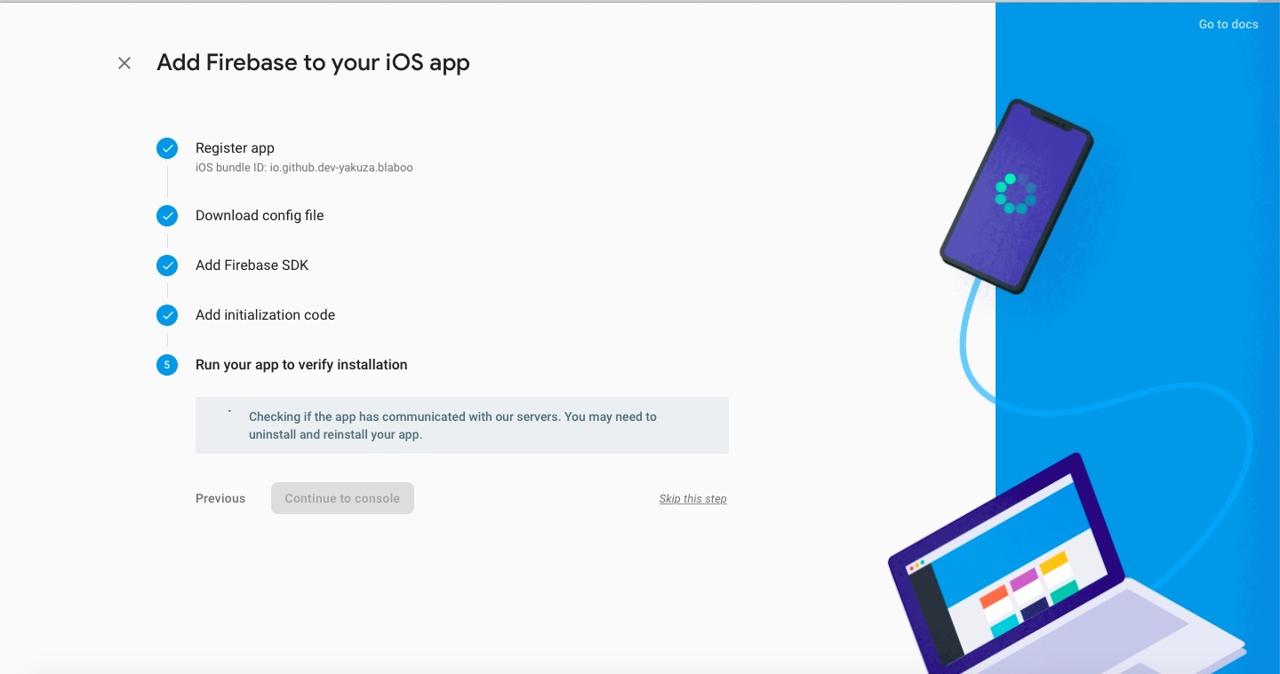
私はこの部分でSkip this stepを押してスキップしました。
アンドロイド設定
次は、react-native-firebaseを使うためアンドロイドを設定する方法について説明します。
アンドロイドパッケージ名修正
-
React Nativeプロジェクトフォルダへ
android/app/BUCKファイルを修正... android_build_config( ... package = "package_name", ) ... android_resource( ... package = "package_name", ... ) ... -
React Nativeプロジェクトフォルダで
android/app/src/main/AndroidManifest.xmlファイル修正<manifest xmlns:android="http://schemas.android.com/apk/res/android" package="package_name"> ... -
React Nativeプロジェクトフォルダで
android/app/src/main/java/com/ProjectName/MainActivity.javaファイル修正package package_name; ... -
React Nativeプロジェクトフォルダで
android/app/src/main/java/com/ProjectName/MainApplication.javaファイル修正package package_name; ... -
React Nativeプロジェクトフォルダで
android/app/build.gradleファイル修正... defaultConfig { applicationId package_name ... } ...
このようにパッケージ名を変更したら、android/app/src/main/java/com/[App Name]/MainActivity.javaでできてるフォルダ構造をandroid/app/src/main/java/[Package Name Folder]/MainActivity.javaように変更する必要があります。
Firebaseアンドロイドプロジェクト設定
グーグルファイアベースコンソール(Google Firebase Console)で左上のProject Overviewを選択します。
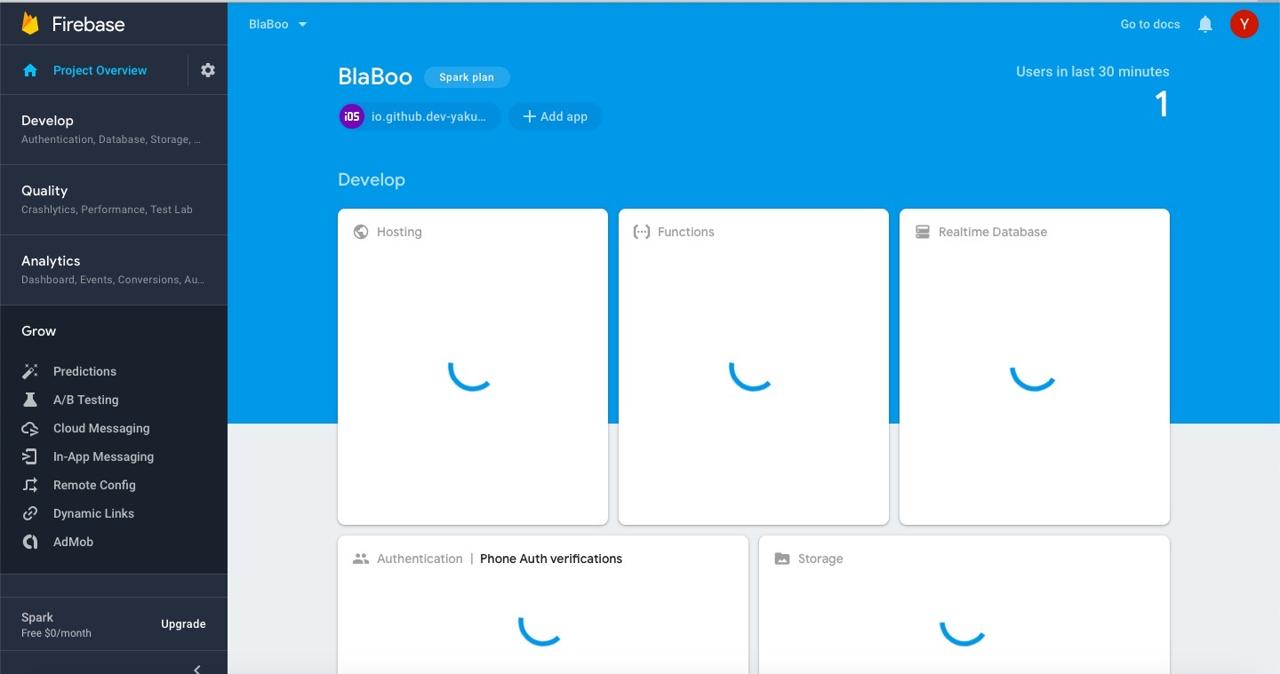
上にある+ Add app > アンドロイド(Android)アイコンを押してアンドロイド(Android)プロジェクトの設定へ移動します。
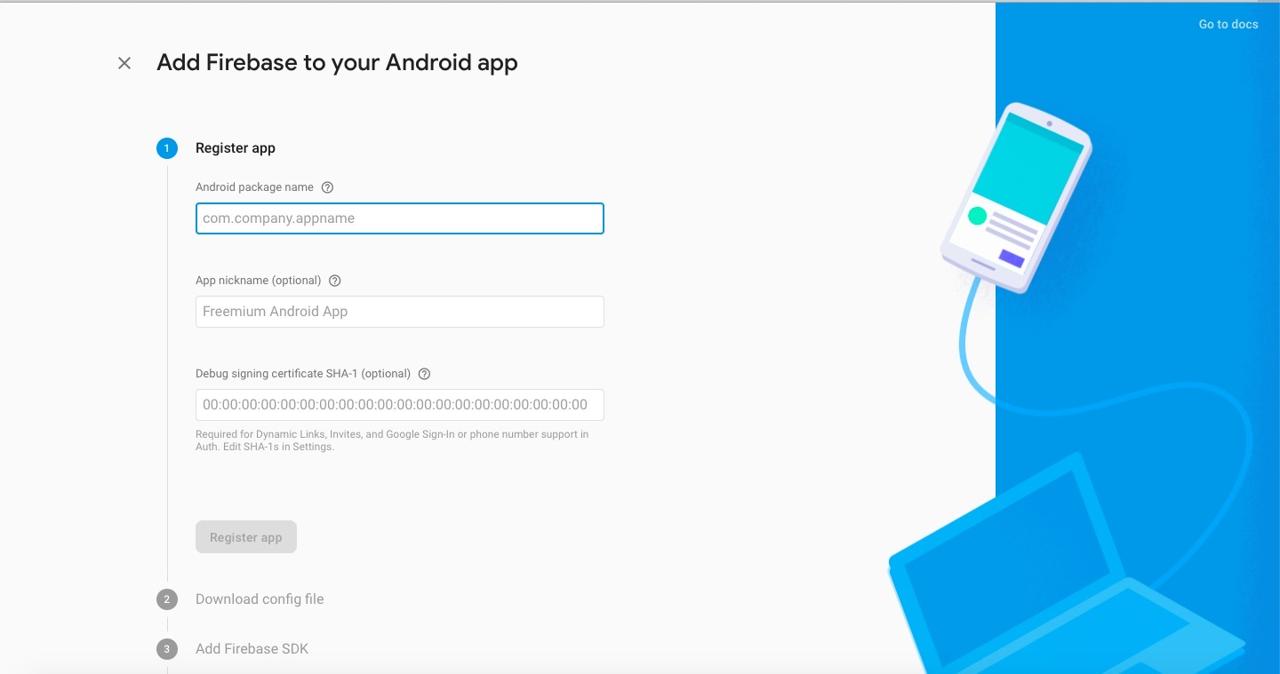
アンドロイドパッケージ名(Android Package Name)を入力してRegister appを選択します。
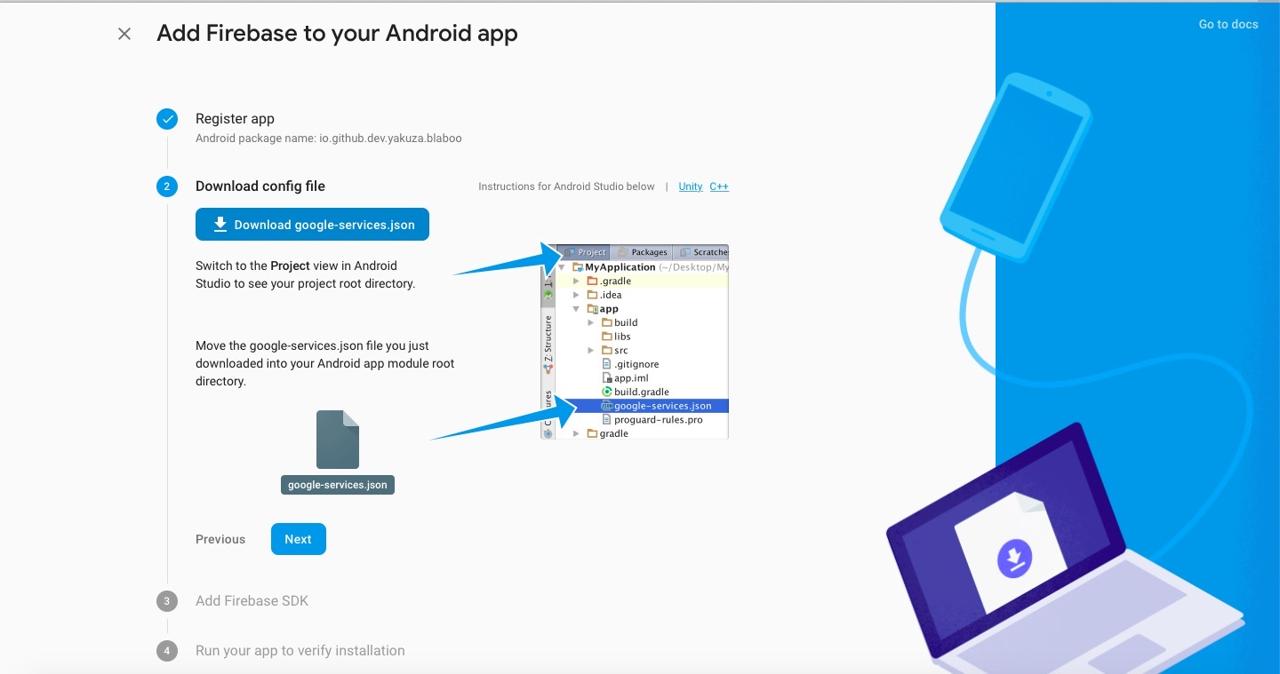
グーグルファイアベース(Google Firebase)が作ったgoogle-services.jsonファイルをReact Nativeプロジェクトのandroid/appフォルダへコピーします。そしてNextボタンを押して次へ進めます。
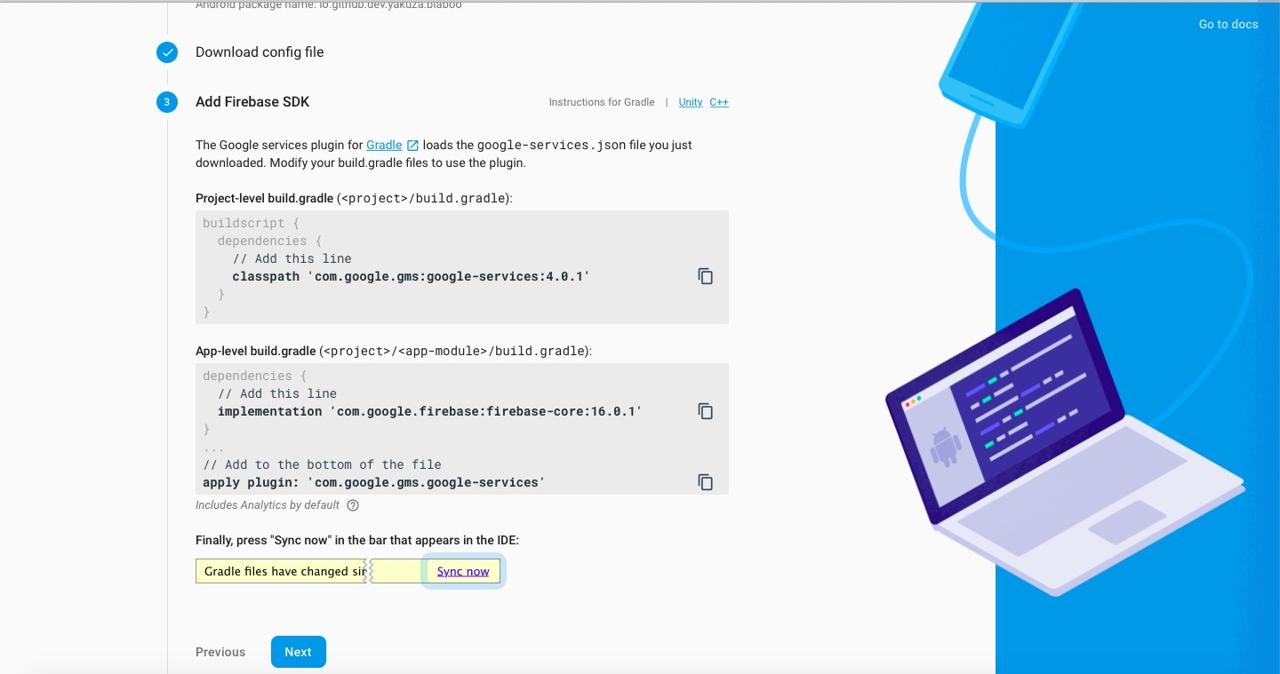
React Nativeプロジェクトがあるフォルダへandroid/build.gradleファイルを開いて下記のように修正します。
buildscript {
  repositories {
    google()
    jcenter()
  }
  dependencies {
    classpath("com.android.tools.build:gradle:3.5.2")
    classpath 'com.google.gms:google-services:4.3.3'
  }
}
...
allprojects {
  repositories {
    mavenLocal()
    google()
    jcenter()
    ...
  }
}上のようにrepositoriesへgoogle()が含めてあるか、jcenter()より上に宣言されたか確認します。
React Nativeプロジェクトがあるフォルダでandroid/app/build.gradleファイルを開いて下記のようにコードを追加します。
apply plugin: 'com.android.application'
apply plugin: 'com.google.gms.google-services'
...
dependencies {
  implementation platform('com.google.firebase:firebase-bom:26.2.0')
  implementation 'com.google.firebase:firebase-analytics'
  ...
}
...
apply plugin: 'com.google.gms.google-services'次は./android/build.gradleファイルを開いて下記のように修正します。
buildscript {
    ext {
        ...
    }
    repositories {
        ...
    }
    dependencies {
        classpath("com.android.tools.build:gradle:3.4.2")
        classpath 'com.google.gms:google-services:4.3.3'
    }
}
完了
これでReact NativeでFirebaseを使うためreact-native-firebaseをインストールする方法について説明しました。他の機能を追加する方法については下記のリンクを参考してください。
私のブログが役に立ちましたか?下にコメントを残してください。それは私にとって大きな大きな力になります!
アプリ広報
Dekuが開発したアプリを使ってみてください。Dekuが開発したアプリはFlutterで開発されています。興味がある方はアプリをダウンロードしてアプリを使ってくれると本当に助かります。