Contents
Outline
In this blog, we’ll see how to install react-native-firebase to use Firebase on React Native project.
- react-native-firebase(V6): https://rnfirebase.io/
If you want to know how to use react-native-firebase previous version(V5), see the blog post list below.
This blog post is a series. If you want to know more, see the blog posts below.
- react-native-firebase V6 installation
- react-native-firebase V6 Crashlytics
- react-native-firebase V6 Admob
Install library
Execute the command below to install react-native-firebase.
npm install --save @react-native-firebase/appExecute the command below to bind react-native-firebase to iOS.
cd ios
pod install
Create Firebase project
Next, we need to create a Google Firebase project. Click the link below to go to Google Firebase.
- Google Firebase: https://firebase.google.com
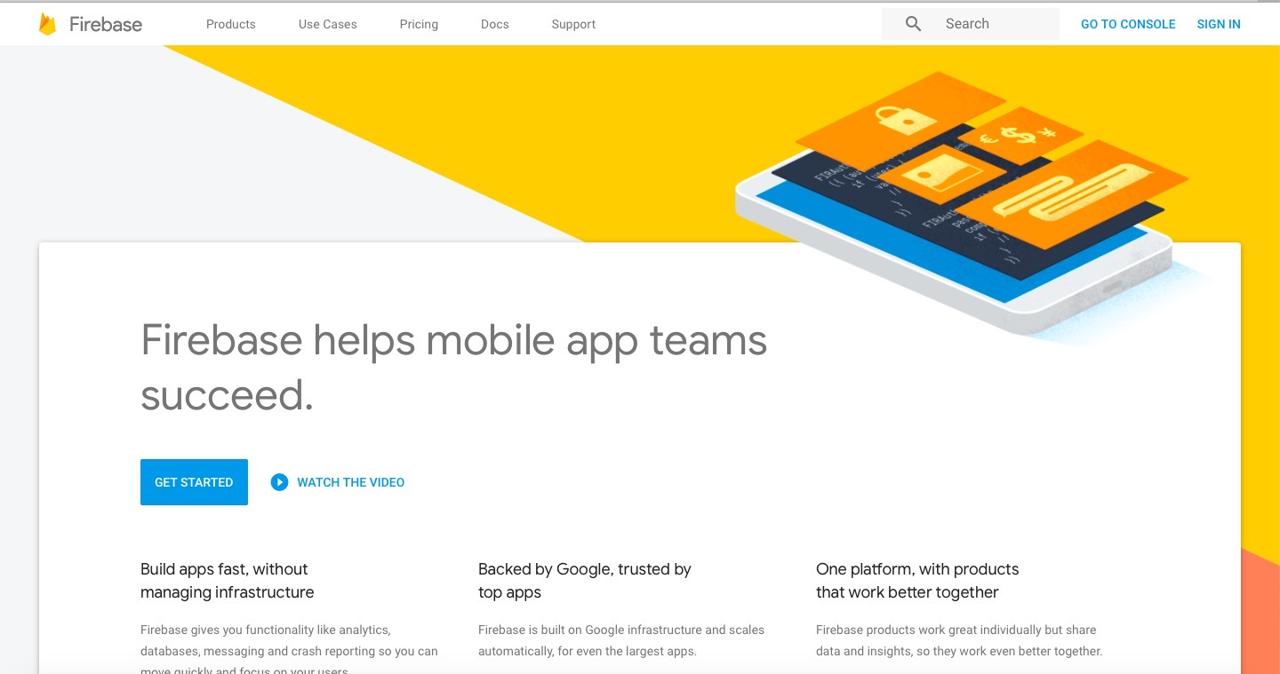
Click SIGN IN button on the right top.
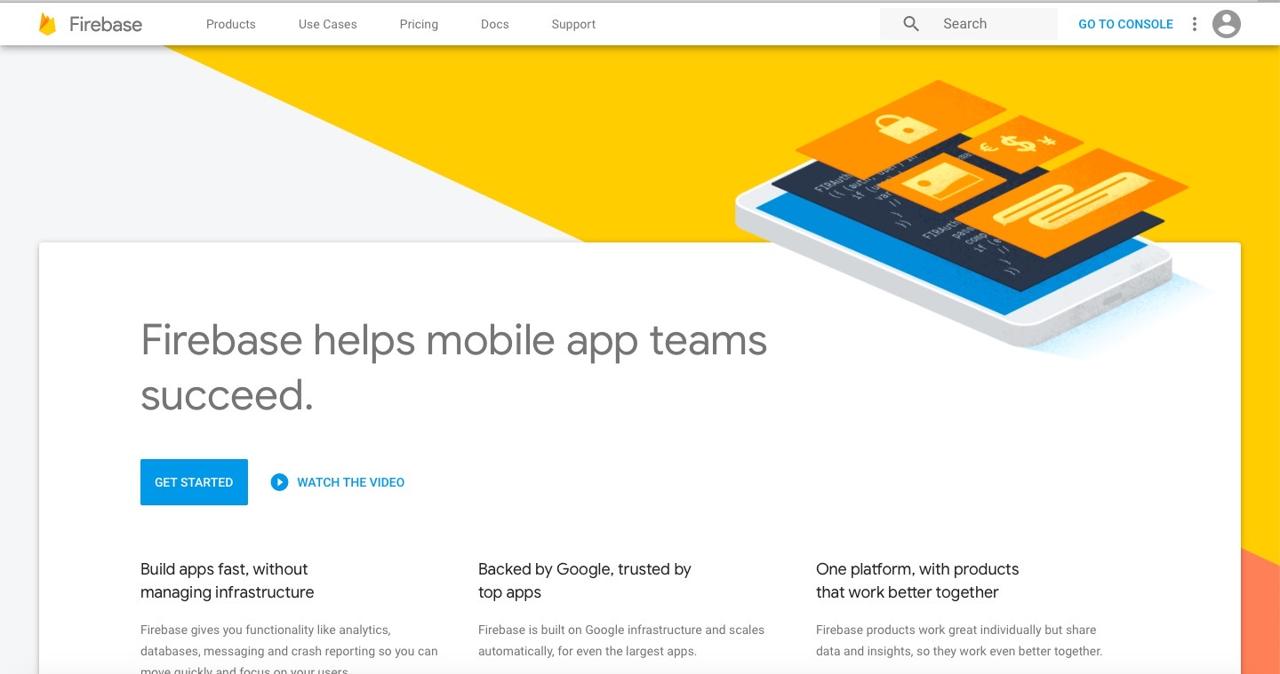
After login, click GO TO CONSOLE to go to Google Firebase Console.
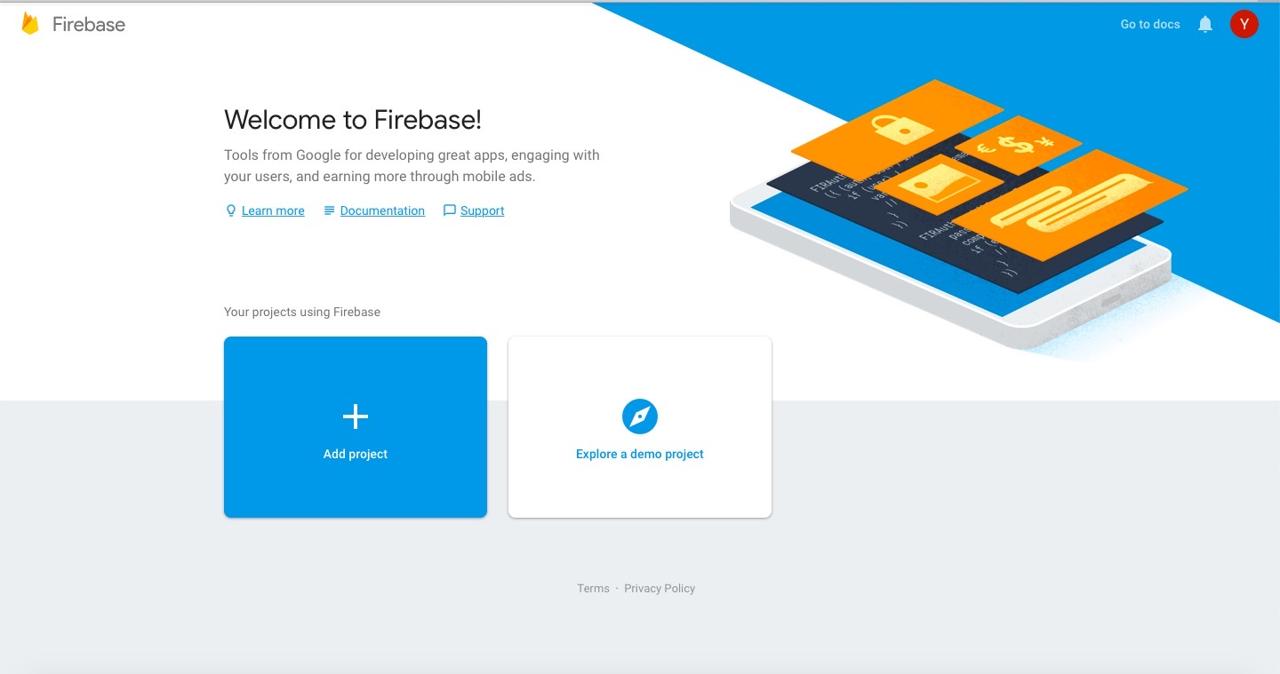
Click + Add project button to create a new project on Google Firebase Console.

On the screen above, insert a project name that you want to use to Enter your project name. After inserting, click Continue button on the bottom to go to the next step.
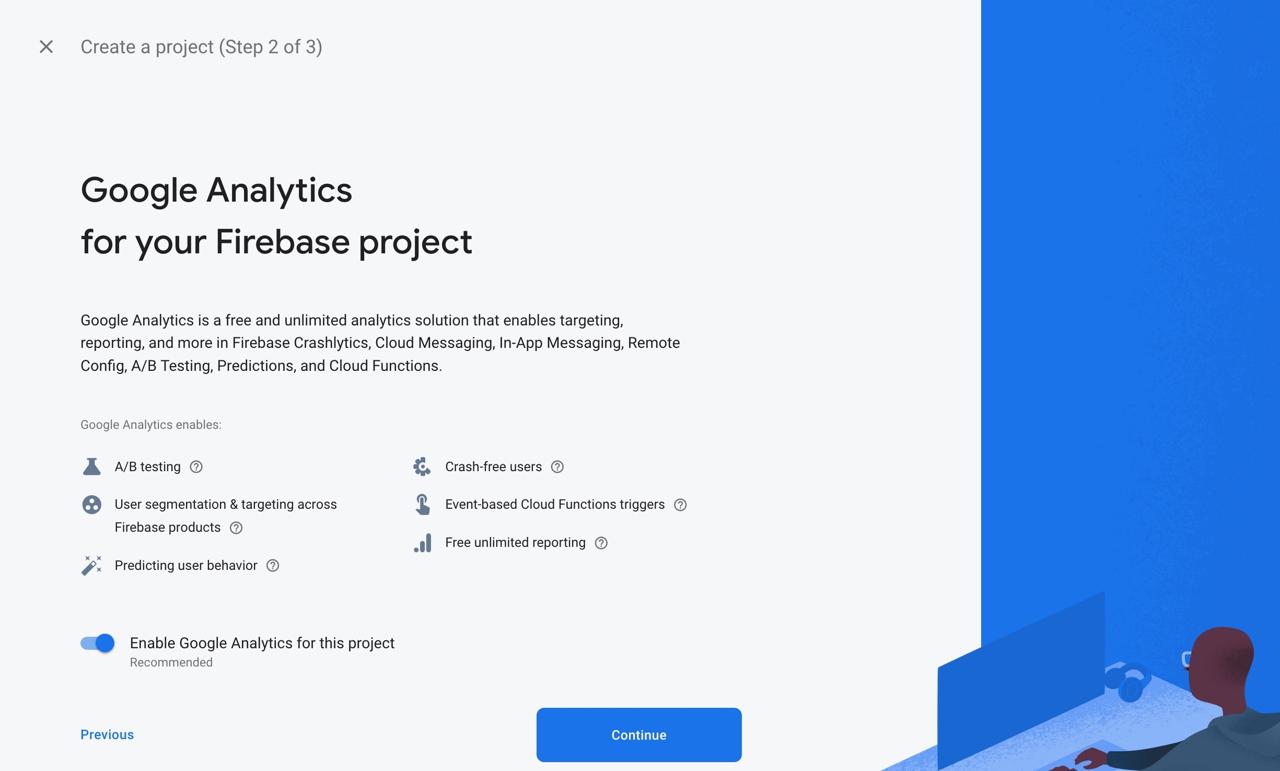
After inserting the project name, you can see the screen that asks you want to integrate Google Analytics. If you don’t want to integrate, click the switch to make Disable and create Firebase project.
If you want to integrate Google Analytics, click Continue button.
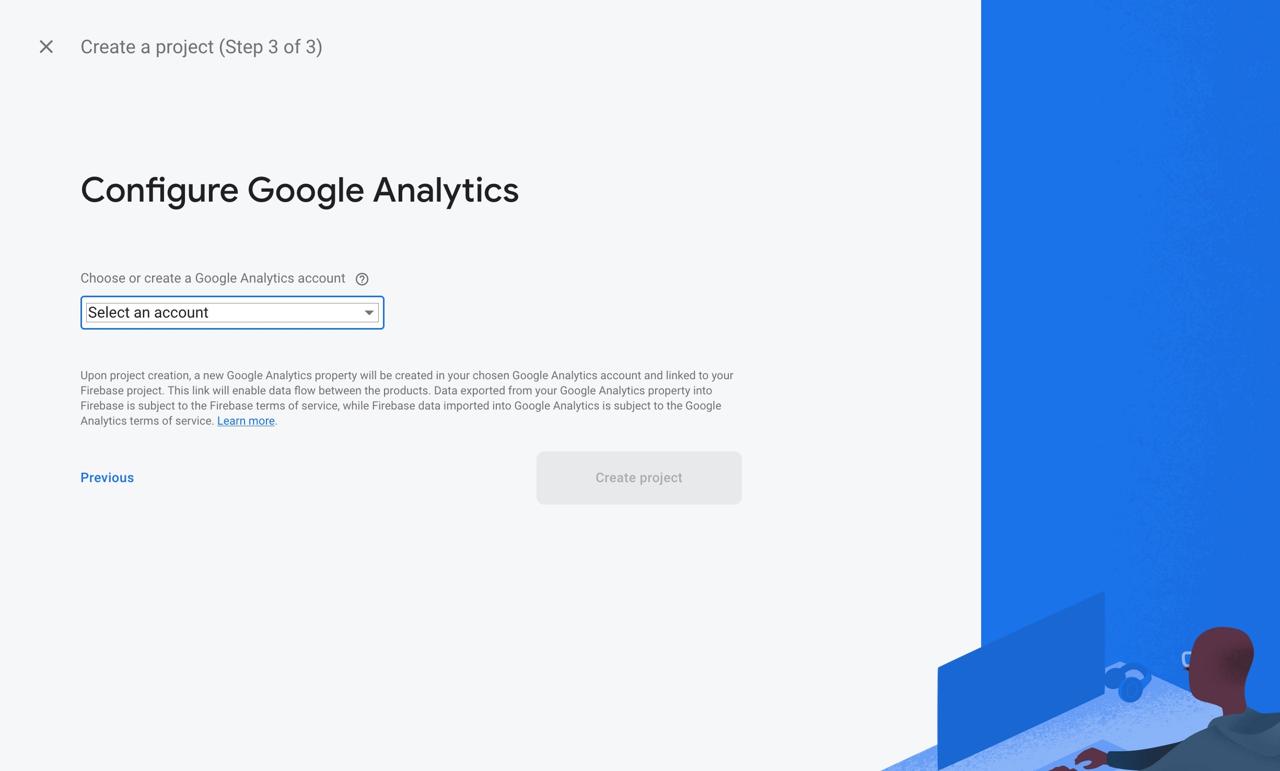
Select Google Analytics account, and click Create project button to create Firebase project.
iOS configuration
Let’s see how to configure iOS to use react-native-firebase.
Change Bundle ID
Before creating iOS project on Firebase, we need to change iOS Bundle ID. click ios/[project name].xcworkspace to execute Xcode.

Select the project name on the left top, and click General tab, you can see Bundle Identifier on the top of it. Change this Bundle ID to fit your project.
Configure iOS project on Firebase
When you select the project on Google Firebase Console, you can see the screen like below.
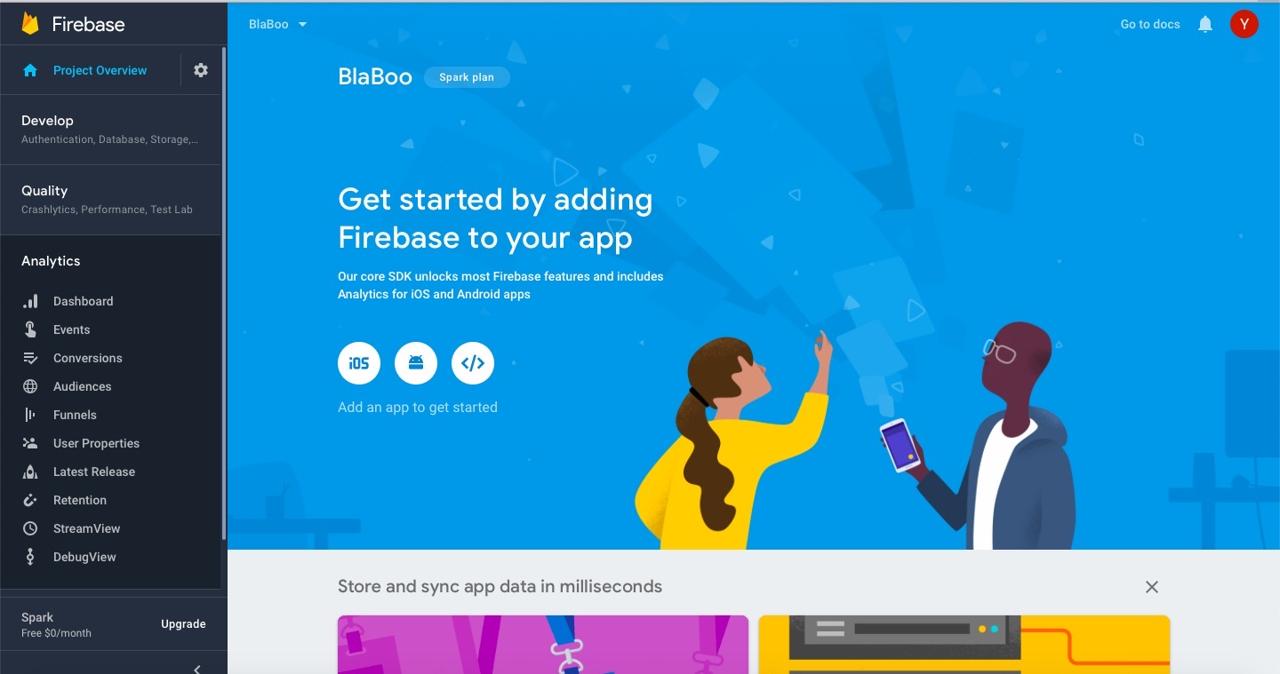
Click iOS button on the center of the screen to go iOS configuration.
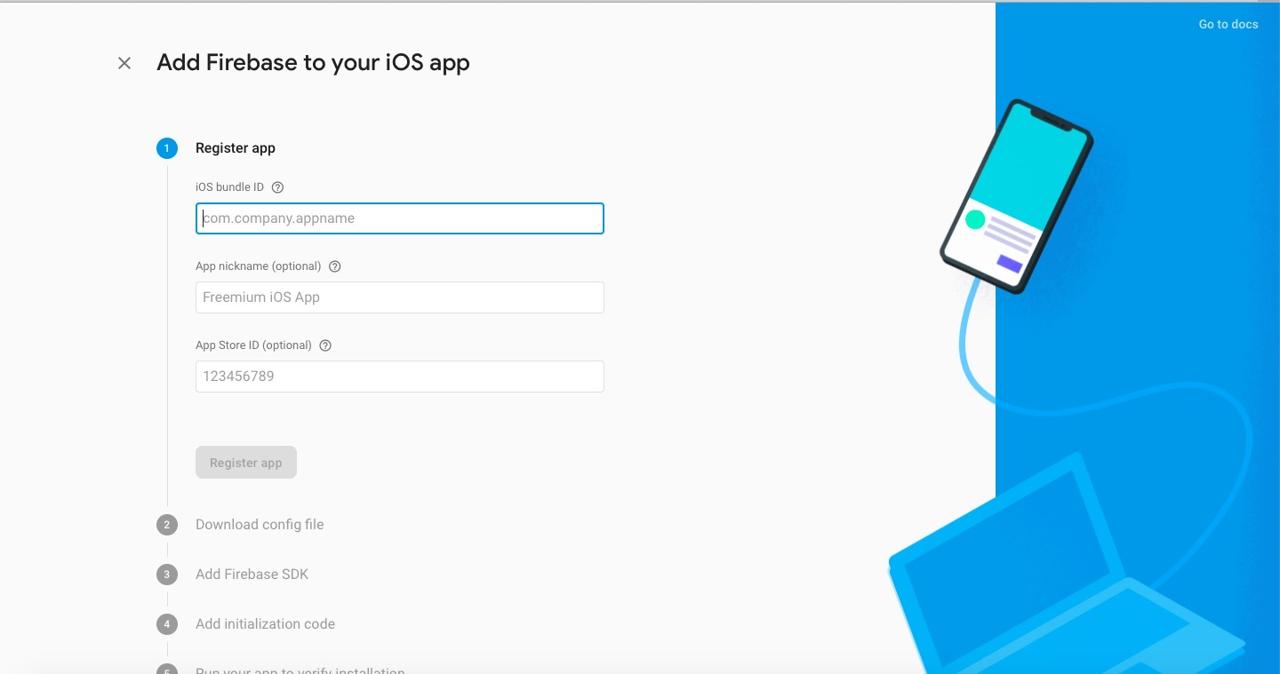
Insert iOS Bundle ID, and click Register app button.
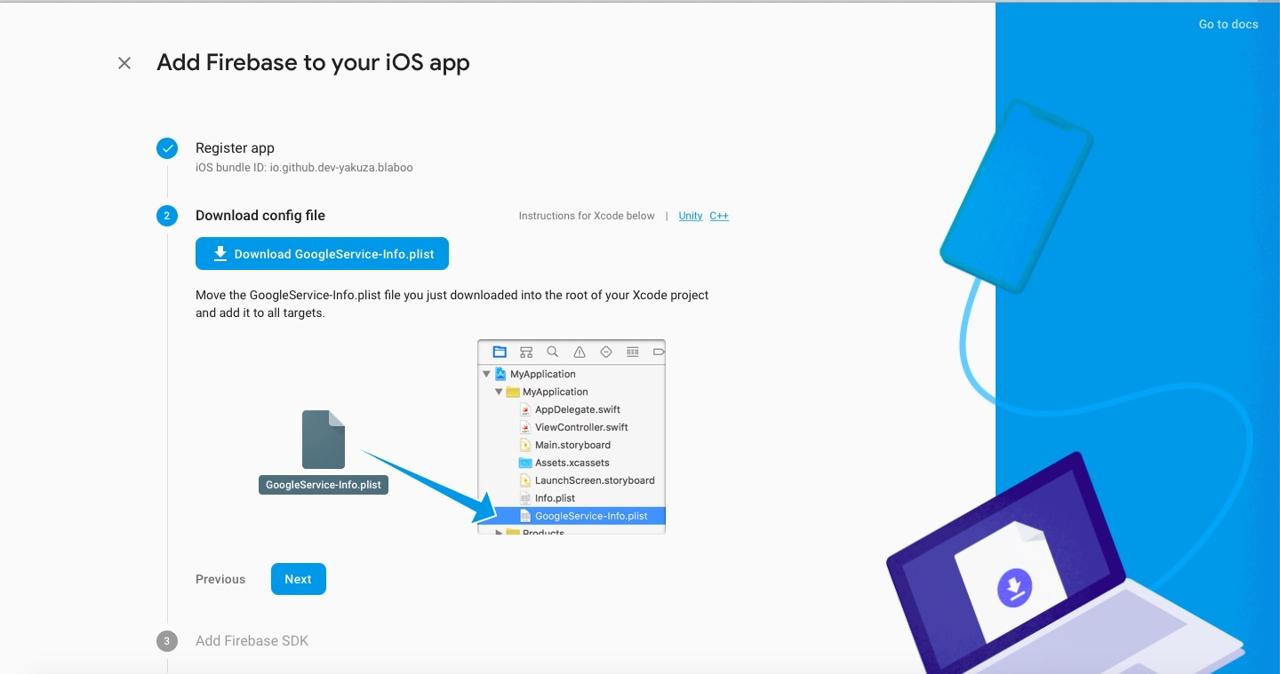
Download GoogleService-Info.plist file created by Google Firebase, and add it to the same directory of info.plist file. After adding GoogleService-Info.plist file, click Next button.
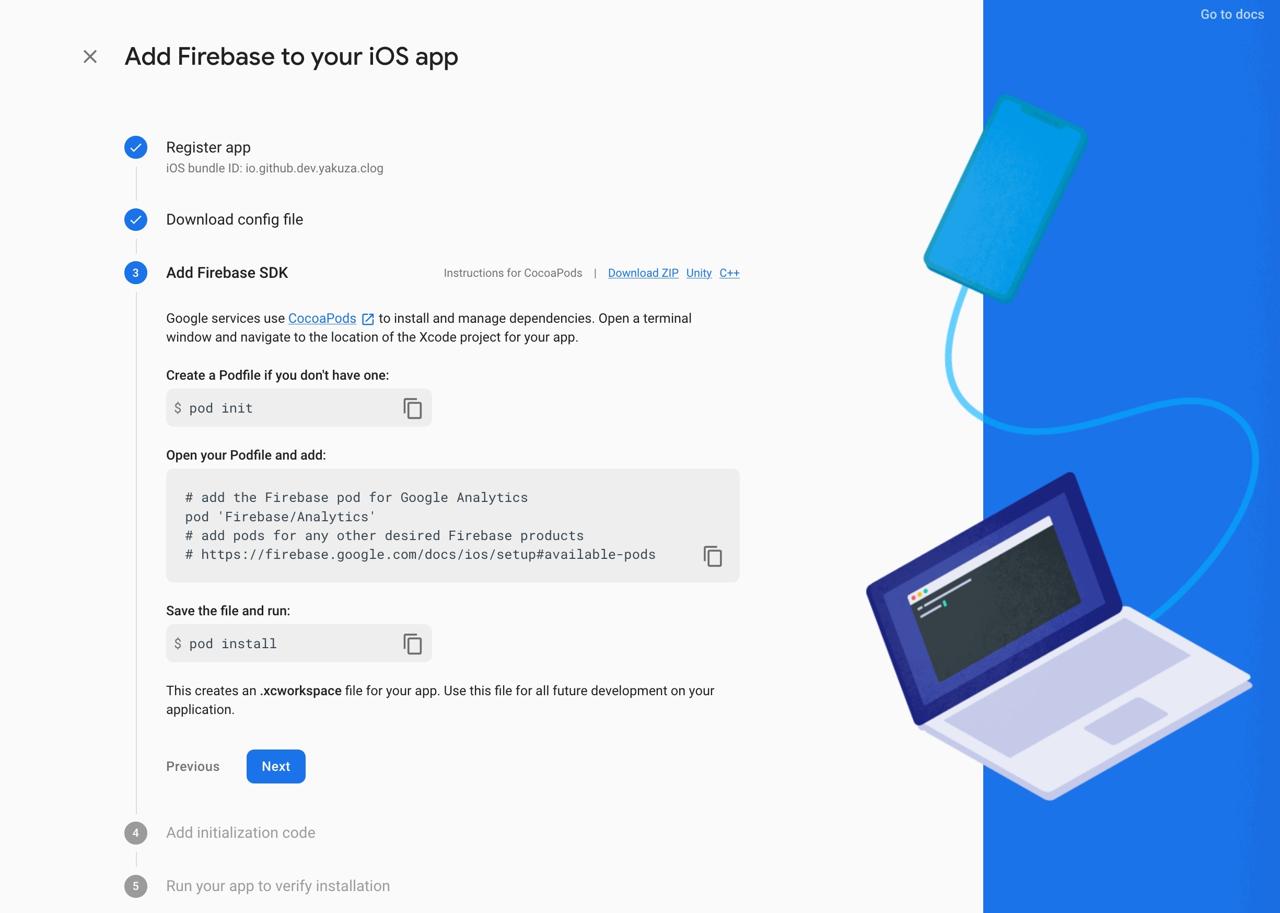
We need to add Google Firebase SDK to React Native project like the screen. open ./ios/Podfile file and modify it like below.
target 'blaboo' do
  ...
  pod 'Firebase/Analytics'
  ...
end
If you don’t use Google Analytics, yo don’t need to modify it like above.
Execute the command below to install Google Firebase SDK.
pod install
# pod update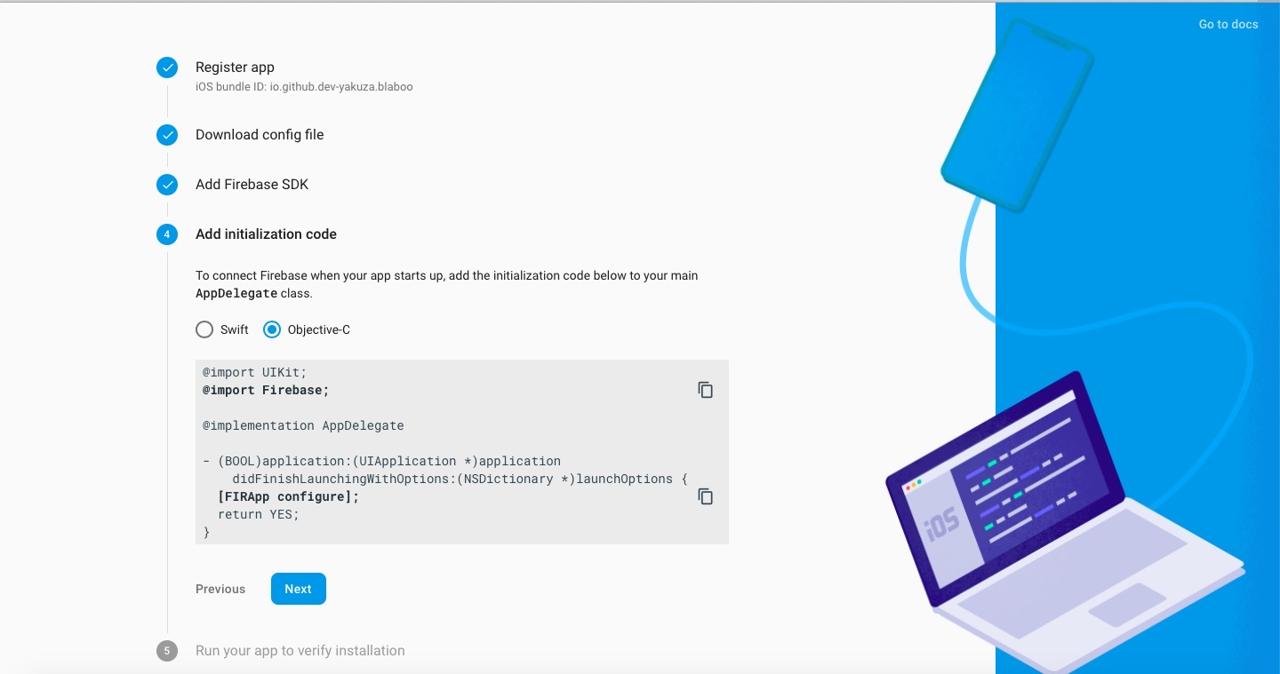
Open AppDelegate.m file on React Native project, and modify it like below.
...
@import Firebase;

@implementation AppDelegate
...
- (BOOL)application:(UIApplication *)application didFinishLaunchingWithOptions:(NSDictionary *)launchOptions
{
  [FIRApp configure];
  ...
  return YES;
}
...
This initializes Google Firebase SDK.
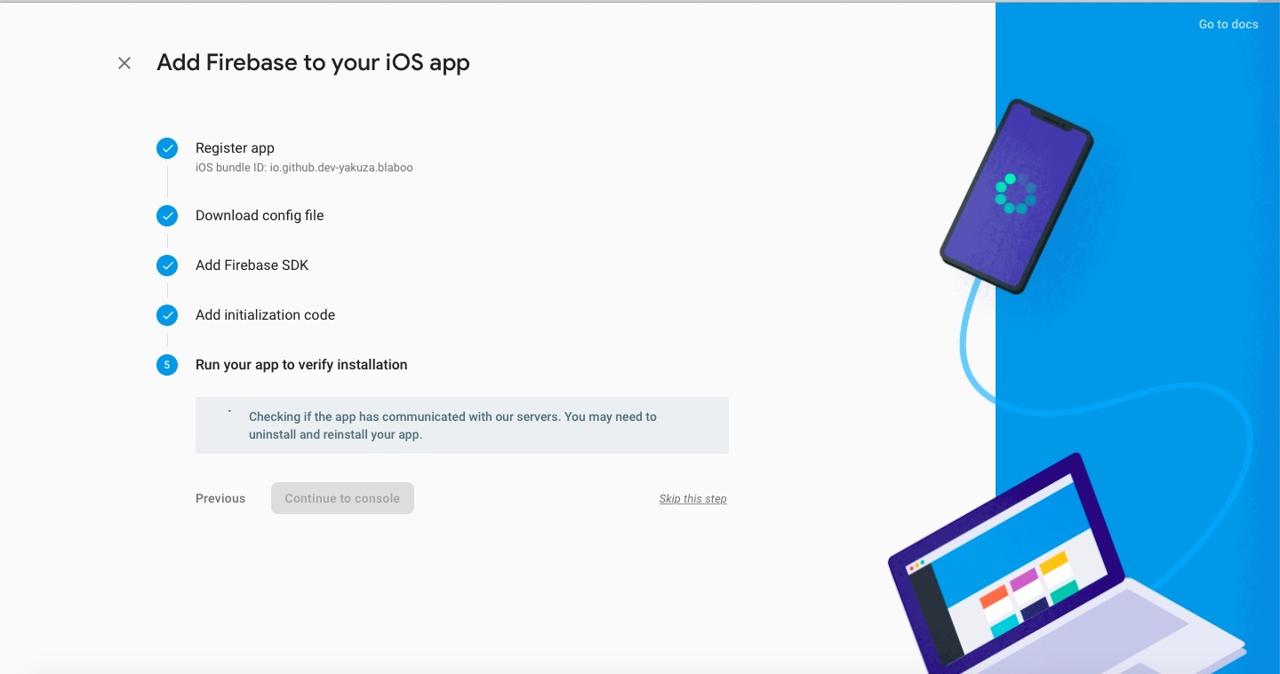
I’ve skipped this section to click Skip this step link.
Android Configuration
Next, let’s see how to configure Android to use react-native-firebase.
Change Android package name
-
Open
android/app/BUCKfile and modify Android package name to fit your project.... android_build_config( ... package = "package_name", ) ... android_resource( ... package = "package_name", ... ) ... -
Open
android/app/src/main/AndroidManifest.xmlfile and modify Android package name.<manifest xmlns:android="http://schemas.android.com/apk/res/android" package="package_name"> ... -
Open
android/app/src/main/java/com/ProjectName/MainActivity.javafile and modify Android package name.package package_name; ... -
Open
android/app/src/main/java/com/ProjectName/MainApplication.javafile and modify Android package name.package package_name; ... -
Open
android/app/build.gradlefile and modify Android package name.... defaultConfig { applicationId package_name ... } ...
After changing the package name like above, we need to change folder structure from android/app/src/main/java/com/[App Name]/MainActivity.java to android/app/src/main/java/[Package Name Folder]/MainActivity.java.
Configure Android project on Firebase
Click Project Overview on the top of Google Firebase Console.
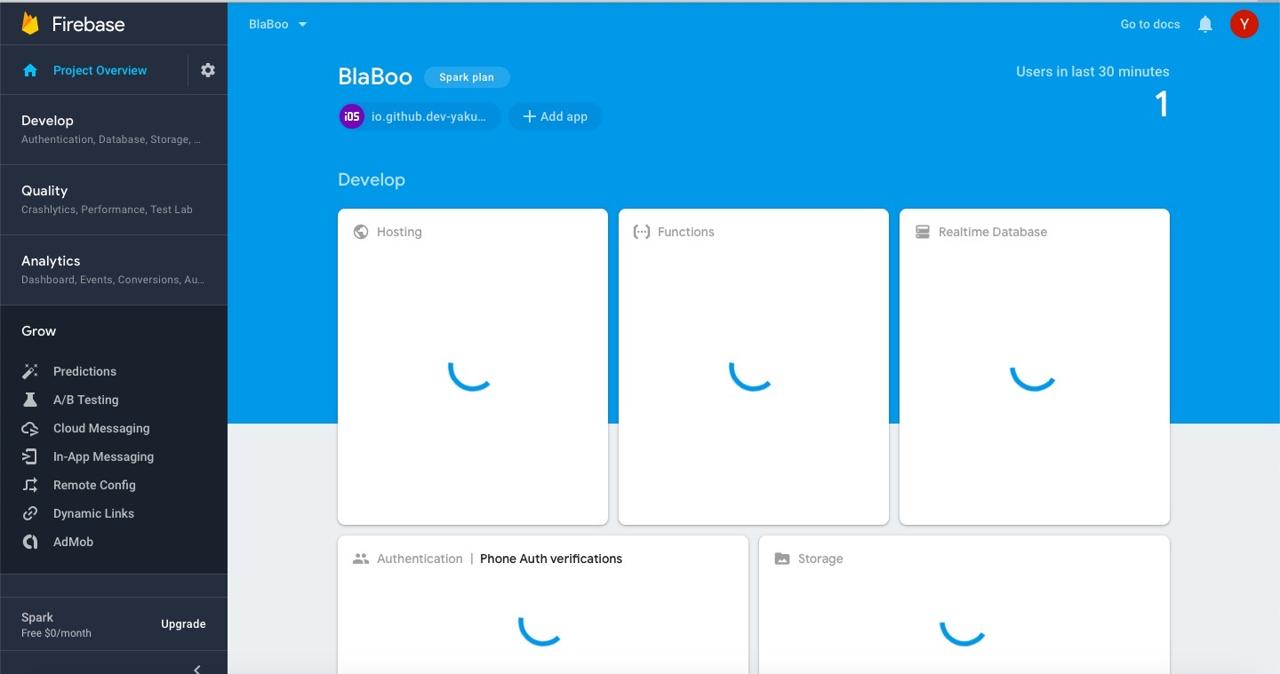
Click + Add app > Android icon to go Android project settings.
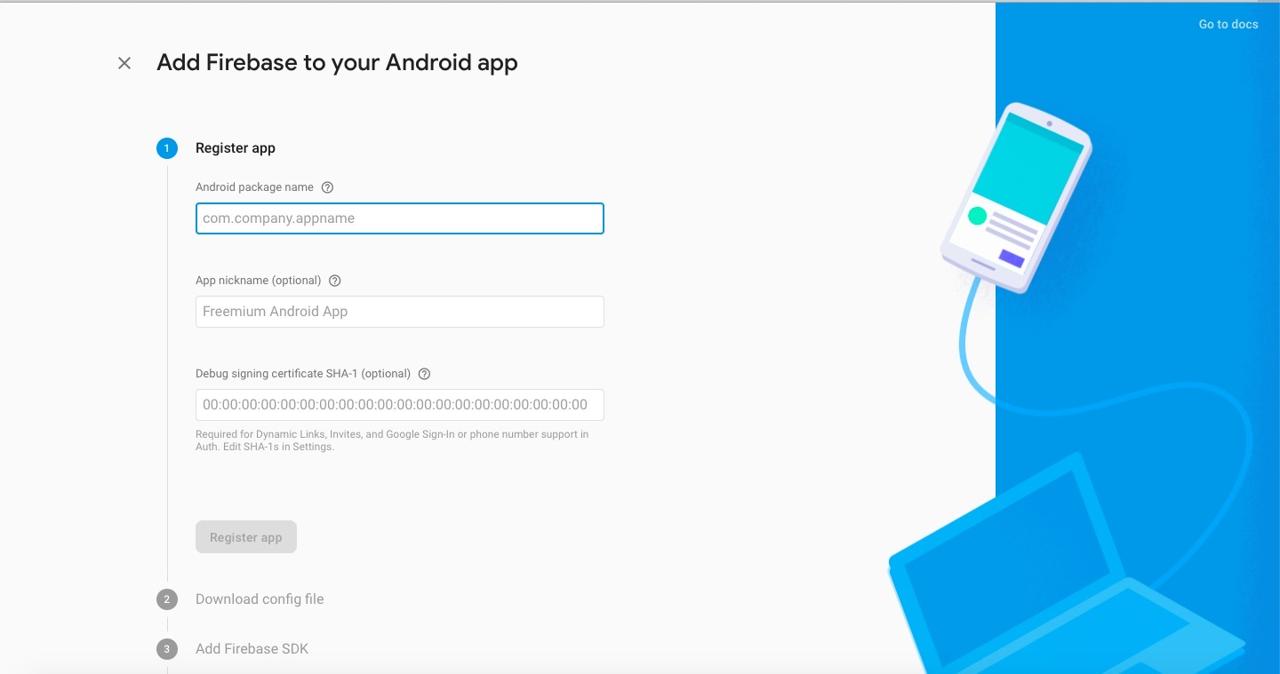
Insert Android Package Name and click Register app button.
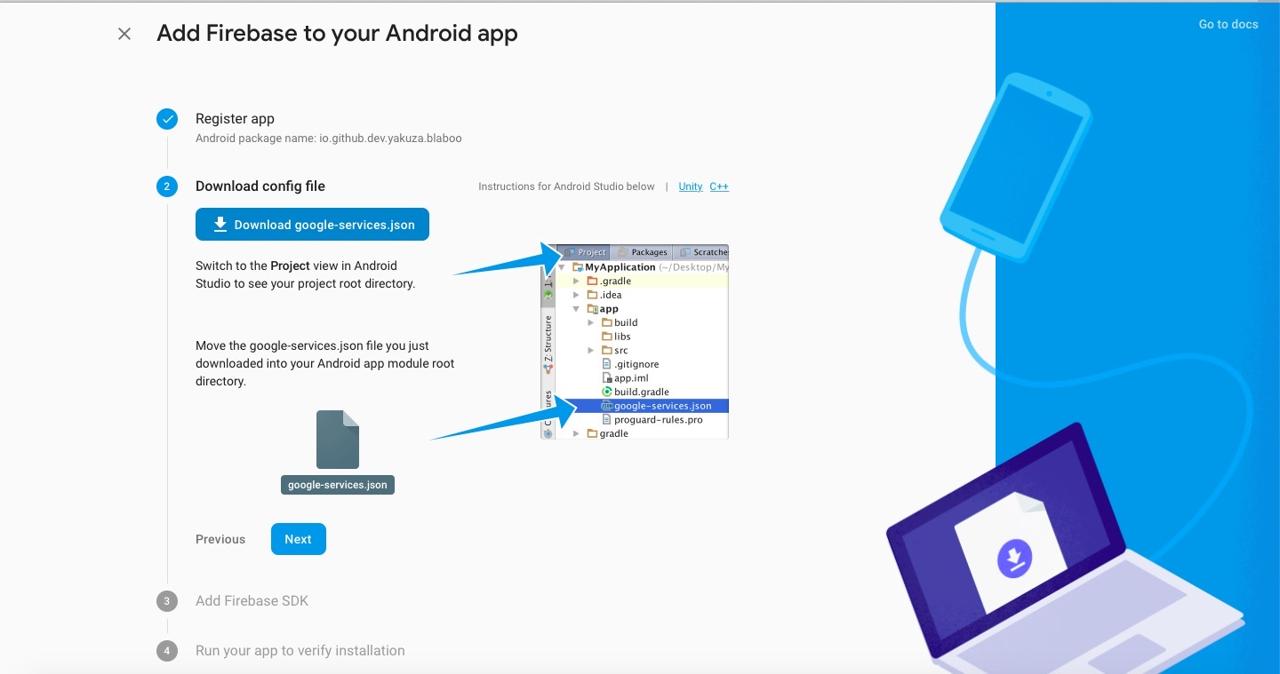
Copy and paste google-services.json to android/app folder and click Next button.
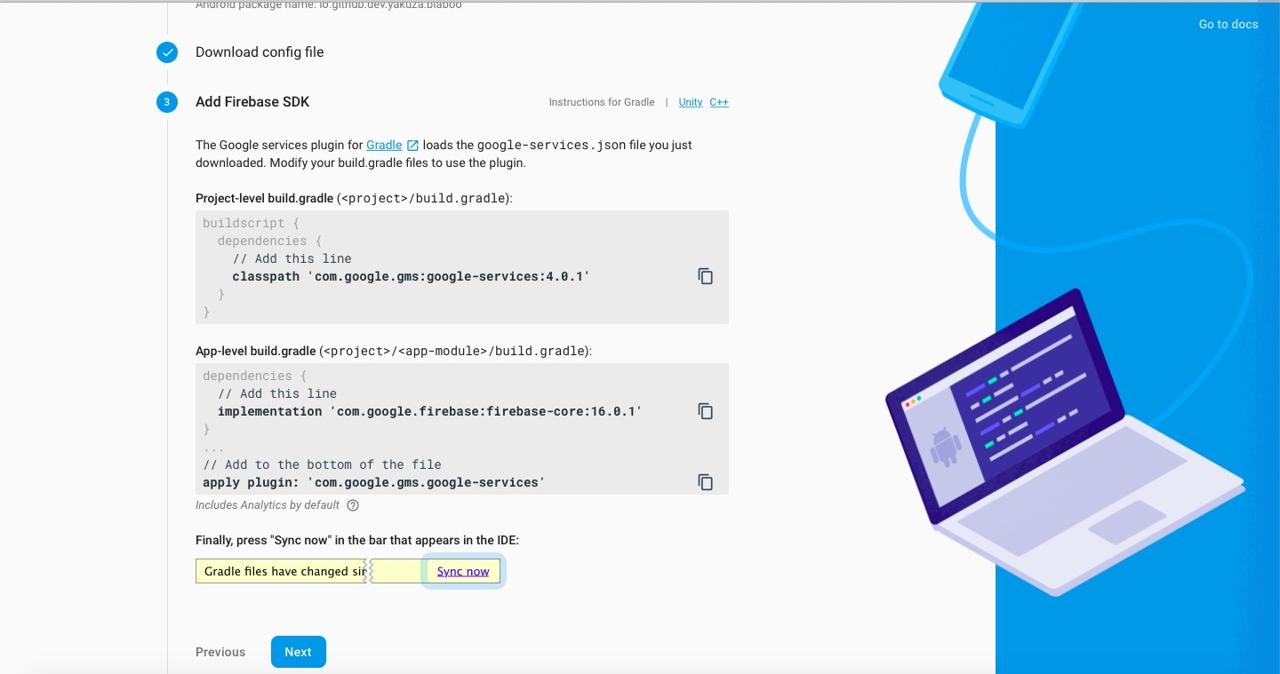
Open android/build.gradle file on React Native project and modify it like below.
buildscript {
  repositories {
    google()
    jcenter()
  }
  dependencies {
    classpath("com.android.tools.build:gradle:3.5.2")
    classpath 'com.google.gms:google-services:4.3.3'
  }
}
...
allprojects {
  repositories {
    mavenLocal()
    google()
    jcenter()
    ...
  }
}
As above, google() should be in repositories and above jcenter().
Open android/app/build.gradle file on React Native folder, and modify it like below.
apply plugin: 'com.android.application'
apply plugin: 'com.google.gms.google-services'
...
dependencies {
  implementation platform('com.google.firebase:firebase-bom:26.2.0')
  implementation 'com.google.firebase:firebase-analytics'
  ...
}
...
apply plugin: 'com.google.gms.google-services'
Next, open ./android/build.gradle file and modify it like below.
buildscript {
    ext {
        ...
    }
    repositories {
        ...
    }
    dependencies {
        classpath("com.android.tools.build:gradle:3.4.2")
        classpath 'com.google.gms:google-services:4.3.3'
    }
}
Completed
Done! we’ve seen how to install react-native-firebase to use Firebase on React Native. You can see other features on the links below.
Was my blog helpful? Please leave a comment at the bottom. it will be a great help to me!
App promotion
Deku.Deku created the applications with Flutter.If you have interested, please try to download them for free.


