Content
outline
this blog post is for developers who already enrolled Apple Developer Program. if you don’t enroll Apple Developer Program, see previous blog post enroll iOS developer and enroll Apple Developer Program.
this blog post is a series. it’s better to see below together.
- iOS device test
- iOS build and test
- enroll iOS developer
- iOS TestFlight
- register iOS App store
- Deploy automatically applications via Fastlane
let’s see how to create iOS developer certification and configure it.
download certification
if you get purchase approved email from Apple after buying Apple Developer Program, go to Account page on Apple Developer site(https://developer.apple.com/)
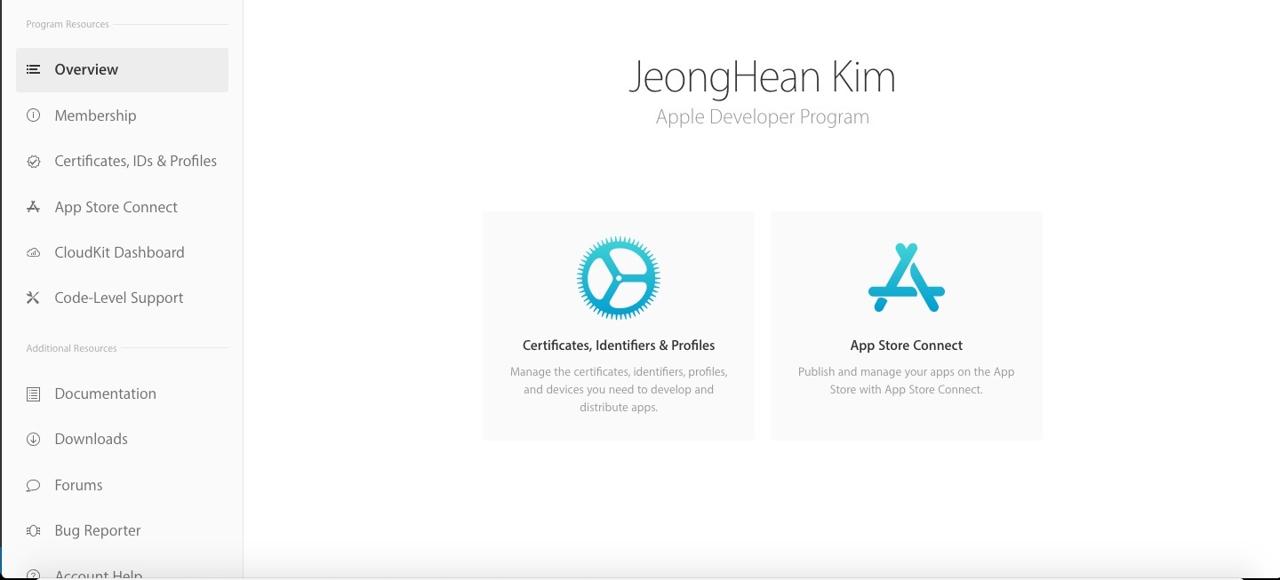
you can see different screen before you enroll Apple Developer Program. click Certificates, IDs & Profiles to go to the certification page.
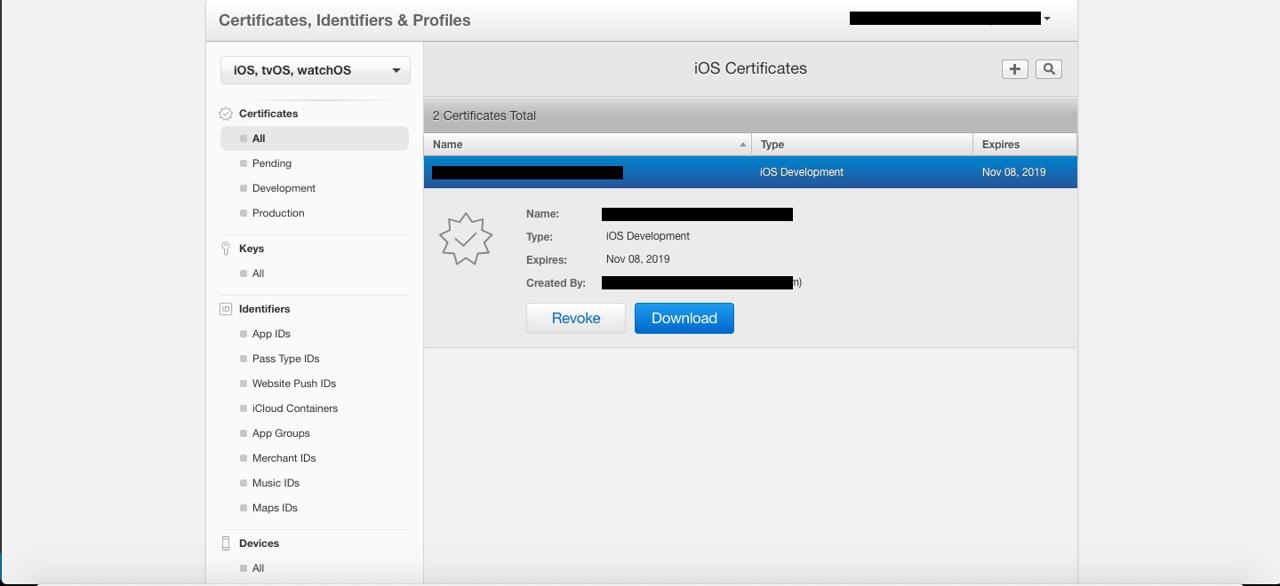
you have already one certification. select the certification and click Download button and save it on your PC. if you don’t have the certification, create it by following create certification section.
this certification is for development. if you already have this one, you need to create production certification. so create it by following create certification section.
create certification
execute Keychain Access program on your Mac.

after Keychain is executed, click Keychain access > Certification Assistant > Request a Certificate From a Certificate Authority... on the left top of the PC screen.
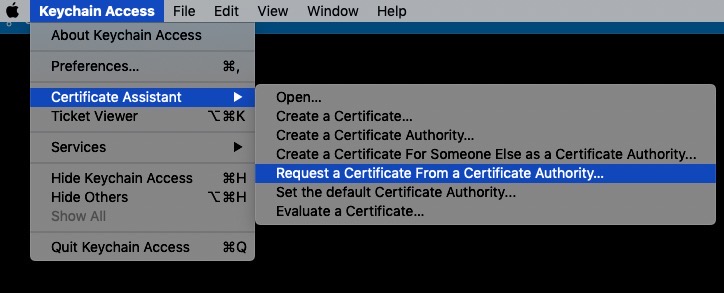
if you click Request a Certificate From a Certificate Authority... menu, you can see Certificate Assistant like below screen.
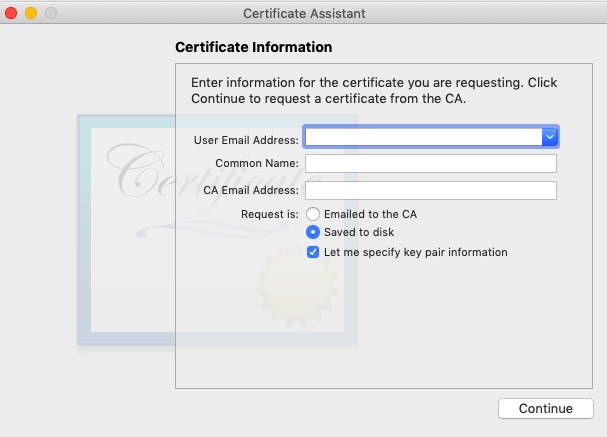
insert User Email Address and Common Name. select Saved to disk and Let me specify key pair information. click Continue button and save the file to your PC.
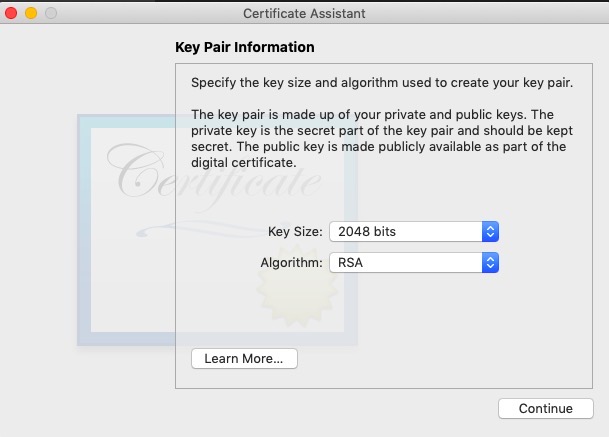
click Continue if you are same value in Key Size and Algorithm.
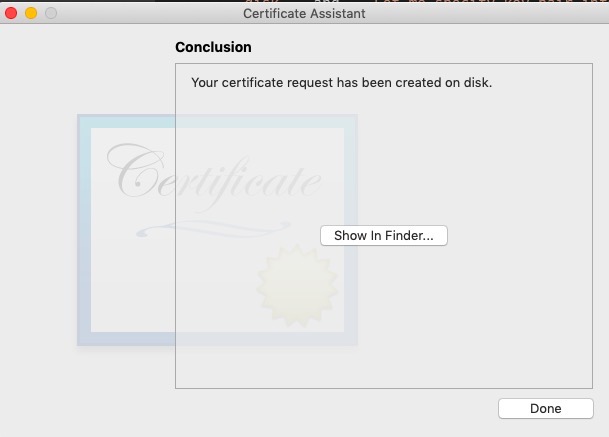
completed to create KeyChain Certification file.
go to Account page in Apple Developer site(https://developer.apple.com/) and select Certificates, IDs & Profiles menu. click + button on the right top of the screen.
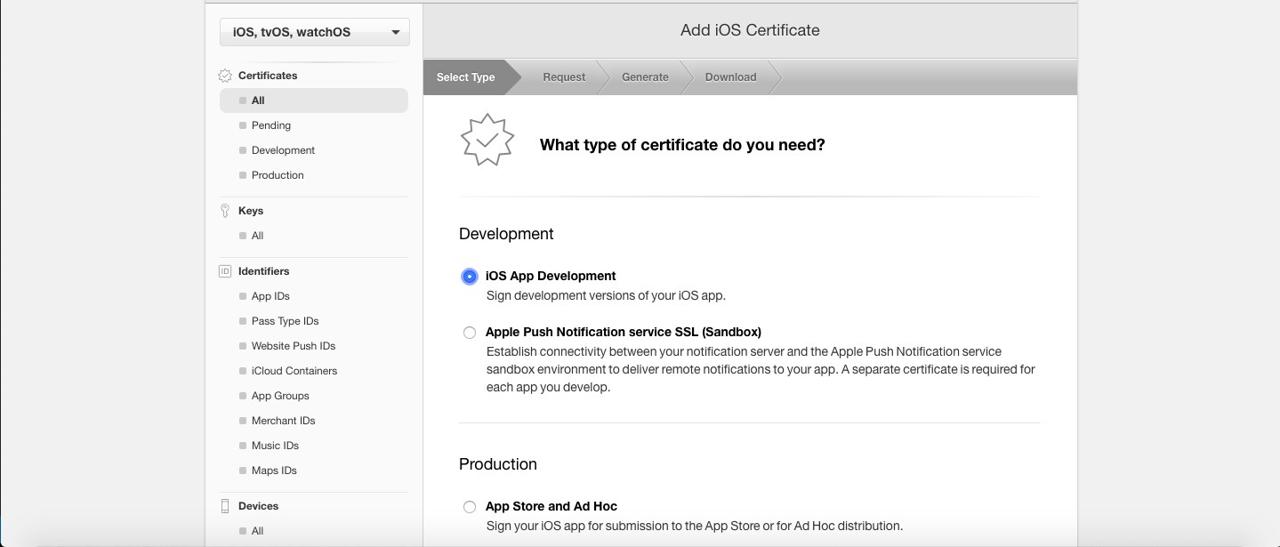
click iOS App Development. scroll down and click Continue button in Select Type page.
if you want to create a production certification, click App Store and ad Hoc in Production section.
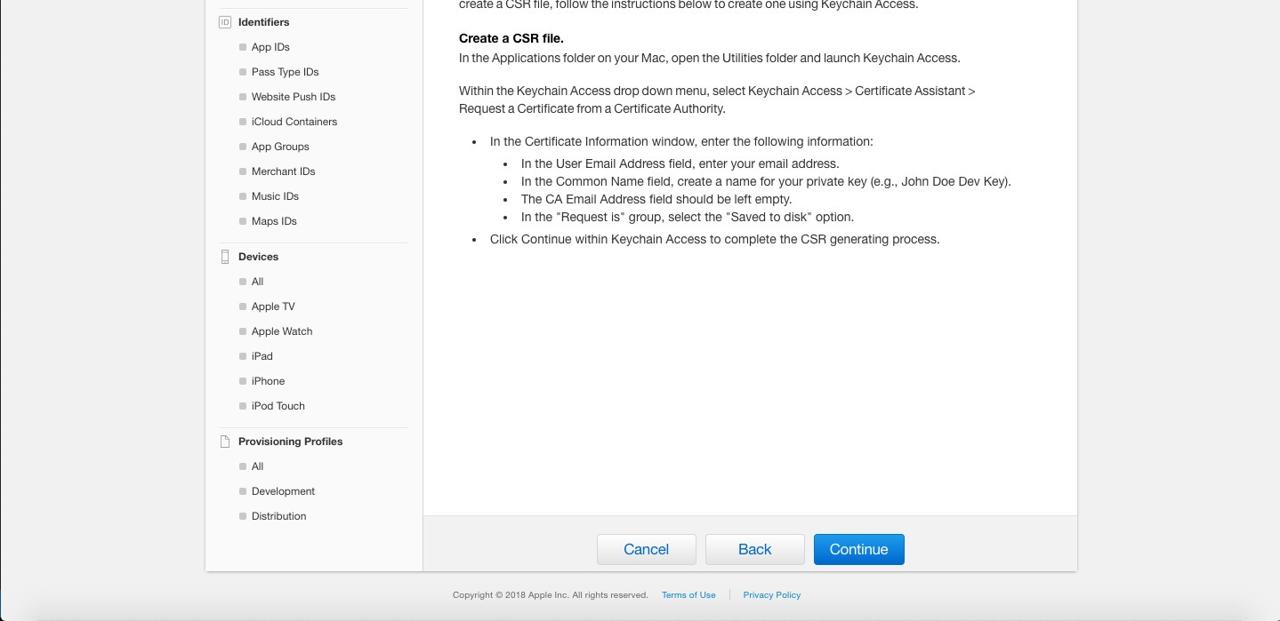
next screen is detail about how to create certification file(CSR file). we already created this file by Keychain Access so just scroll down and click Continue.
click Choose File to select certification file(CSR file) created by Keychain Access and click ```Continue“ to go to the next page.

completed to create certification. click Download to save certification to your PC.

register certification
we need to insert certification created above to Keychain Access. execute Keychain Access program.
after Keychain Access is executed, click My certificates on the left bottom of the screen and drag your certification which you made via Apple Developer site before to here for adding.

configure Apple Developer account
we need to connect Apple Developer Account to the iOS project. execute iOS/projectname.xcodeproj in RN(react native) project folder.
after xcode is executed, click projectname on the left top and select General tab.
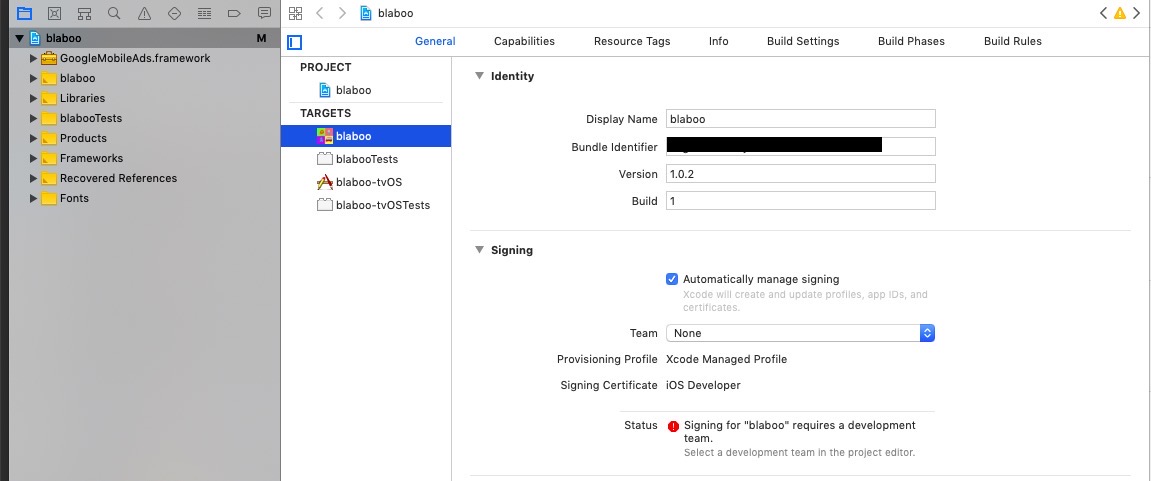
click Team dropdown menu in Signing on above screen.
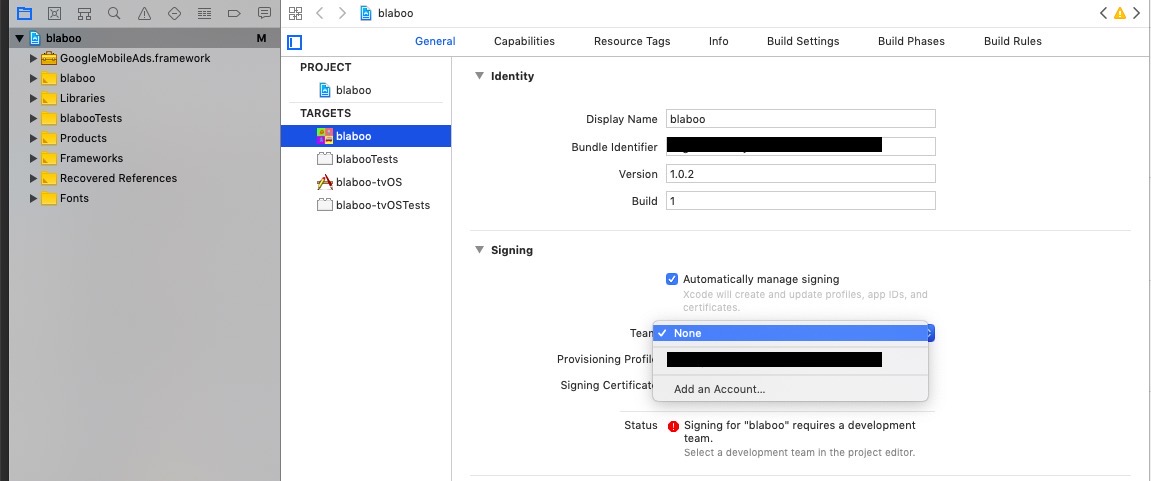
if you have already connected Apple Developer Account, just select that account. if you don’t have connected, select Add an Account.
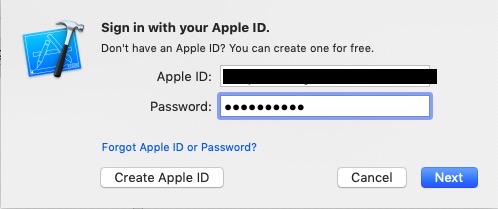
login Apple Developer account. if you don’t have Apple Developer account, see iOS device test blog post and create Apple Developer account.
click dropdown menu beside Team and select Apple Developer account we created above.
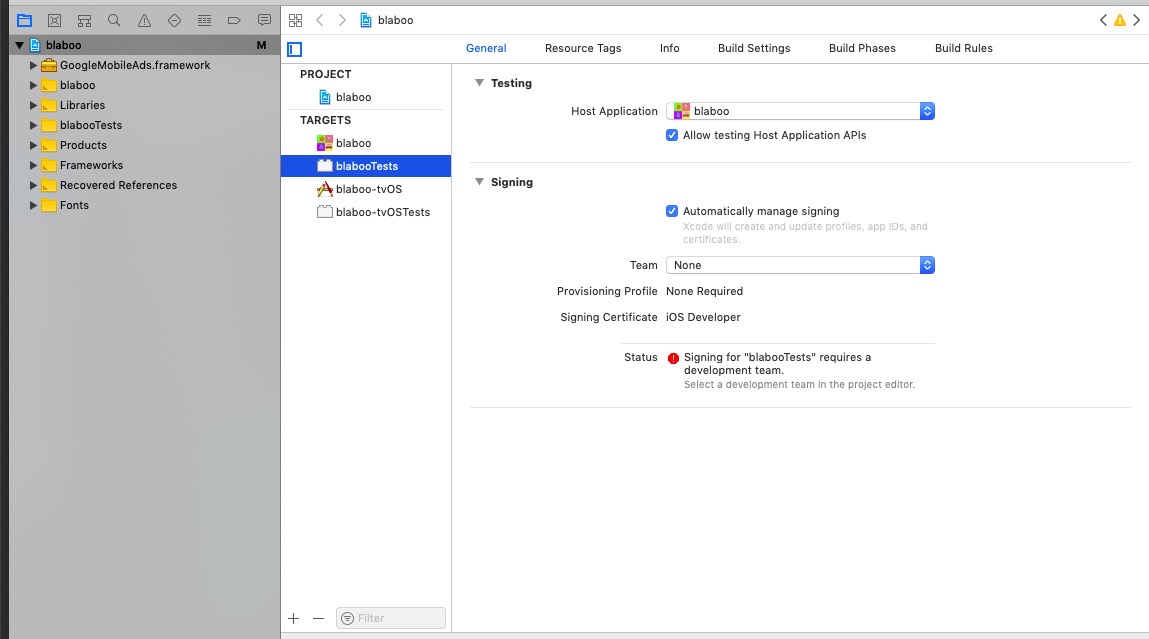
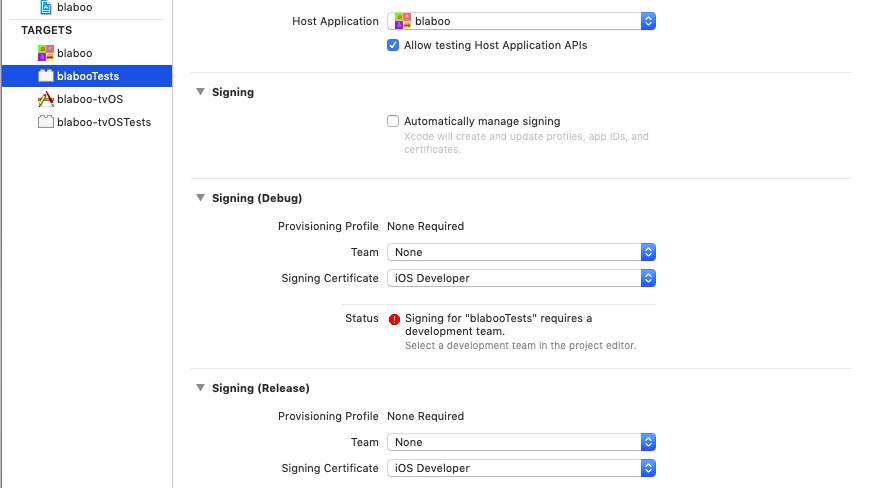
connect also Apple Developer account to Test section.
completed to connect Apple Developer account. let’s see about how to make Provisioning Profiles for production build.
create Provisioning Profiles
scroll down Account page in Apple Developer site and click Provisioning Profiles menu.
we need development Provisioning Profile and production Provisioning Profile. so do below procedure double times for development and production.
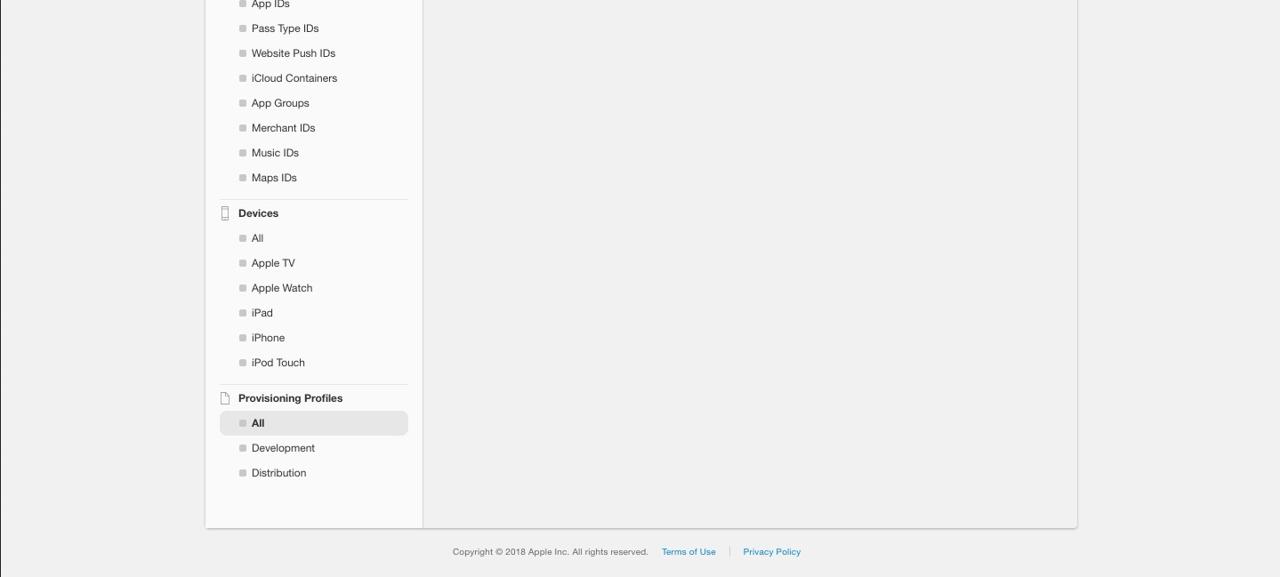
select All menu in Provisioning Profiles section.
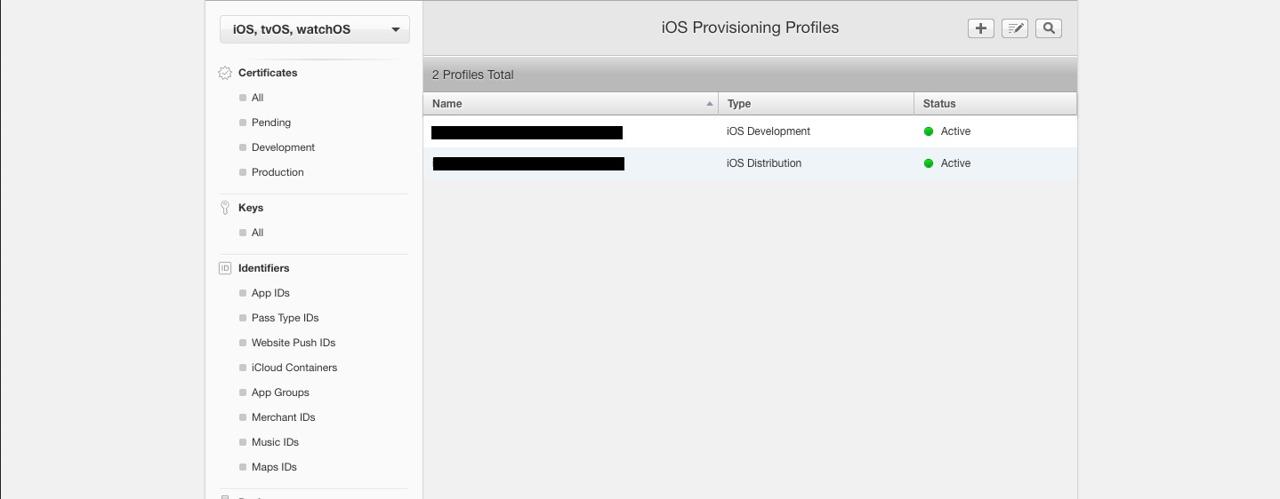
you can see above screen. click + button for adding new Provisioning Profile
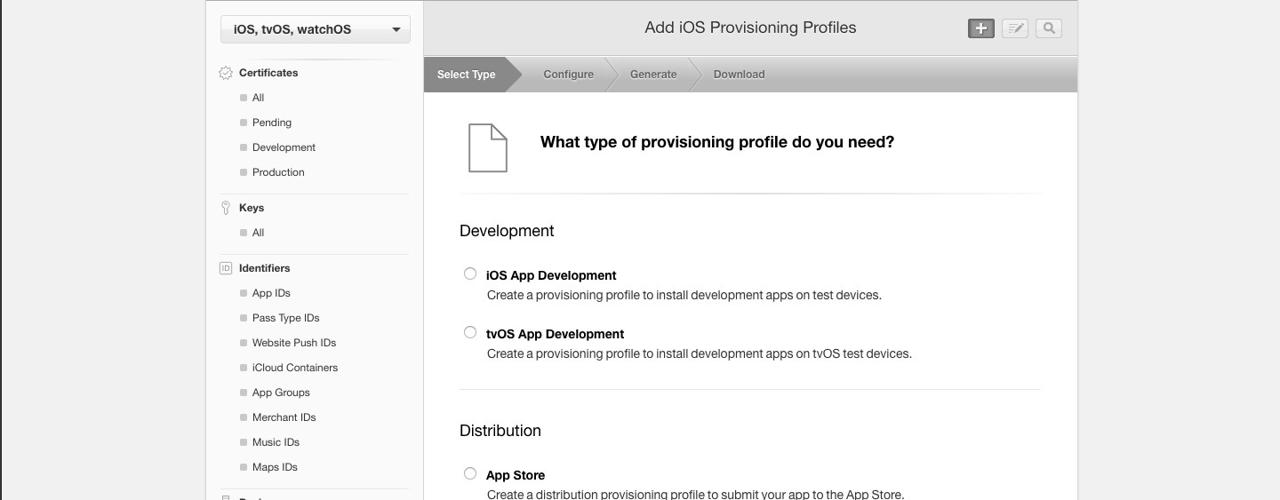
select iOS App Development and click Continue.
if you want to create Production Provisioning Profiles, select App Store in Distribution section.
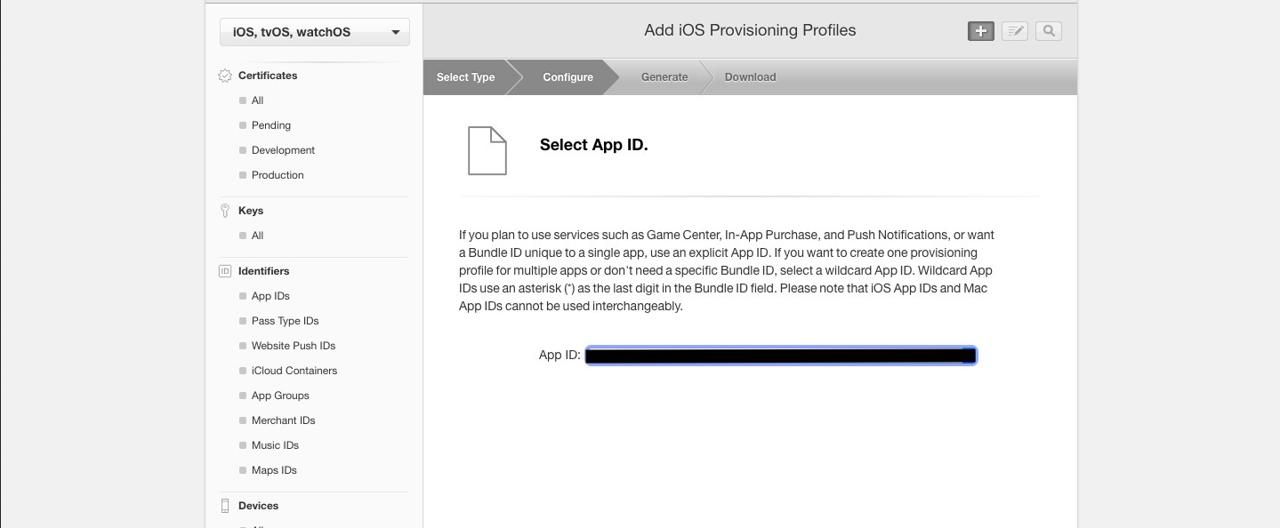
select Bundle Identifier when we use in development. you can find Bundle Identifier in Identity section on xcode General tab.
click Continue button and select Apple Develop account and test device.
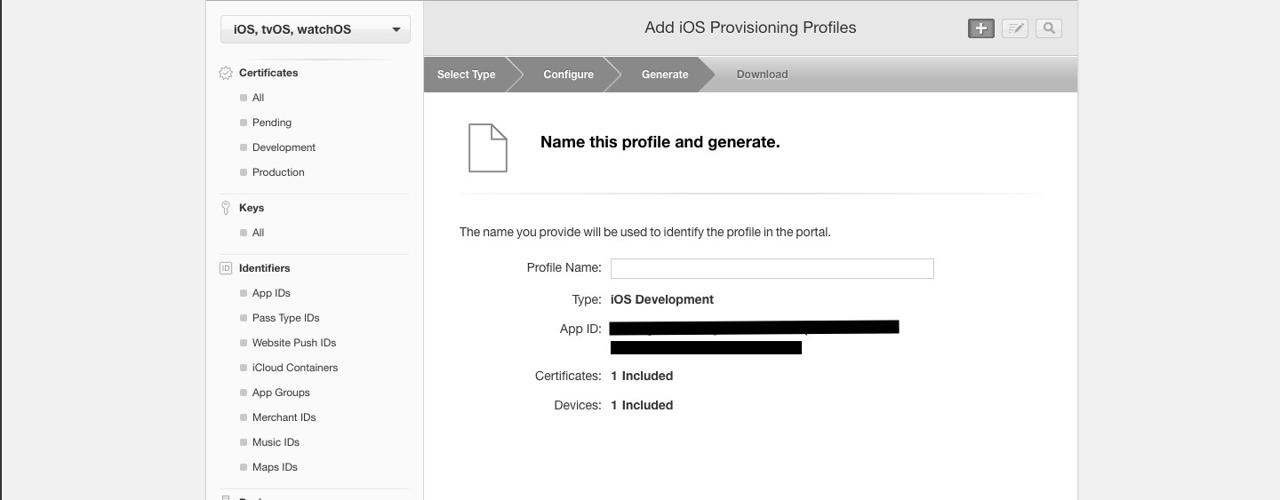
insert Provisioning Profile name and click Continue.
completed to create Provisioning Profile. click Download and save it on your PC.
connect Provisioning Profiles
xcode has default setting which manage automatically Signing(Automatically manage signing in Signing section)
if you don’t have any problem in this status, you develop and build in this status.(you don’t have any red error text in Signing section) we have Provisioning Profile connection error so we unchecked this option and connect Provisioning Profile manually.
below is about how to connect Provisioning Profile manually.
uncheck Automatically manage signing in Signing section.
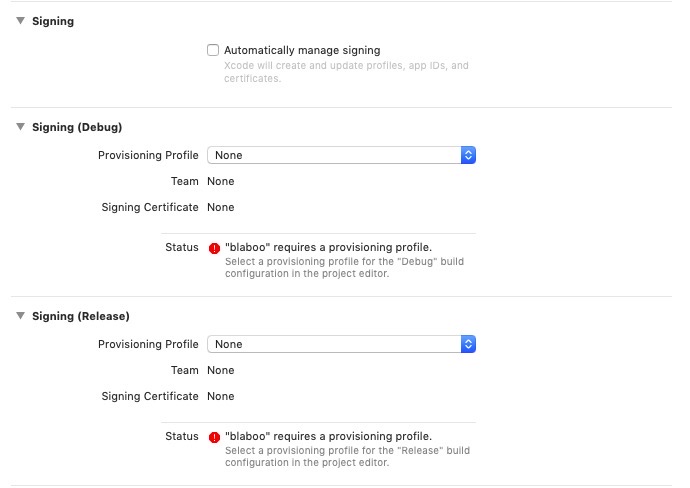
you can see Signing(Debug) and Signing(Release) after unchecking. click Provision Profile and select Import Profile and choose Provisioning Profile created above in both. in Test, do same procedure.
completed
completed all settings. we are ready to develop and release. next, we will introduce how to use TestFlight and release.
Was my blog helpful? Please leave a comment at the bottom. it will be a great help to me!
App promotion
Deku.Deku created the applications with Flutter.If you have interested, please try to download them for free.