Content
Outline
in this blog, we’ll see how to upload(deploy) django project to Heroku for web service.
this blog is a series. if you want to check other blog posts of the series, see the links below.
- django installation
- Start django Project
- Use Models in django
- django Administrator Page
- django Routing
- django ORM
- django View
- django Form
- Upload django project to Heroku
also, this blog series source code is opened on Github. you can see full source code via the link below.
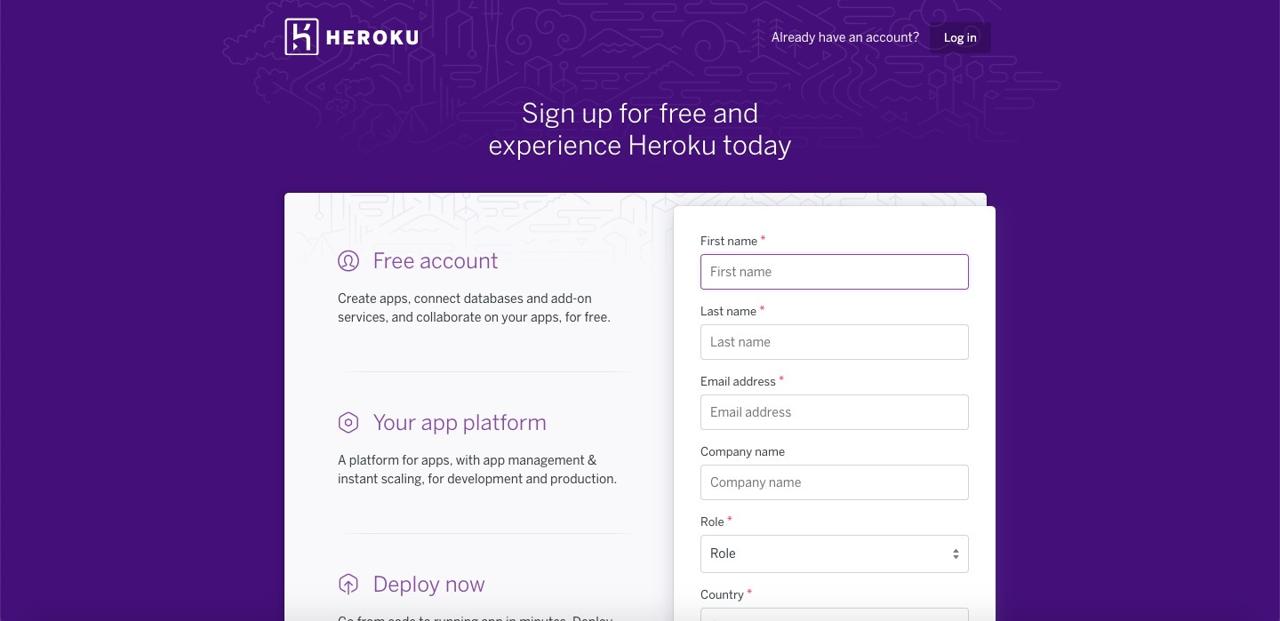
Sign Up Heroku
we need to sign up Heroku to use heroku service. signup and signin Heroku to click the link below.
- Heroku: https://heroku.com/
I won’t mention how to sign up and sign in Heroku service because it is a normal process to use the service.
Create Heroku App
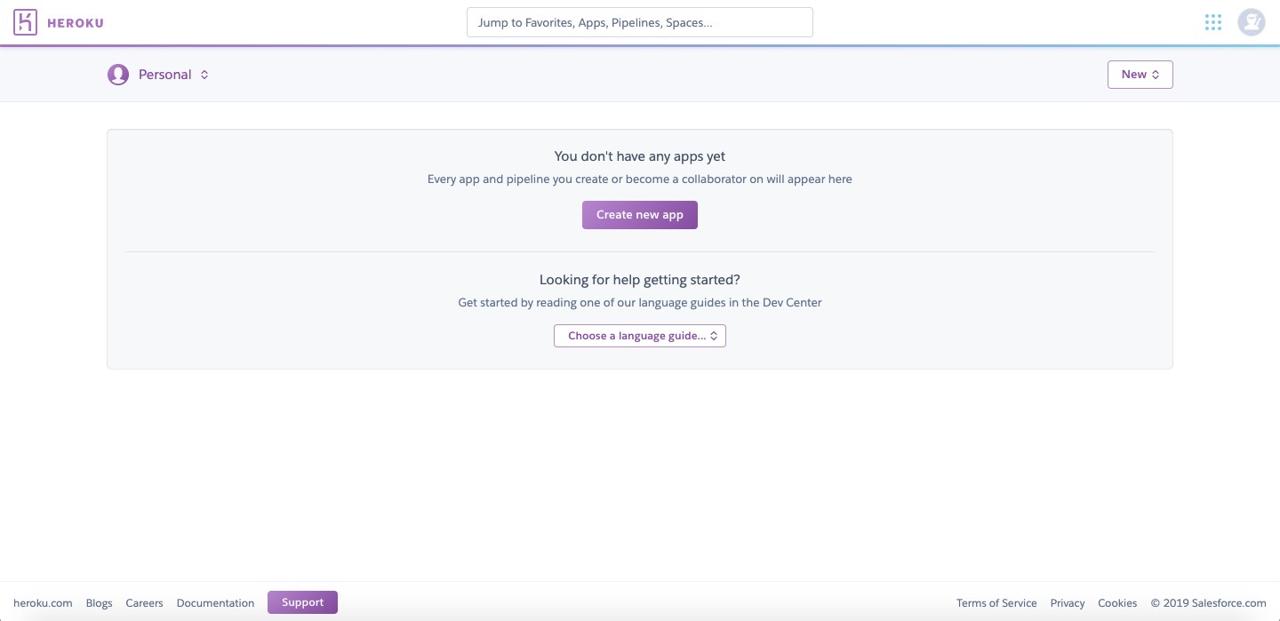
we need to create Heroku App for Heroku web service.
after signing-up and signing-in, you can see the (Dashboard) screen like below. click Create new app to create new app.
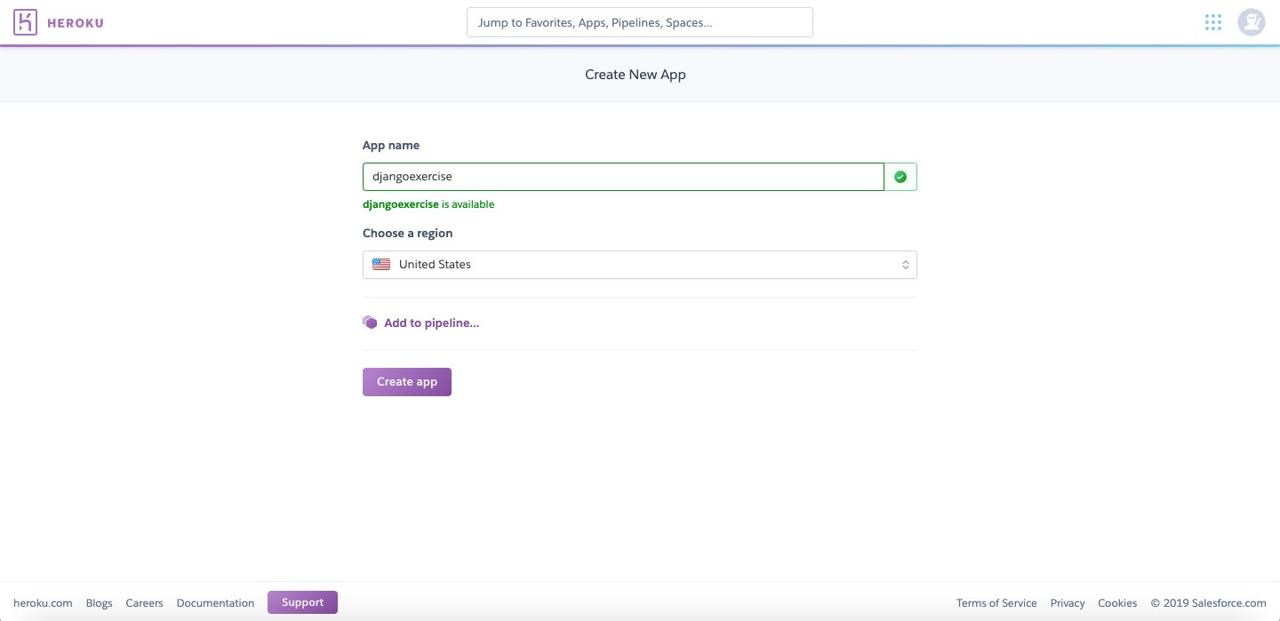
insert an app information to create Heroku app. it’s free so we can make United State and Europe region only. if you’ve done, click Create app button.
Install Heroku CLI
we’ll use Heroku CLI(Command Line Interface) to upload(Deploy) our django project to Heroku. click the link below to download Heroku CLI for each OS. in this blog, I will use macOS.
- download Heroku CLI: https://devcenter.heroku.com/articles/heroku-cli
on macOS, execute the command below to install Heroku CLI.
brew tap heroku/brew && brew install herokuLogin Heroku
for deploying a web service to Heroku, we need to login to Heroku via Heroku CLI. execute the command below to login Heroku service.
heroku loginafter executing the Heroku command above, you can see the login screen on the browser. click Log in button.
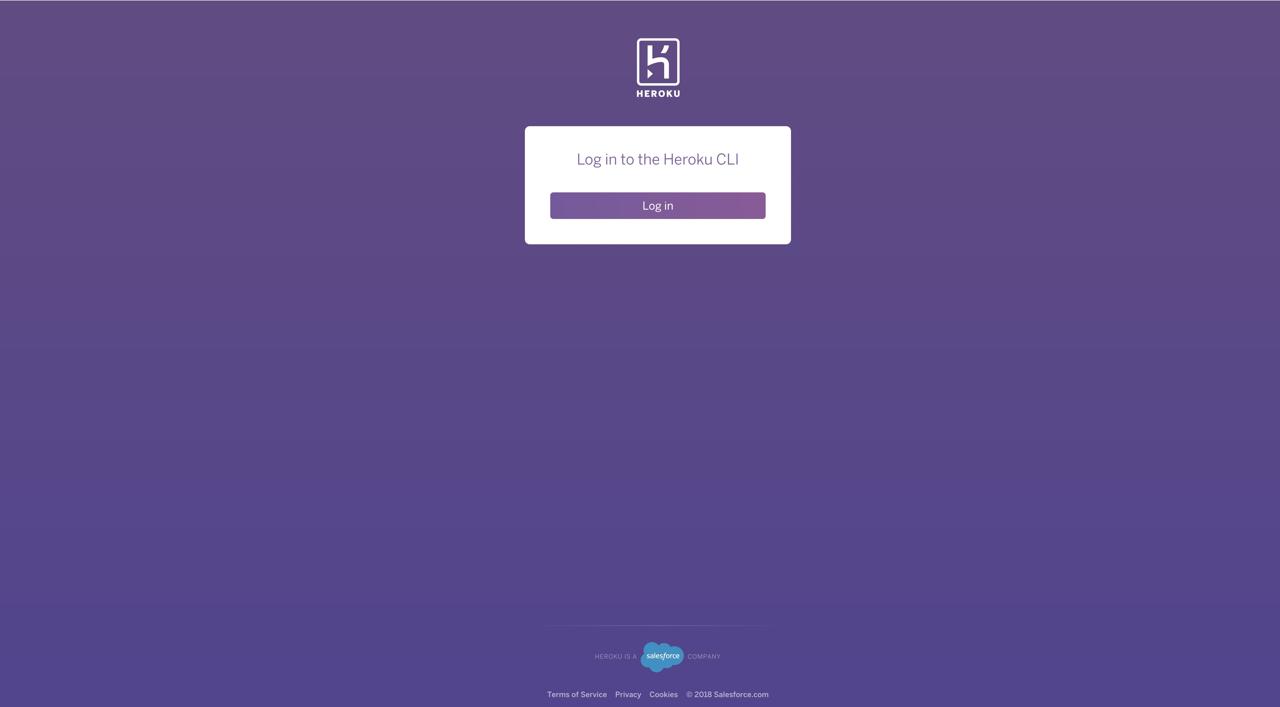
after login, you can see the login success screen like below,
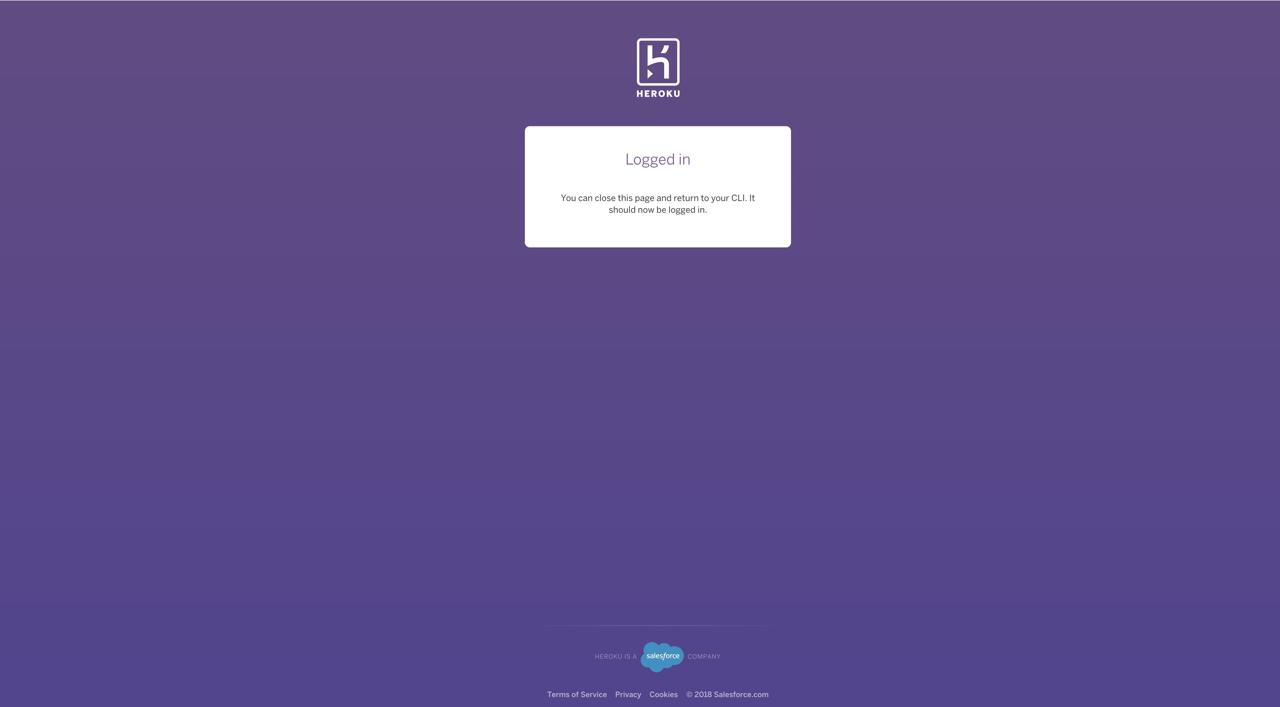
or also you can see the success message on the terminal that you executed the heroku command
heroku: Press any key to open up the browser to login or q to exit:
Opening browser to https://cli-auth.heroku.com/auth/browser/f844937e-aaaf-4620-998f-1f938ed3dea7
Logging in... done
Logged in as [email protected]
Modify django Project
we’re ready to deploy to Heroku service. however, we need to modify our django project to work on Heroku service. create Procfile to the folder that has manage.py file and modify it like below.
web: gunicorn django_exercise.wsgi --log-file -in above, you should modify django_exercise.wsgi to your project name([project name].wsgi). we notice gunicorn that is python HTTP server(Python WSGI HTTP Server) on Heroku service to Heroku.
execute the command below to install modules to use django on Heroku service.
# source venv/bin/activate
pip install gunicorn whitenoise django-heroku- gunicorn: this is python HTTP server(
Python WSGI HTTP Server). - whitenoise: this module is for django uses static files on Heroku.
- django-heroku: this module helps django settings simply for Heroku.
after installing, execute the command below to update requirements.txt.
pip freeze > requirements.txtafter updating, open and modify django_exercise/settings.py like below.
...
import django_heroku
...

DEBUG = False

ALLOWED_HOSTS = ['127.0.0.1', '.herokuapp.com']
...
MIDDLEWARE = [
    'whitenoise.middleware.WhiteNoiseMiddleware',
    ...
]
...
# Activate Django-Heroku.
django_heroku.settings(locals())
and, store everything to our git.
git add .
git commit -m 'prepare to deploy'
git push origin master
Deploy(Upload)
we’ve done. let’s deploy django project on Heroku. execute the command below to add Heroku to git remote.
heroku git:remote -a djangoexerciseexecute the command below to check Heroku added well.
git remote -vyou can see Heroku added in git remote like below.
heroku  https://git.heroku.com/djangoexercise.git (fetch)
heroku  https://git.heroku.com/djangoexercise.git (push)
origin  https://github.com/dev-yakuza/django_exercise.git (fetch)
origin  https://github.com/dev-yakuza/django_exercise.git (push)
execute the command below to deploy.
git push heroku masterHeroku is based on git for deployment. our django project is already deployed by the command above. now, we need to configure the database by our migration and create new administrator account for django. execute the command below to configure the database.
heroku run python manage.py migrateexecute the command below to make django administrator.
heroku run python manage.py createsuperuserCheck
let’s check our django project deployed on Heroku. execute the command below to open our site on the browser.
heroku openwe can see our django project deployed well like below.

add /admin to URL to go to the admin page.

and login with superuser we’ve created above.
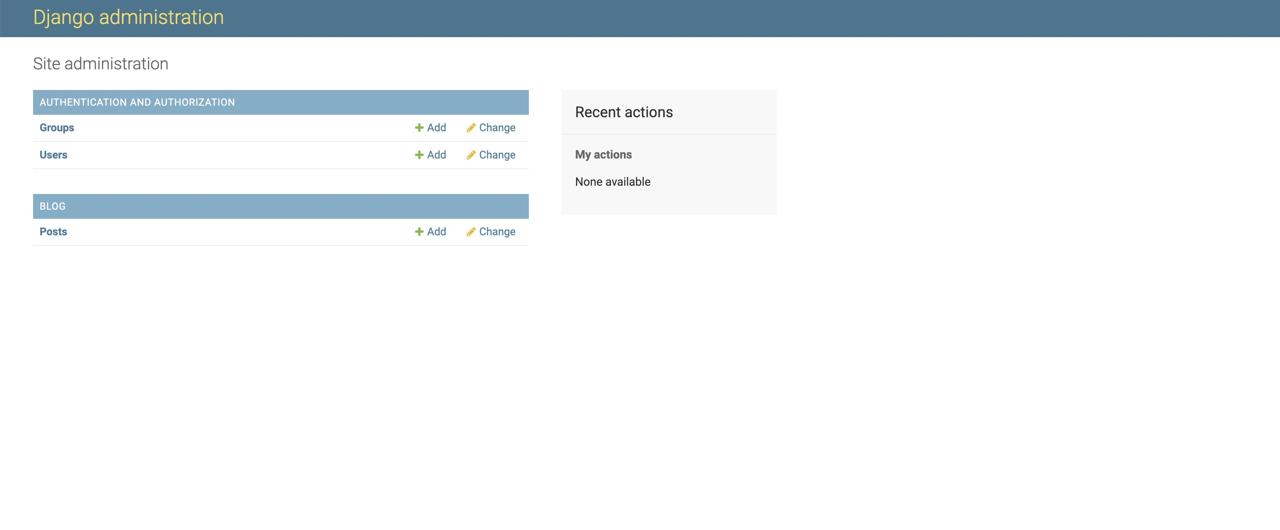
we can see Post Model we’ve made before.
Completed
Done! we’ve seen how to deploy django project to Heroku service. now, we are ready to develop the web service with django! after this blog series, I’ll write about what I use when I develop the service with django.
Was my blog helpful? Please leave a comment at the bottom. it will be a great help to me!
App promotion
Deku.Deku created the applications with Flutter.If you have interested, please try to download them for free.


