Outline
I try to use python django for server-side developing. in this blog post, I’ll introduce how to use the administrator page that django basically provides. django administrator page looks like phpmyadmin which means we can see and manage the database information on the page.
this blog is a series. if you want to check other blog posts of the series, see the links below.
- django installation
- Start django Project
- Use Models in django
- django Administrator Page
- django Routing
- django ORM
- django View
- django Form
- Upload django project to Heroku
also, this blog series source code is opened on Github. you can see full source code via the link below.
Configure Language
if you want to change the default language of the administrator page that django basically provides, open django_exercise/settings.py file and modify it like below.
...
# LANGUAGE_CODE = 'en-us'
LANGUAGE_CODE = 'fr'
...
in here, I’ll use the default ENglish setting.
Create Superuser
we need to create a superuser for using the django administrator page. execute the django command below to create a superuser.
# source venv/bin/activate
# pip install -r requirements.txt
# cd django_exercise
# python manage.py migrate
python manage.py createsuperuser
after executing, you can see the superuser registration procedure.
venv > ~/django_exercise/django_exercise > python manage.py createsuperuser
Username (leave blank to use '...'): dev-yakuza
Email address: [email protected]
Password:
Password (again):
Superuser created successfully.
insert the information what you want to create for the superuser.
Connect Administrator Page
use the URL below to go to the django administrator page.
# python manage.py runserver
http://127.0.0.1:8000/admin
if you’ve done well, you can see the page like below.

and then, insert the user information created above, and login. you can see the screen like below after sign-in

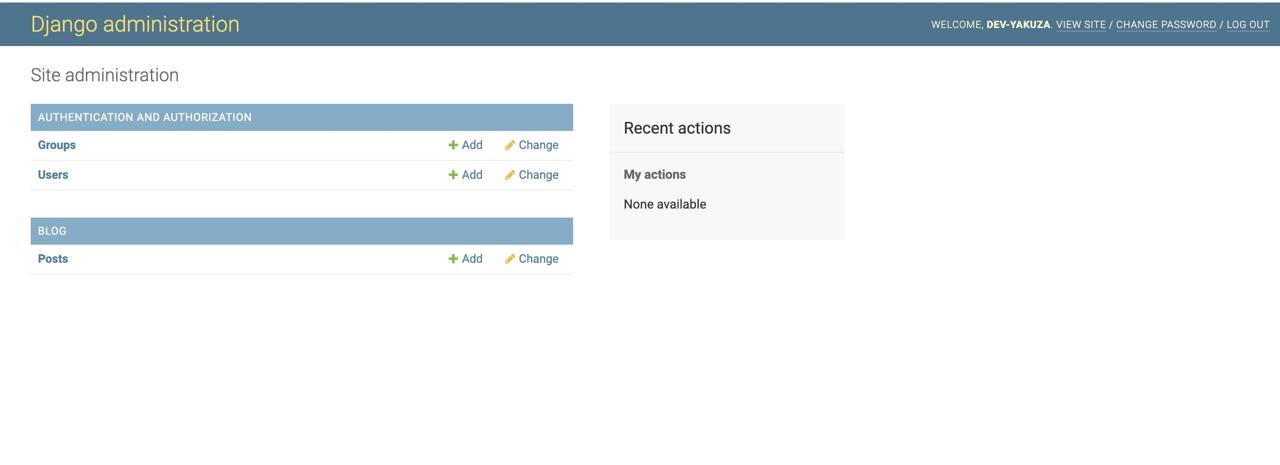
Register Models To Administrator Page
we need to register our Models to manage it on the django administrator page. open blog/admin.py file and modify it like below to register our Post Models. if you want to know how to make django Models, see the previous blog post.(Use Models in django)
from django.contrib import admin
from .models import Post

admin.site.register(Post)
and then, refresh the administrator page. you can see the Models we created in there like below.

Write Blog Post via Administrator Page
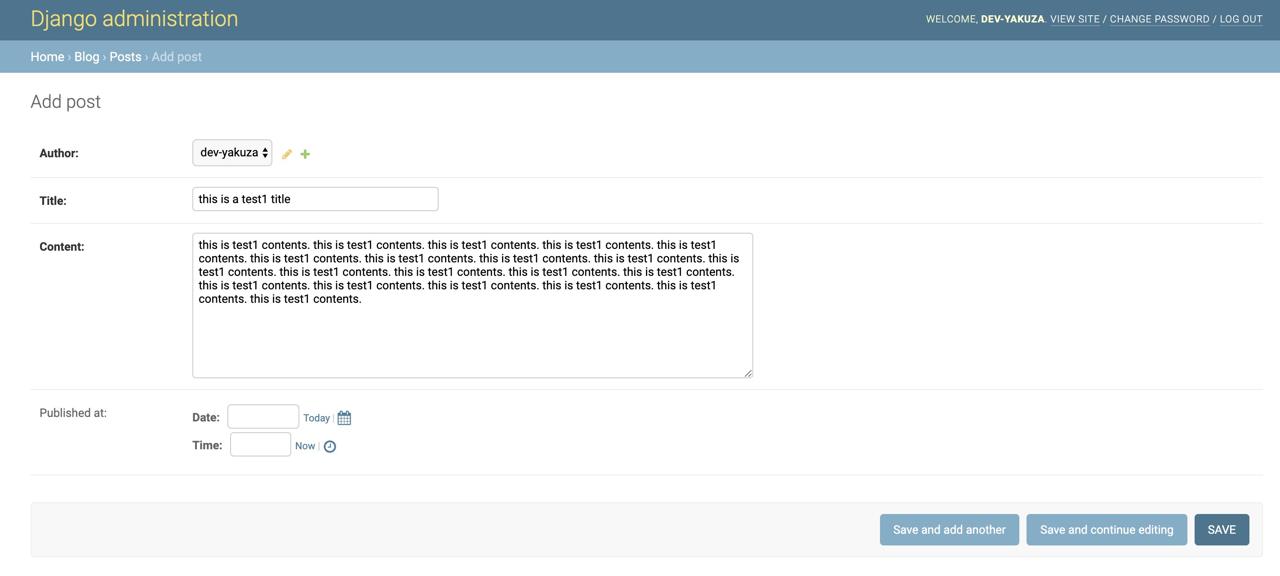
let’s try to write a blog post via the django administrator page. click Add button on the left of Posts in the bottom of BLOG like below

write a test data like below.

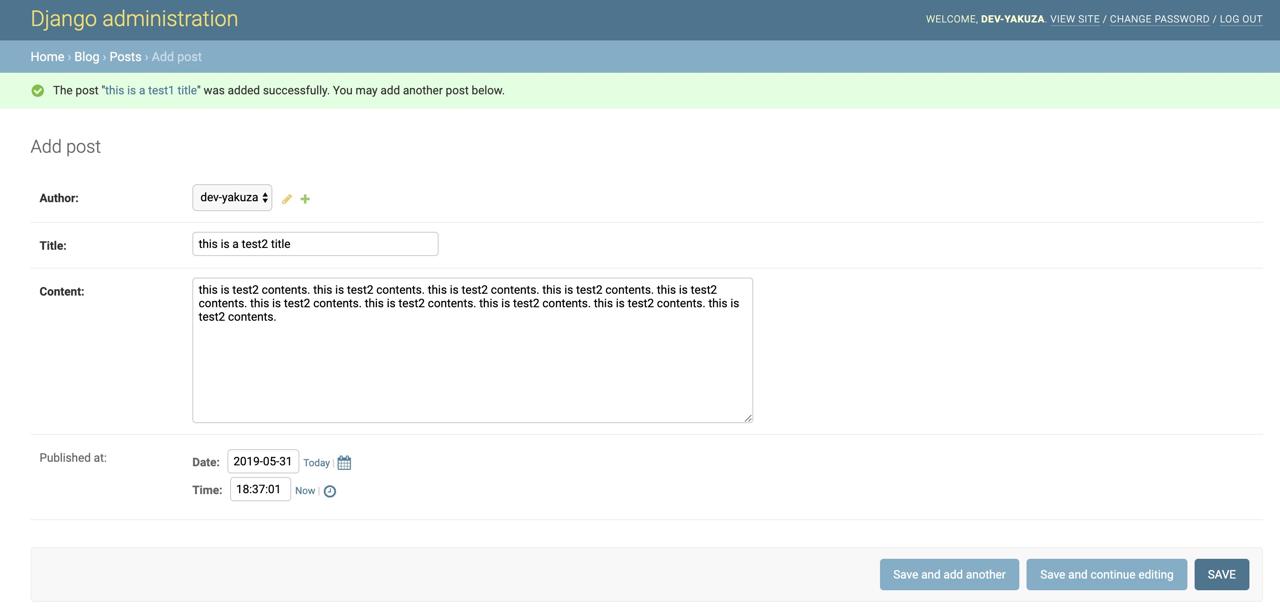
and then, click Save and add another to add an additional data for testing. at this time, insert published_at data, too.

at this time, click Save button to go to the data list screen.

you can see the data stored well like above.
Check
one more time, we’ll use a database tool for checking the data is really stored well.

we can see the data that we created via django administrator stored well.
Completed
we’ve seen how to use django administrator page, and also we’ve seen how to display the models we’ve created before. now, we can manage the data without database tools.
Was my blog helpful? Please leave a comment at the bottom. it will be a great help to me!
App promotion
Deku.Deku created the applications with Flutter.If you have interested, please try to download them for free.


