Contents
Outline
In this blog post, I will show you how to use Next.js which is a React framework. Also, I will introduce the folder structure and roles of them.
- Next.js: https://nextjs.org/
If you want to know how to use Webpack for starting the React project, or how to use create-react-app to create a React project, see the links below.
And, you can see full source code of this blog post on the link below.
Blog list
This blog post is a series. If you want to check other blog posts of the series, see the links below.
- [Next.js] Getting Started
- [Next.js] TypeScript
- [Next.js] Prettier
- [Next.js] Absolute path
- [Next.js] Test
- [Next.js] Storybook
- [Next.js] Change Storybook background color
- [Next.js] Localization
- [Next.js] MUI
Install Node
To develop the Next.js project with create-next-app, you need to install Node. Install Node for your system by following.
macOS
Homebrew is a package manager for macOS to install and manage packages. You can simple install packages with Homebrew. Execute the command below to install Homebrew.
/usr/bin/ruby -e "$(curl -fsSL https://raw.githubusercontent.com/Homebrew/install/master/install)"After installing, execute the following command to check Homebrew installed well.
brew --versionIf the version is now shown up, exit Terminal and restart it. If you already installed Homebrew, you can skip this step. Next, execute the command below to install Node.
brew install nodeWindows
In Windows, Chocolatey is a package manager. Open the CMD or Powershell with Administrator privileges. Execute the command below to install Chocolatey.
Set-ExecutionPolicy Bypass -Scope Process -Force; [System.Net.ServicePointManager]::SecurityProtocol = [System.Net.ServicePointManager]::SecurityProtocol -bor 3072; iex ((New-Object System.Net.WebClient).DownloadString('https://chocolatey.org/install.ps1'))After installing, execute the following command to check Chocolatey installed well.
choco –versionIf the version of Chocolatey is not shown up, exit CMD or Powershell and restart it. After installing Chocolatey, execute the command below to install Node.
choco install -y nodejs.installInstall create-next-app
To use Next.js that is a React framework, you need to install create-next-app. Execute the following command to install create-next-app.
npm install -g create-next-appAfter installing, execute the command below to check create-next-app installed well.
create-next-app --versionIf create-next-app is installed well, you can see the version like the below.
12.0.10Create Next.js project
Next, let’s create a Next.js project by create-next-app.
npx create-next-app my-appWhen you execute the command above, you can see the Next.js project is created with the folder structure like the below.
|-- pages
|-- public
|-- styles
|-- .eslintrc.json
|-- next.config.js
|-- package.json
Let’s see the roles of the folders created by create-next-app.
- public: Static files(images, etc) of the Next.js project are stored in.
- pages: The Next.js project screens(pages) are stored.
- pages/index.js: The file is for the index page(
/). - pages/_app.js: All pages will use this component. When you configure the layout of the page, you will use this file.
- styles: This folder is for the style file(css).
- styles/globals.css: This file is for all pages style.
- styles/Home.module.css: This file is used in the index.js file.
- .eslintrc.json: The configuration file for the
ESLint(Static analysis tool) - next.config.js: The configuration file for the Next.js project.
- package.json: The management file for the library.
Start project
When you open the package.json file created by create-next-app, you can see the following scripts.
"scripts": {
  "dev": "next dev",
  "build": "next build",
  "start": "next start",
  "lint": "next lint"
},
The following details are for the scripts.
- dev: start the Next.js project with the development mode.
- build: build the Next.js project with the production mode.
- start: start the Next.js project with the production mode.
- lint: Execute the ESLint configured by Next.js default.
If you want to start the new Next.js project, execute the command below.
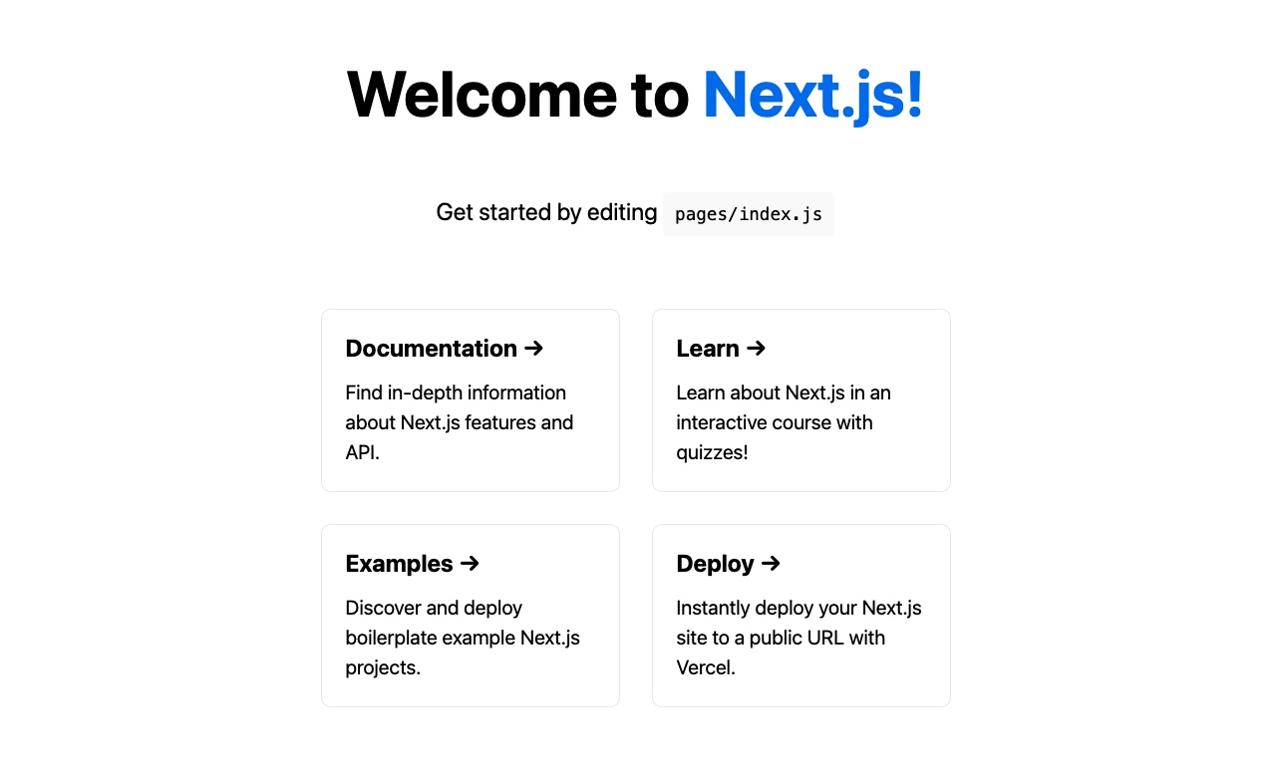
npm run devIf there is no issues, http://localhost:3000 is opened on the browser automatically, and you can see the screen like the below.

Completed
Done! we’ve seen how to create and execute the Next.js project created by create-next-app. Please try to use create-next-app to start the React project.
Was my blog helpful? Please leave a comment at the bottom. it will be a great help to me!
App promotion
Deku.Deku created the applications with Flutter.If you have interested, please try to download them for free.


