Contents
Outline
In this blog post, I will introduce how to support the localization on the Next.js project based on TypeScript using next-translate.
You can see the full source code of this blog post on the following link.
Blog list
This blog post is a series. If you want to check other blog posts of the series, see the links below.
- [Next.js] Getting Started
- [Next.js] TypeScript
- [Next.js] Prettier
- [Next.js] Absolute path
- [Next.js] Test
- [Next.js] Storybook
- [Next.js] Change Storybook background color
- [Next.js] Localization
- [Next.js] MUI
Create Next.js project with TypeScript
To see how to use next-translate on the Next.js project based on TypeScript, execute the following command to create a Next.js project based on TypeScript.
npx create-next-app --typescript my-appInstall next-translate
To provide the localization by next-translate on the Next.js project, we need to install next-translate. Execute the following command to install next-translate.
npm install --save next-translateConfigure next-translate
To use next-translate, we need to configure it. First, open the ./next.config.js file and modify it like the below.
const nextTranslate = require('next-translate');

module.exports = nextTranslate();
And then, create the ./i18n.json file and modify it like the below.
{
  "locales": ["ja", "en", "ko"],
  "defaultLocale": "en",
  "localeDetection": false,
  "pages": {
    "*": ["common"]
  }
}
In this blog post, I will provide ja(Japanese), en(English) and ko(Korean) as the supported languages. And, the default language is en.
{
  "locales": ["ja", "en", "ko"],
  "defaultLocale": "en",
  ...
}
To prevent Next.js detect the browser language to decide the language, I set false to localeDetection.
{
  ...
  "localeDetection": false,
  ...
}
We can make a language set for all pages and for specific pages separately with next-translate.
{
  ...
  "pages": {
    "*": ["common"]
  }
}
In this blog post, I will make a language set named common for all pages(*).
Language files
Next, let’s create language files for the localization. Create ./locales/en/common.json file and modify it like the below.
{
  "Japanese": "Japanese",
  "English": "English",
  "Korean": "Korean"
}
And, create the ./locales/ja/common.json file and modify it like the below.
{
  "Japanese": "日本語",
  "English": "英語",
  "Korean": "韓国語"
}
Lastly, create the ./locales/ko/common.json file and modify it like the below.
{
  "Japanese": "일본어",
  "English": "영어",
  "Korean": "한국어"
}
Support localization in Next.js
Let’s see how to use next-translate on the Next.js project to support the localization. Open the ./pages/index.tsx file and modify it like the below.
...
import useTranslation from 'next-translate/useTranslation';

const Home: NextPage = () => {
  const { t } = useTranslation();

  return (
    <div className={styles.container}>
      ...
      <main className={styles.main}>
        ...
        <h2>{t('common:Japanese')}</h2>
        <h2>{t('common:English')}</h2>
        <h2>{t('common:Korean')}</h2>
        ...
      </main>
      ...
    </div>
  );
};
We can provide the localization by the t function in the useTranslation hook of the next-translate package.
t('common:Japanese')When you use the t function, you can specify the word(Japanese) in the specific language file(common).
Check localization
To check next-translate works well on the Next.js, execute the following command to start the Next.js project.
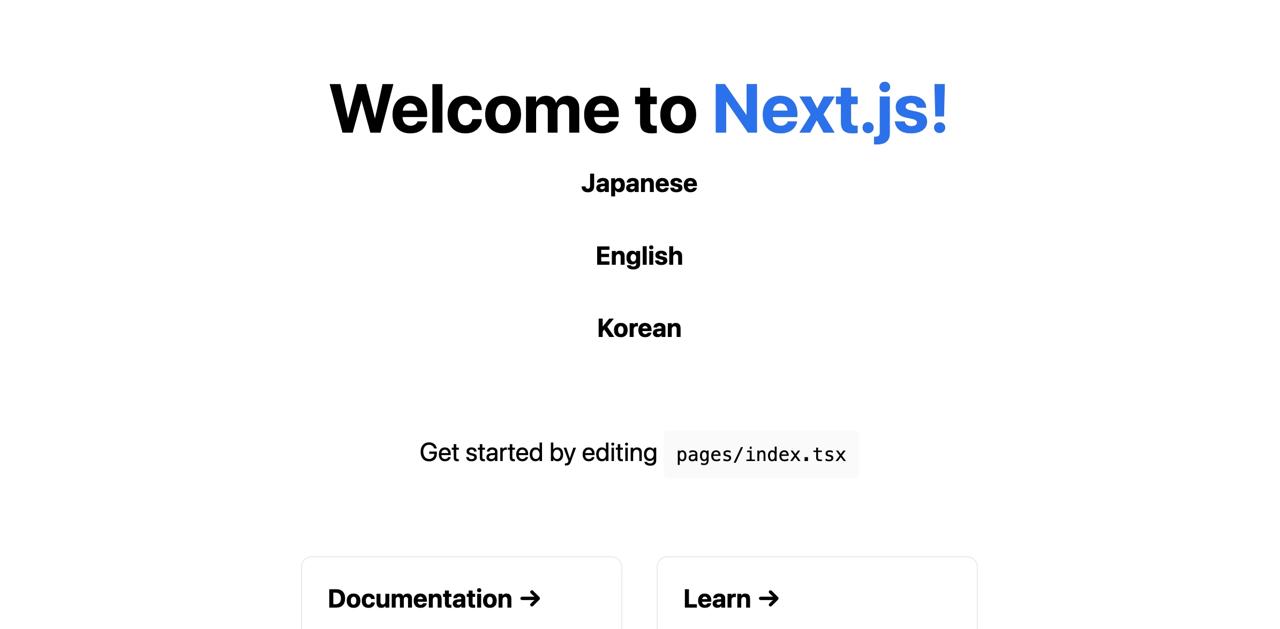
npm run devAfter starting, you can open the http://localhost:3000 URL in the browser and you can see the en language is displayed well.
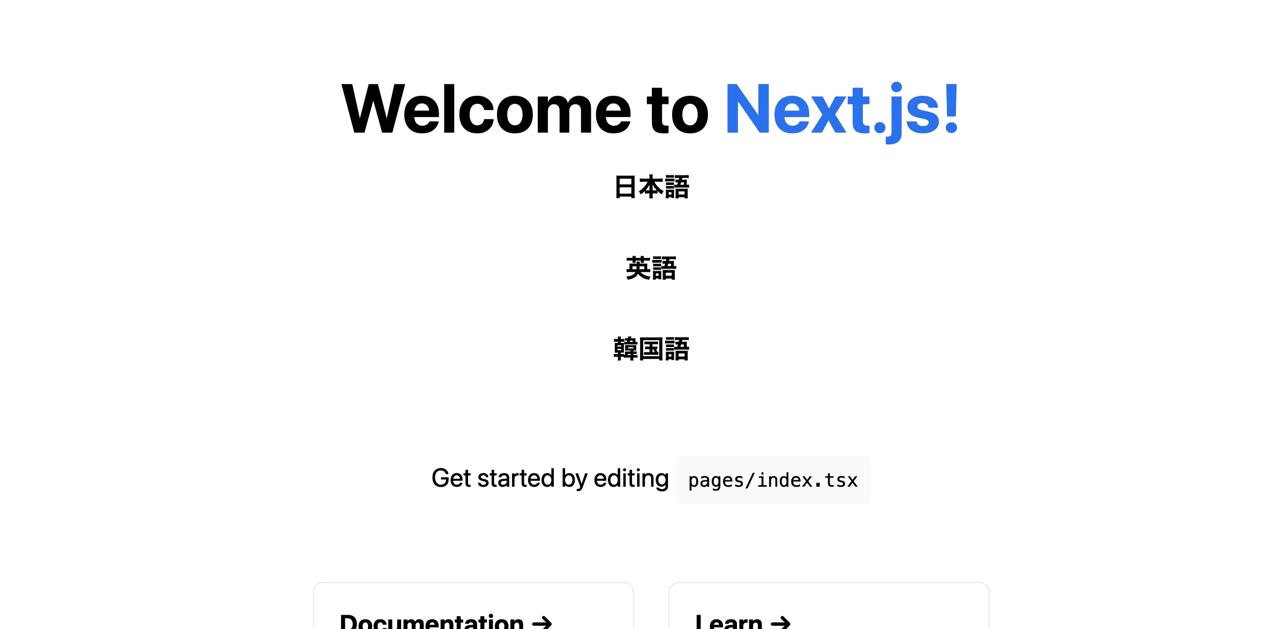
To check the other languages, when you open the http://localhost:3000/ja URL in the browser, you can see the ja language is displayed well.
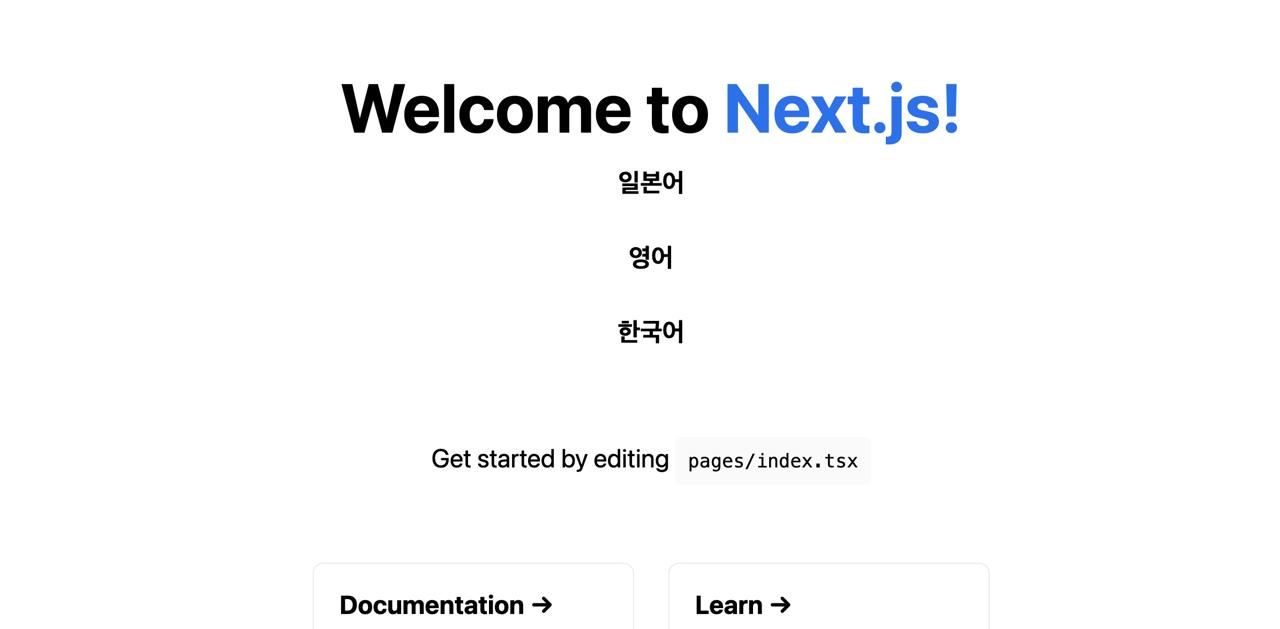
Also, when you open the http://localhost:3000/ko URL in the browser, you can see the ko language is displayed well.
Test
Let’s see how to test the Next.js project with next-translate. If you want to know how to configure the test environment, see the previous blog post.
The code on the previous blog post is like the below.
import { render, screen } from '@testing-library/react';
import Home from '../../pages/index';

describe('Home', () => {
  it('renders a heading', () => {
    const { container } = render(<Home />);

    const heading = screen.getByRole('heading', {
      name: /welcome to next\.js!/i,
    });

    expect(heading).toBeInTheDocument();

    expect(container).toMatchSnapshot();
  });
});
You can execute the code by the following command.
npm run testAfter testing, you can see the snapshot test result on the ./test/index/__snapshots__/index.test.tsx.snap file. When you open the file, you can see the language is not displayed well like the below.
<h2>
  common:Japanese
</h2>
<h2>
  common:English
</h2>
<h2>
  common:Korean
</h2>
To change the language to the specific language, you need to use I18nProvider and the specific language file.
...
import commonEN from '../../locales/en/common.json';
import I18nProvider from 'next-translate/I18nProvider';

describe('Home', () => {
  it('renders a heading', () => {
    const { container } = render(
      <I18nProvider lang="en" namespaces={{ common: commonEN }}>
        <Home />
      </I18nProvider>
    );
    ...
  });
});
After updating the snapshot test and opening the snapshot result file(./test/index/__snapshots__/index.test.tsx.snap) again, you can see the language is displayed well like the below.
<h2>
  Japanese
</h2>
<h2>
  English
</h2>
<h2>
  Korean
</h2>
Completed
Done! we’ve seen how to use next-translate for the localization in the Next.js project based on the TypeScript. Also, we’ve seen how to make a test code for next-translate in the Next.js project by Jest.
Was my blog helpful? Please leave a comment at the bottom. it will be a great help to me!
App promotion
Deku.Deku created the applications with Flutter.If you have interested, please try to download them for free.