Content
Outline
In this blog post, we’ll see how to show a map on React Native. For displaying a map on React Native, React Native community’s react-native-maps library is used normally.
In here, we’ll see how to get user location and show user location on the map with react-native-map library.
You can see the full source code about this blog post on Github.
- github: react-native-map-example
The example source code is based on the list below. If you want to know details, see the links below.
How to install react-native-maps
execute the command below to install react-native-maps.
npm install --save react-native-maps
How to link the library
We need to link the library to React Native project.
Version >= 0.60
execute the commands below to link react-native-maps to React Native project.
cd ios
pod install
cd ..
Version <= 0.59
execute the commands below to link react-native-maps to React Native project.
react-native link react-native-maps
If you need to link manually, see the links below.
How to use Google map on iOS
Over than 0.60 version, for using Google map, open ios/[project name]/AppDelegate.m file and modify it like below.
#import <GoogleMaps/GoogleMaps.h>

@implementation AppDelegate
...

- (BOOL)application:(UIApplication *)application didFinishLaunchingWithOptions:(NSDictionary *)launchOptions
{
+  [GMSServices provideAPIKey:@"_YOUR_API_KEY_"]; // add this line using the api key obtained from Google Console
...
And the, open ios/Podfile file and modify it like below.
...
pod 'Folly', :podspec => '../node_modules/react-native/third-party-podspecs/Folly.podspec'

# react-native-maps dependencies
pod 'react-native-maps', path: '../node_modules/react-native-maps'
  pod 'react-native-google-maps', path: '../node_modules/react-native-maps'  # Remove this line if you don't want to support GoogleMaps on iOS
pod 'GoogleMaps'  # Remove this line if you don't want to support GoogleMaps on iOS
pod 'Google-Maps-iOS-Utils' # Remove this line if you don't want to support GoogleMaps on iOS

target 'ReactNativeMapExampleTests' do
...
Lastly, execute the commands below to install required libraries on iOS.
cd ios
pod install
cd ..
Under than 0.59 version, see the official site links below.
How to use
Modify the source code in which you want to display a map by react-native-maps like below.
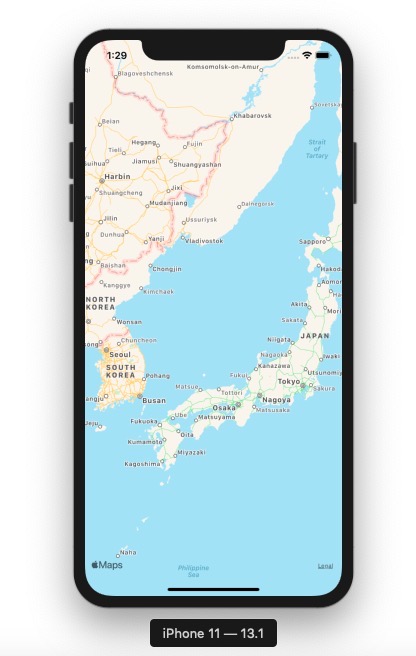
Apple map
Modify like below to show Apple map.
import React from 'react';
import Styled from 'styled-components/native';
import MapView from 'react-native-maps';

const Container = Styled.View`
    flex: 1;
`;

const AppleMap = () => {
  return (
    <Container>
      <MapView style={{flex: 1}} />
    </Container>
  );
};

export default AppleMap;
Execute the command below to start React Native project,
npm run ios
# android
# npm run android
You can see the result screen like below.

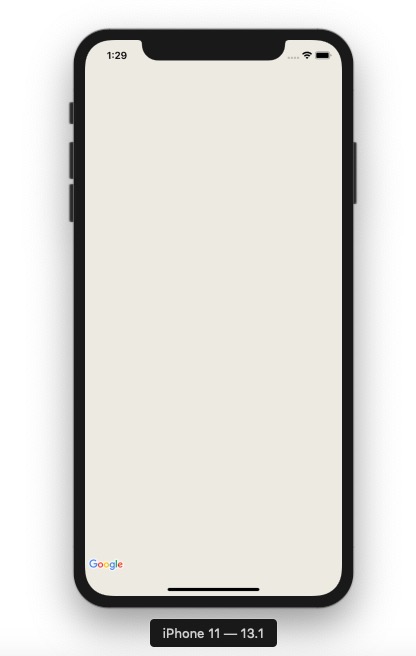
Google map
Modify like below to use Google map.
import React from 'react';
import Styled from 'styled-components/native';
import MapView, {PROVIDER_GOOGLE} from 'react-native-maps';

const Container = Styled.View`
    flex: 1;
`;

const GoogleMap = () => {
  return (
    <Container>
      <MapView style={{flex: 1}} provider={PROVIDER_GOOGLE} />
    </Container>
  );
};

export default GoogleMap;
Execute the command below to start React Native project,
npm run ios
# android
# npm run android
You can see the result screen like below.

(In here, Google map is not shown up, because I use example provideAPIKey. If you use your own provideAPIKey, you can see Google map is displayed)
Configure map initial location
Modify like below, you can set initial location of the map.
import React from 'react';
import Styled from 'styled-components/native';
import MapView from 'react-native-maps';

const Container = Styled.View`
    flex: 1;
`;

const InitialLocation = () => {
  return (
    <Container>
      <MapView
        style={{flex: 1}}
        initialRegion={{
          latitude: 37.78825,
          longitude: -122.4324,
          latitudeDelta: 0.0922,
          longitudeDelta: 0.0421,
        }}
      />
    </Container>
  );
};

export default InitialLocation;
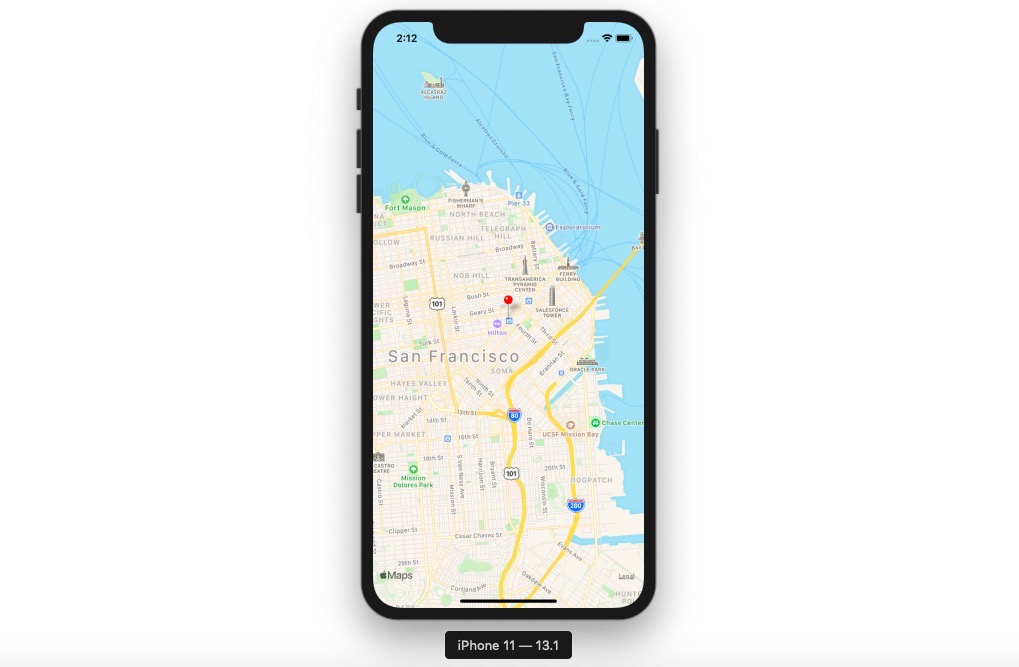
Display a marker on the map
Modify like below, you can display a marker on the map.
import React from 'react';
import Styled from 'styled-components/native';
import MapView, {Marker} from 'react-native-maps';

const Container = Styled.View`
    flex: 1;
`;

const MarkerOnMap = () => {
  return (
    <Container>
      <MapView
        style={{flex: 1}}
        initialRegion={{
          latitude: 37.78825,
          longitude: -122.4324,
          latitudeDelta: 0.0922,
          longitudeDelta: 0.0421,
        }}>
        <Marker
          coordinate={{latitude: 37.78825, longitude: -122.4324}}
          title="this is a marker"
          description="this is a marker example"
        />
      </MapView>
    </Container>
  );
};

export default MarkerOnMap;
Tracking the map with a marker
You can track the map location changed with onRegionChange and onRegionChangeComplete of MapView.
<MapView
  onRegionChange={region => {
    setLocation({
      latitude: region.latitude,
      longitude: region.longitude,
    });
  }}
  onRegionChangeComplete={region => {
    setLocation({
      latitude: region.latitude,
      longitude: region.longitude,
    });
  }}
>
the source code below is about how to track the map that the user moves from the initial location, and display the marker on the center of the map.
import React, {useState} from 'react';
import Styled from 'styled-components/native';
import MapView, {Marker} from 'react-native-maps';

const Container = Styled.View`
    flex: 1;
`;

interface IGeolocation {
  latitude: number;
  longitude: number;
}

const TrackingMapWithMarker = () => {
  const [location, setLocation] = useState<IGeolocation>({
    latitude: 37.78825,
    longitude: -122.4324,
  });
  return (
    <Container>
      <MapView
        style={{flex: 1}}
        initialRegion={{
          latitude: location.latitude,
          longitude: location.longitude,
          latitudeDelta: 0.0922,
          longitudeDelta: 0.0421,
        }}
        onRegionChange={region => {
          setLocation({
            latitude: region.latitude,
            longitude: region.longitude,
          });
        }}
        onRegionChangeComplete={region => {
          setLocation({
            latitude: region.latitude,
            longitude: region.longitude,
          });
        }}>
        <Marker
          coordinate={{
            latitude: location.latitude,
            longitude: location.longitude,
          }}
          title="this is a marker"
          description="this is a marker example"
        />
      </MapView>
    </Container>
  );
};

export default TrackingMapWithMarker;
Display user location
To display user location, we need to get current user location. If you want to know how to get current user location, see the link below.
To display user data, modify like below.
import React, {useState, useEffect} from 'react';
import Styled from 'styled-components/native';
import MapView, {Marker} from 'react-native-maps';
import Geolocation from 'react-native-geolocation-service';

const Container = Styled.View`
    flex: 1;
`;

interface ILocation {
  latitude: number;
  longitude: number;
}

const UserLocation = () => {
  const [location, setLocation] = useState<ILocation | undefined>(undefined);

  useEffect(() => {
    Geolocation.getCurrentPosition(
      position => {
        const {latitude, longitude} = position.coords;
        setLocation({
          latitude,
          longitude,
        });
      },
      error => {
        console.log(error.code, error.message);
      },
      {enableHighAccuracy: true, timeout: 15000, maximumAge: 10000},
    );
  }, []);
  return (
    <Container>
      {location && (
        <MapView
          style={{flex: 1}}
          initialRegion={{
            latitude: location.latitude,
            longitude: location.longitude,
            latitudeDelta: 0.0922,
            longitudeDelta: 0.0421,
          }}>
          <Marker
            coordinate={{
              latitude: location.latitude,
              longitude: location.longitude,
            }}
          />
        </MapView>
      )}
    </Container>
  );
};

export default UserLocation;
The result is like below.

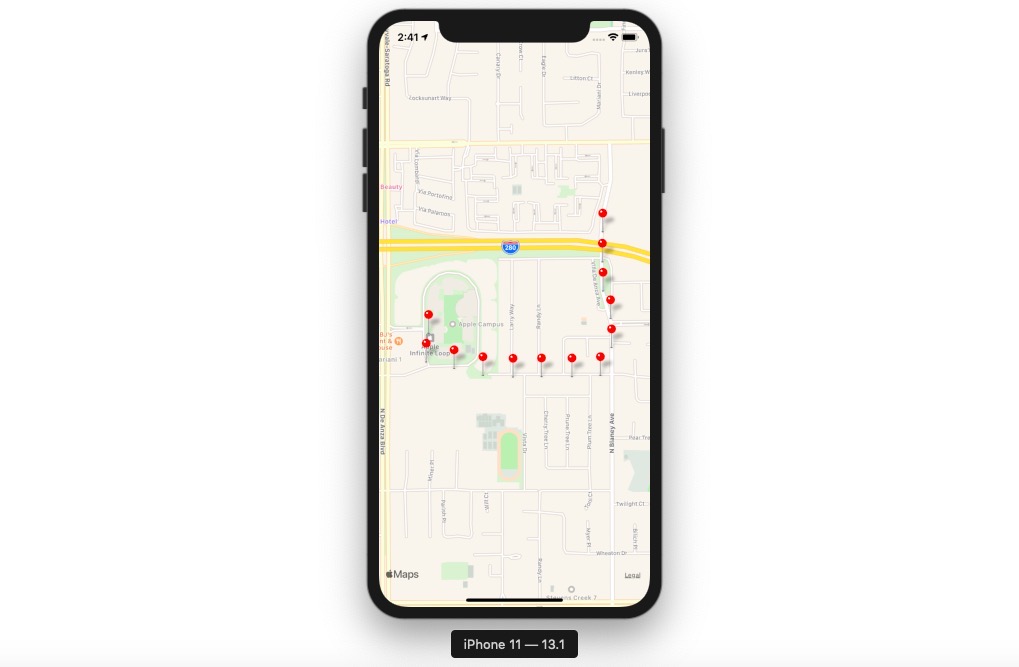
Track and display user location
If you use react-native-geolocation-service library to use get user location, you can track user location. If you want to know how to use react-native-geolocation-service library, see the link below.
To track user location and display markers on the map, modify like below.
import React, {useState, useEffect} from 'react';
import Styled from 'styled-components/native';
import MapView, {Marker} from 'react-native-maps';
import Geolocation from 'react-native-geolocation-service';

const Container = Styled.View`
    flex: 1;
`;

interface ILocation {
  latitude: number;
  longitude: number;
}

const TrackUserLocation = () => {
  const [locations, setLocations] = useState<Array<ILocation>>([]);
  let _watchId: number;

  useEffect(() => {
    _watchId = Geolocation.watchPosition(
      position => {
        const {latitude, longitude} = position.coords;
        setLocations([...locations, {latitude, longitude}]);
      },
      error => {
        console.log(error);
      },
      {
        enableHighAccuracy: true,
        distanceFilter: 100,
        interval: 5000,
        fastestInterval: 2000,
      },
    );
  }, [locations]);

  useEffect(() => {
    return () => {
      if (_watchId !== null) {
        Geolocation.clearWatch(_watchId);
      }
    };
  }, []);

  return (
    <Container>
      {locations.length > 0 && (
        <MapView
          style={{flex: 1}}
          initialRegion={{
            latitude: locations[0].latitude,
            longitude: locations[0].longitude,
            latitudeDelta: 0.0922,
            longitudeDelta: 0.0421,
          }}>
          {locations.map((location: ILocation, index: number) => (
            <Marker
              key={`location-${index}`}
              coordinate={{
                latitude: location.latitude,
                longitude: location.longitude,
              }}
            />
          ))}
        </MapView>
      )}
    </Container>
  );
};

export default TrackUserLocation;
The result screen is like below.

Other features
In additional to set initial location and display markers, there are many features. If you want to know details, see the links below.
- Rendering a Marker with a custom view
- Rendering a Marker with a custom image
- Rendering a custom Marker with a custom Callout
- Draggable Markers
- Using a custom Tile Overlay
- Overlaying other components on the map
- Customizing the map style
- Animated Region
- Animated Marker Position
- Take Snapshot of map
- Zoom to Specified Markers
Completed
We’ve seen how to display a map on React Native. If you use this library, you can display Polygon and Polyline, in additional to markers.
If you prepare the service which has a map, I recommend using this library!
Was my blog helpful? Please leave a comment at the bottom. it will be a great help to me!
App promotion
Deku.Deku created the applications with Flutter.If you have interested, please try to download them for free.


