Outline
In this post, we’ll go over the basics of Claude Code and how to use it. We’ll cover everything from installation to tokens, models, modes, and practical tips.
Installation
The official documentation has detailed installation instructions.
- Official docs: https://code.claude.com/docs/setup
Refer to the official docs and install according to your OS.
macOS, Linux, WSL
curl -fsSL https://claude.ai/install.sh | bashmacOS Homebrew
brew install --cask claude-codeWindows PowerShell
irm https://claude.ai/install.ps1 | iexWindows CMD
curl -fsSL https://claude.ai/install.cmd -o install.cmd && install.cmd && del install.cmdYou can also install via npm, but since you’d need to reinstall whenever the Node version changes and Claude updates become more cumbersome, native installation is recommended.
Getting Started
VSCode
If you’re using VSCode, installing the extension makes it easy to get started.
- Search for
Claude Code for VS Codeor install it from the link below.
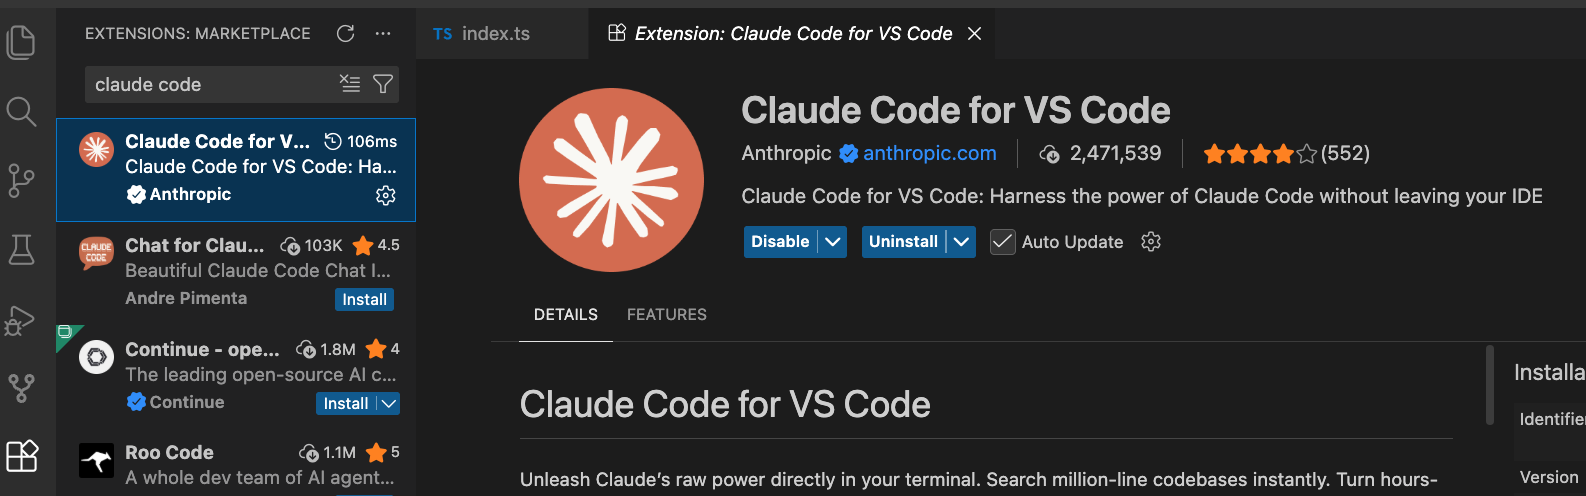
- A Claude icon will appear in the top right corner. Click it to launch Claude.
- Enter the following command to log in.
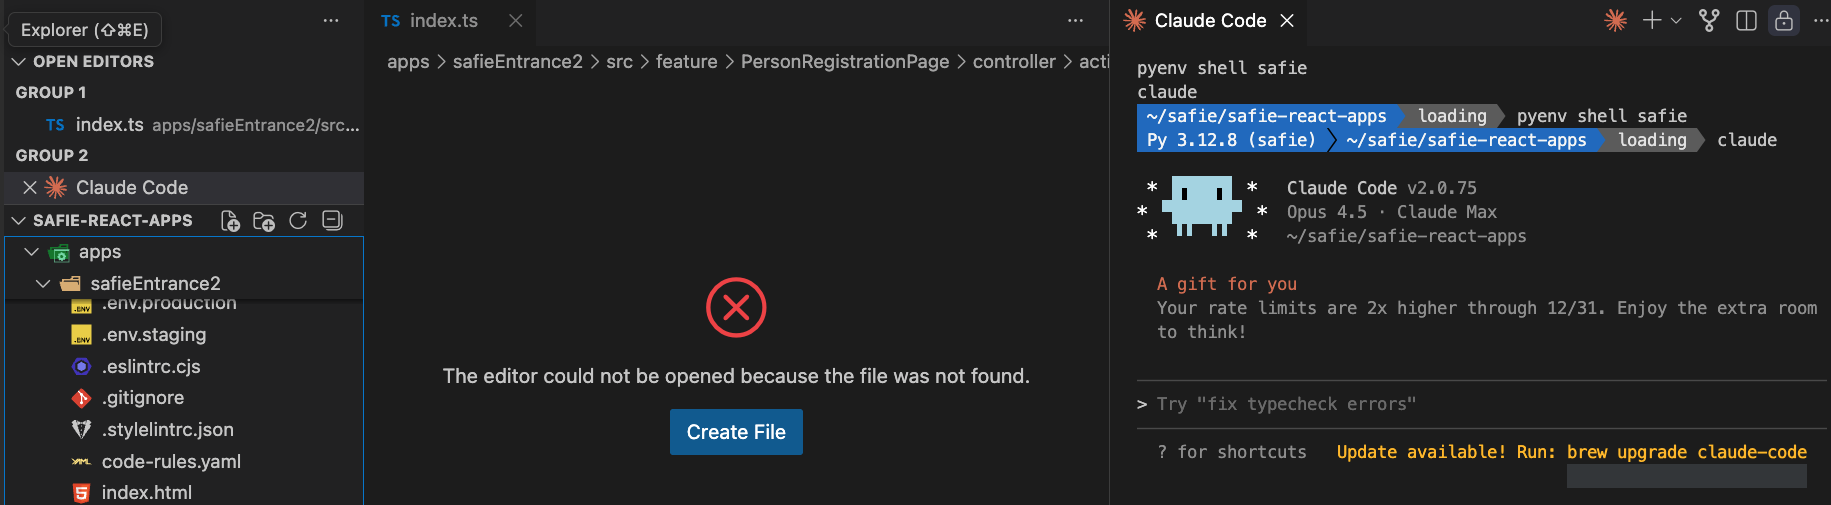
/loginPersonally, I recommend using Terminal mode even within the VSCode Extension. Terminal mode gives you access to more features.

Terminal
- Run the following command to start Claude.
claude- Enter the following command to log in.
/loginTokens
Generative AI consumes tokens for both requests and responses. Claude is no different — it consumes tokens too, and there are limits.
How to Check Token Limits
You can check your current usage and limit information on the Claude website.
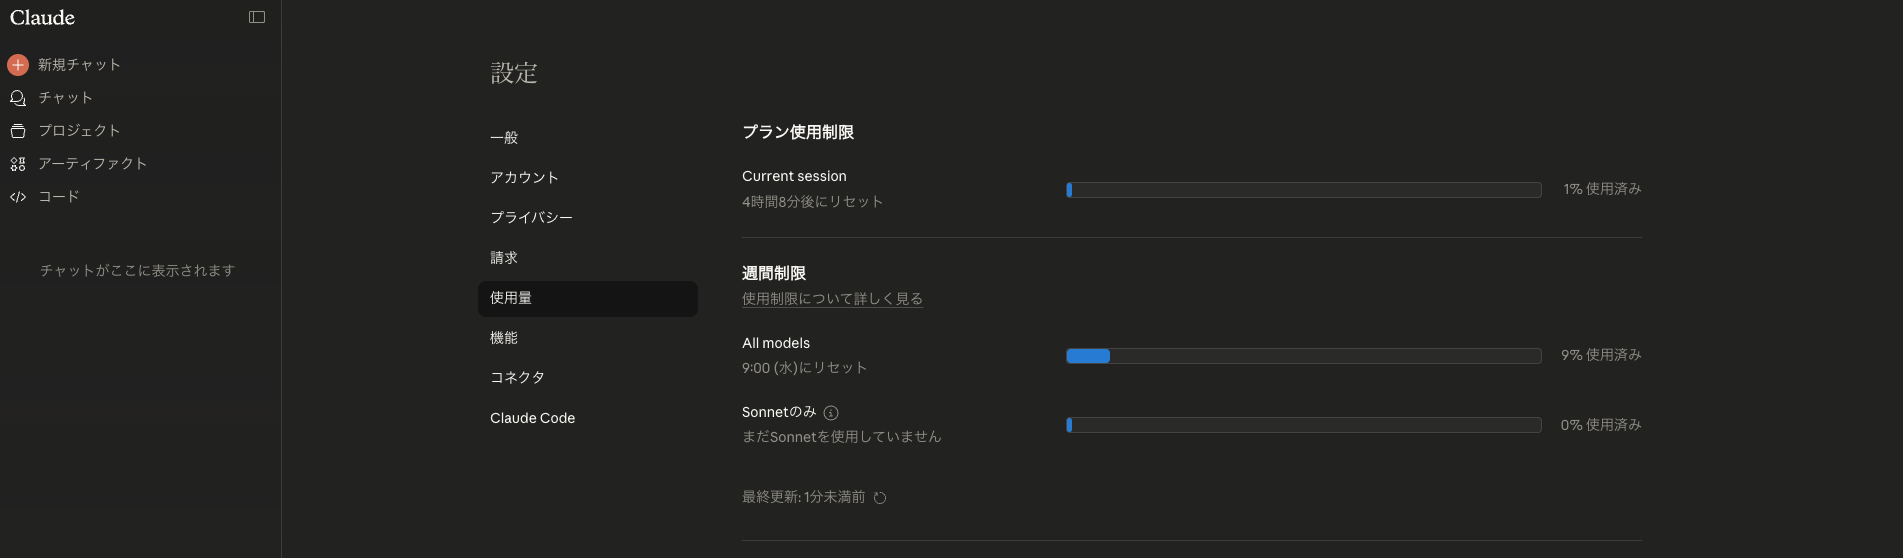
Or you can run the /usage command in claude to check.
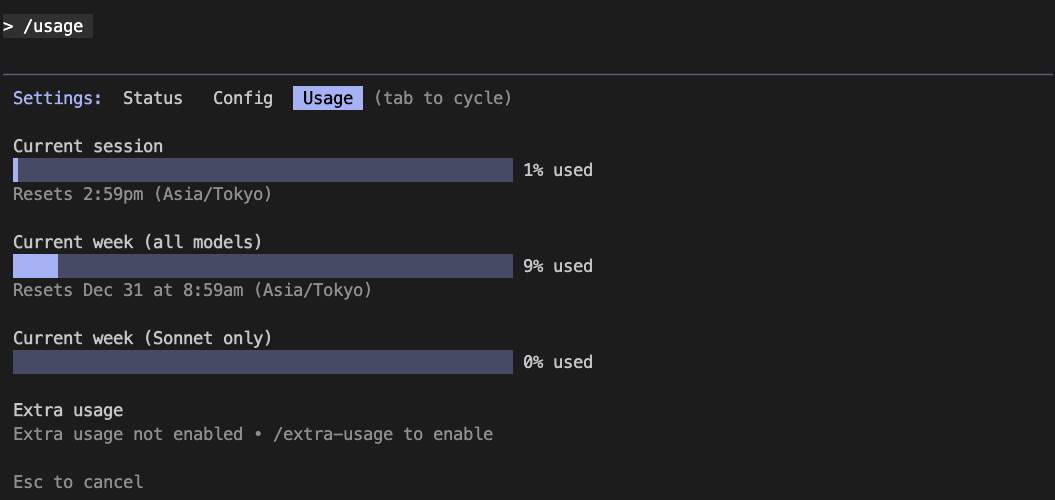
When you send your first message to Claude, both the 5-hour limit and the 1-week limit start.
- 5-hour limit: Also called the session limit. This is the token cap you can consume within 5 hours.
- 1-week limit: An accumulation of 5-hour limits. This is the token cap you can use within a week.
The 1-week limit varies by model, but the 5-hour limit applies regardless of the model.
If you’re not frequently running into the token limit, just leave the model on Default. If you do hit the limit often, switching between models lets you get more usage out of it.
Check Current Usage
You can check your current usage and costs by running the following command.
npx ccusage@latest monthly --locale en-US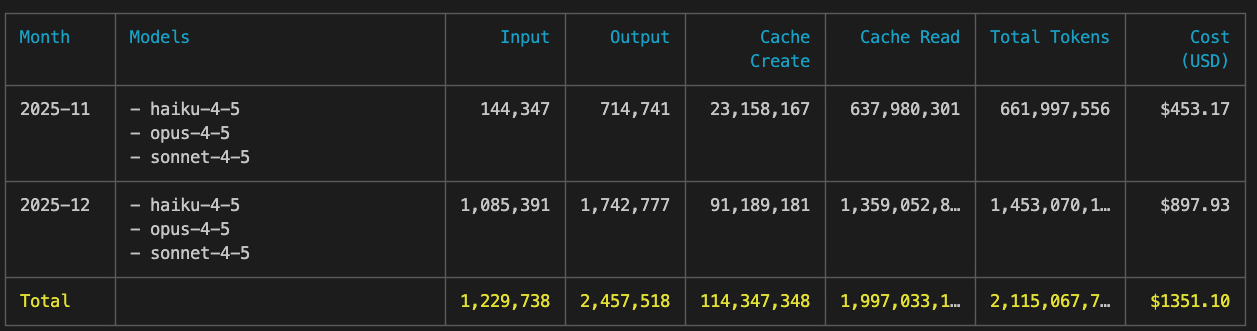
Model
You can switch models by running the following command in Claude.
/modelThere are currently 3 models available.
- Default (recommended)
- Opus - Best for complex tasks
- Recommended for coding work.
- Sonnet
- Great for everyday tasks
- Good for planning, translation, documentation, etc.
- Haiku
- Optimized for fast responses
- Good for quick questions, like you’d use ChatGPT.
If the token limit isn’t an issue, just stick with Default. If you frequently hit the limit, switching between models is recommended. Since Opus consumes the most tokens (including for the 5-hour limit), you can work more efficiently by creating plans with Sonnet and switching to Opus before writing code.
Mode
Claude has 3 modes.
- Plan mode
- A mode for organizing what needs to be done before writing code.
- Edit mode
- A mode for writing code.
- Dangerously skip permissions mode
- A mode where Claude automatically uses permissions (web search, command execution, file/folder access, etc.) without asking.
You can switch modes with shift + tab in Claude.
By default, Edit mode works fine. For complex tasks (building features, creating new tools, developing new products, investigating bug causes, etc.), using Plan mode first to lay out what needs to be done leads to higher quality results.
Dangerously skip permissions mode can be enabled by setting the --dangerously-skip-permissions option when starting Claude.
claude --dangerously-skip-permissionsWarning: Do not use Dangerously skip permissions mode by default. Since you can’t see what Claude is doing, all sorts of problems can occur. A recent well-known case involved someone running a prompt like Optimize my computer's storage. Find and delete unnecessary files. in this mode, which resulted in all files on the computer being deleted and the machine becoming unbootable.
Tips and Tricks
- Just write your instructions (prompts) like you’re asking a person to do something.
- Example:
Change the button label in the top right corner of the user list page to 'Create User'.
- Example:
- Use
shift + Enterto add line breaks when writing a prompt. - When running Claude in the Extension’s Terminal mode or in a regular terminal, non-English input can feel awkward. In that case, you can write your prompt in a separate editor and copy-paste it in.
- The Extension may occasionally crash.
- Claude comes with many built-in commands. Type
/to see them./login/model/clear/compact/usage/exit
- As conversations and tasks get longer, the context grows and token consumption can spike. So it’s more efficient to break work into smaller chunks and use the
/clearcommand frequently to reset the context. - If you need a long context, use the
/compactcommand to compress the context so far and reduce token consumption. (Claude automatically runscompactwhen the context gets too long.) - You can use the
@symbol to point Claude to specific files.@src/feature/UsersPage/view/MainPanel/UserTable/index.test.tsx- That said, Claude recognizes files pretty well even without
@.
Completed
That’s it for the basics of Claude Code! We covered installation, token management, model and mode selection, and tips for efficient usage. Claude Code can help you work more efficiently on various development tasks like writing test code, so definitely give it a try.
Was my blog helpful? Please leave a comment at the bottom. it will be a great help to me!
App promotion
Deku.Deku created the applications with Flutter.If you have interested, please try to download them for free.