Outline
I try to develop an app with Flutter. In this blog post, I will introduce how to display the images on Flutter.
You can see the source code of this blog post on the link below.
Display local image
To display the local image in the Flutter, first, we need a folder to save the images. You can set any image name, but in here, I used the assets for the folder.
Execute the commands below to create the assets folder in the project folder.
flutter create my_app
cd my_app
mkdir assets
And then, copy the images that you want to display on the screen to the folder.
To show the images on the screen in the Flutter, we need to modify the pubspec.yaml file.
Find the code below in the pubspec.yaml file.
# To add assets to your application, add an assets section, like this:
# assets:
#   - images/a_dot_burr.jpeg
#   - images/a_dot_ham.jpeg
Uncomments and add the image file paths like below.
# To add assets to your application, add an assets section, like this:
assets:
  - assets/bunny.gif
  - assets/profile.png
We can set the each images like above, we can set the folder like below.
# To add assets to your application, add an assets section, like this:
assets:
  - assets/
Next, modify the main.dart file like below to show the image file.
import 'package:flutter/material.dart';

void main() {
  runApp(MyApp());
}

class MyApp extends StatelessWidget {
  @override
  Widget build(BuildContext context) {
    return MaterialApp(
      title: 'Flutter Demo',
      theme: ThemeData(
        primarySwatch: Colors.blue,
      ),
      debugShowCheckedModeBanner: false,
      home: Home(),
    );
  }
}

class Home extends StatelessWidget {
  @override
  Widget build(BuildContext context) {
    return Scaffold(
      appBar: AppBar(
        title: Text('Image'),
      ),
      body: Center(
        child: Image(image: AssetImage('assets/profile.png')),
      ),
    );
  }
}
We need to use the Image widget to show the image. To display the local image, we need to use the AssetsImage widget, and set the local image to it.
Image(image: AssetImage('assets/profile.png'))
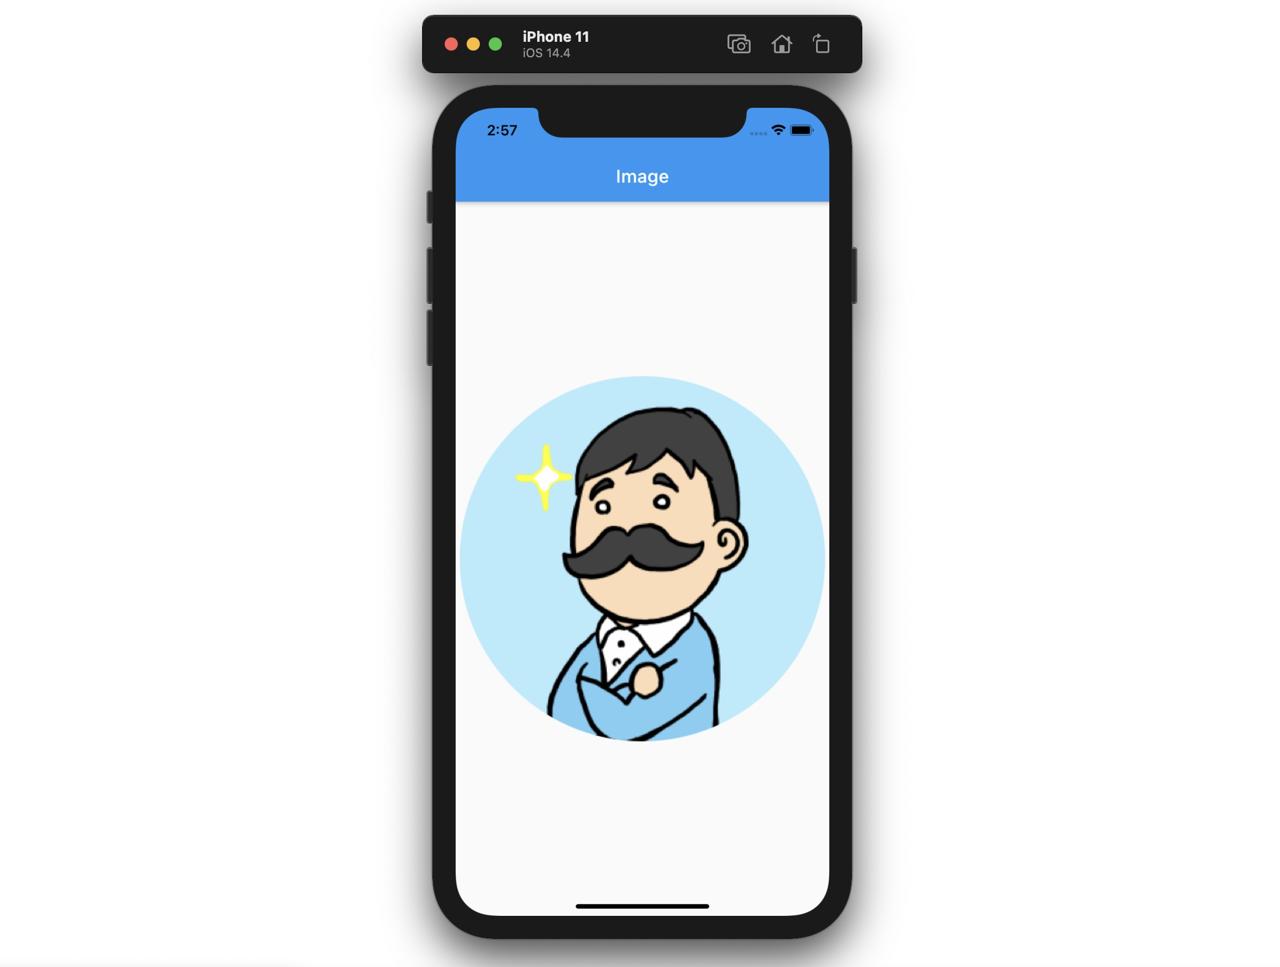
When you modify the main.dart file like above, you can see the screen lik below when you execute the Flutter project.

You can use various options of the Image widget like below.
Image(
  image: AssetImage('assets/profile.png'),
  width: 200,
  height: 100,
  fit: BoxFit.fill,
)
Also, you can use it like below.
Image.asset('assets/profile.png')
You can use the options like below, too.
Image.asset(
  'assets/profile.png',
  width: 200,
  height: 100,
  fit: BoxFit.fill,
)
@2x, @3x
To support the various resolution, we normally create the 2x, 3x images and use them for it. In Flutter, to use the 2x, 3x images, we need to create the 2.0x folder and 3.0x folder like below.
.../my_icon.png
.../2.0x/my_icon.png
.../3.0x/my_icon.png
When you save the same name of the files to each folder, the Flutter recognizes them and show the correct resolution image automatically.
Network image
Let’s see how to show the images on the server. You can use the NetworkImage widget instead of the AssetImage to display the network images.
Image(
  image: NetworkImage(
    'https://flutter.github.io/assets-for-api-docs/assets/widgets/owl.jpg',
  ),
),
You can use various options like below.
Image(
  image: NetworkImage(
    'https://flutter.github.io/assets-for-api-docs/assets/widgets/owl.jpg',
  ),
  width: 200,
  height: 100,
  fit: BoxFit.fill,
),
Also, like the local image, you can use it like below.
Image.network(
  'https://flutter.github.io/assets-for-api-docs/assets/widgets/owl.jpg',
)
You can use the options like below, too.
Image.network(
  'https://flutter.github.io/assets-for-api-docs/assets/widgets/owl.jpg',
  width: 200,
  height: 100,
  fit: BoxFit.fill,
),
Completed
Done! We’ve seen how to display the local images and network images via the AssetsImage widget and NetworkImage widget. Also, we’ve seen how to use the Named constructor of the Image widget to show the local images and the network images.
Was my blog helpful? Please leave a comment at the bottom. it will be a great help to me!
App promotion
Deku.Deku created the applications with Flutter.If you have interested, please try to download them for free.


