Contents
Outline
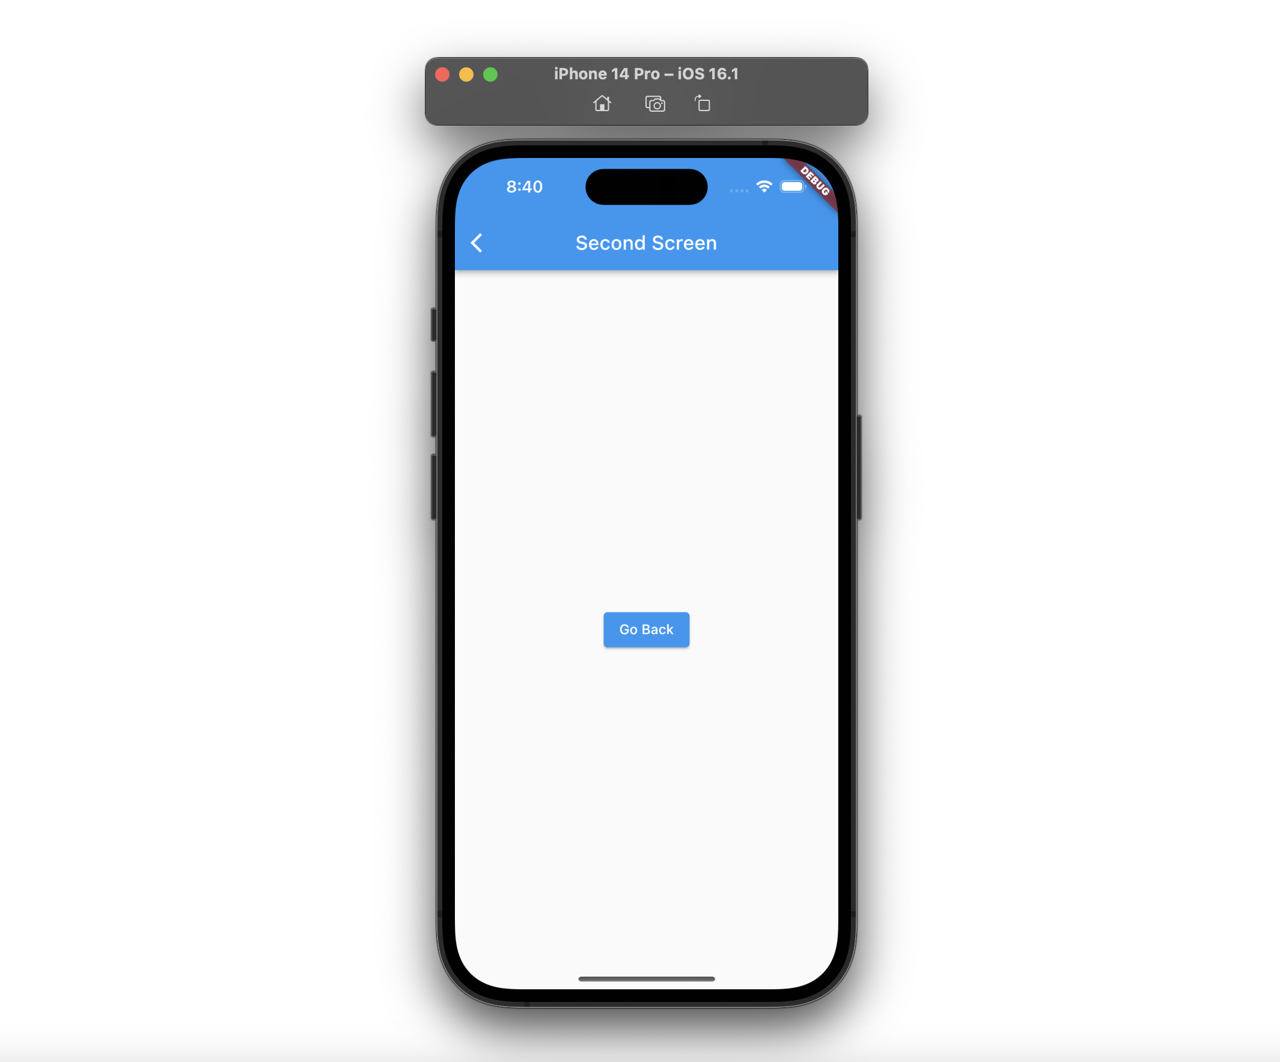
When the screen is switched in Flutter, the back button is automatically shown in AppBar on the second screen even if you didn’t configure it.
In this blog post, I will introduce how to hide the back button generated automatically in AppBar.
You can see the full source code of this blog post in GitHub.
Hide back button
In the AppBar widget, the back button is shown even if there is nothing in the leading option.
class SecondScreen extends StatelessWidget {
  const SecondScreen({super.key});

  @override
  Widget build(BuildContext context) {
    return Scaffold(
      appBar: AppBar(
        title: const Text('Second Screen'),
      ),
      body: Center(
        child: ElevatedButton(
          onPressed: () => Navigator.pop(context),
          child: const Text('Go Back'),
        ),
      ),
    );
  }
}
To hide the back button here, you need to use the automaticallyImplyLeading option in the AppBar widget.
- automaticallyImplyLeading: https://api.flutter.dev/flutter/material/AppBar/automaticallyImplyLeading.html
You can hide the back button to set the automaticallyImplyLeading option in the AppBar widget like the following.
class SecondScreen extends StatelessWidget {
  const SecondScreen({super.key});

  @override
  Widget build(BuildContext context) {
    return Scaffold(
      appBar: AppBar(
        automaticallyImplyLeading: false,
        title: const Text('Second Screen'),
      ),
      body: Center(
        child: ElevatedButton(
          onPressed: () => Navigator.pop(context),
          child: const Text('Go Back'),
        ),
      ),
    );
  }
}
And then, you can see the back button disappeared like the following.

Completed
Done! we’ve seen how to hide the back button generated automatically in the AppBar widget. It’s very convenient that the back button is created automatically, but we don’t need it sometimes, so remember the automaticallyImplyLeading option to remove the back button.
Was my blog helpful? Please leave a comment at the bottom. it will be a great help to me!
App promotion
Deku.Deku created the applications with Flutter.If you have interested, please try to download them for free.