Contents
Outline
The pull to refresh became the normal UI/UX in the app that has the list. In this blog post, I will introduce how to make the pull to refresh for updating the list in the Flutter app.
You can see the full source code in GitHub.
RefreshIndicator
In Flutter, you need to use the RefreshIndicator widget for the pull to refresh.
- Document: RefreshIndicator class
Next, let’s see how to use the RefreshIndicator widget for the pull to refresh.
ListView
First, let’s make a normal list by using the ListView widget.
class _MyHomePageState extends State<MyHomePage> {
  final List<String> _list = ['Apple', 'Banana', "Strawberry", "Watermelon"];

  @override
  Widget build(BuildContext context) {
    return Scaffold(
      appBar: AppBar(title: const Text('RefreshIndicator')),
      body: ListView.builder(
        itemCount: _list.length,
        itemBuilder: (context, index) {
          return ListTile(
            title: Text(_list[index]),
          );
        },
      ),
    );
  }
}
We’ll update the list by the RefreshIndicator widget, so I use State Widget in here.
After writing the code, you can see the ListView widget is shown well like the following.
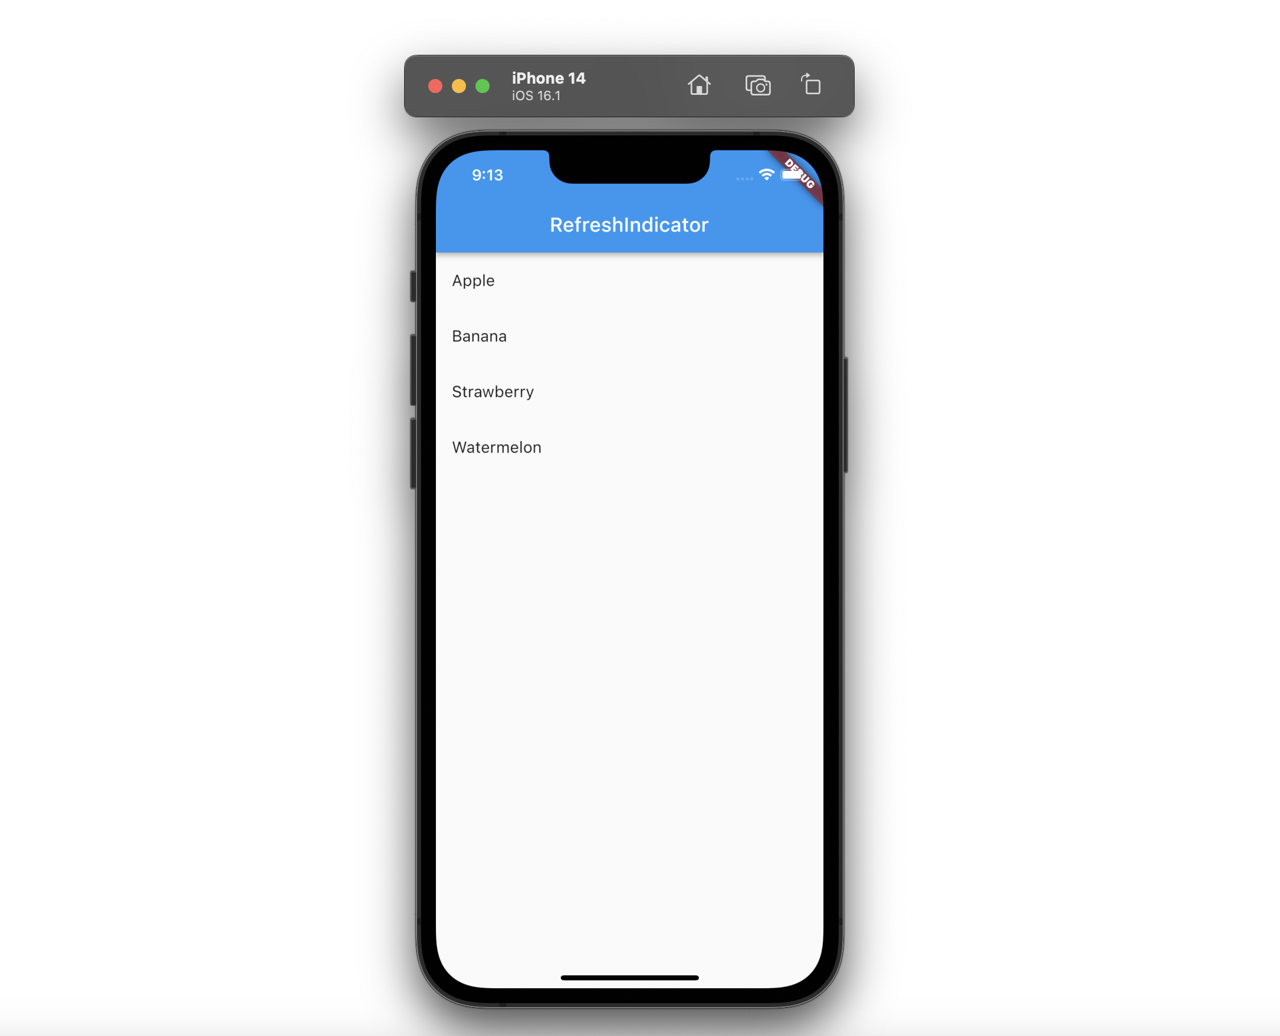
When you pull the list in this ListView widget, you can see the upper area just extends and refreshing not occurs like the following.

How to use RefreshIndicator
Now, let’s implement the pull to refresh by using the RefreshIndicator widget. The RefreshIndicator widget has the onRefresh function and child like the following.
RefreshIndicator(
  onRefresh: ...,
  child: ...,
)
Let’s apply the RefreshIndicator to the list screen that is implemented by the ListView widget.
class _MyHomePageState extends State<MyHomePage> {
  List<String> _list = ['Apple', 'Banana', "Strawberry", "Watermelon"];

  @override
  Widget build(BuildContext context) {
    return Scaffold(
      appBar: AppBar(title: const Text('RefreshIndicator')),
      body: RefreshIndicator(
        onRefresh: () async {
          setState(() {
            _list = [..._list, ..._list];
          });
        },
        child: ListView.builder(
          itemCount: _list.length,
          itemBuilder: (context, index) {
            return ListTile(
              title: Text(_list[index]),
            );
          },
        ),
      ),
    );
  }
}
I used the RefreshIndicator widget to the parent widget of the ListView widget. In the onRefresh function, I wrote the code to update the list.
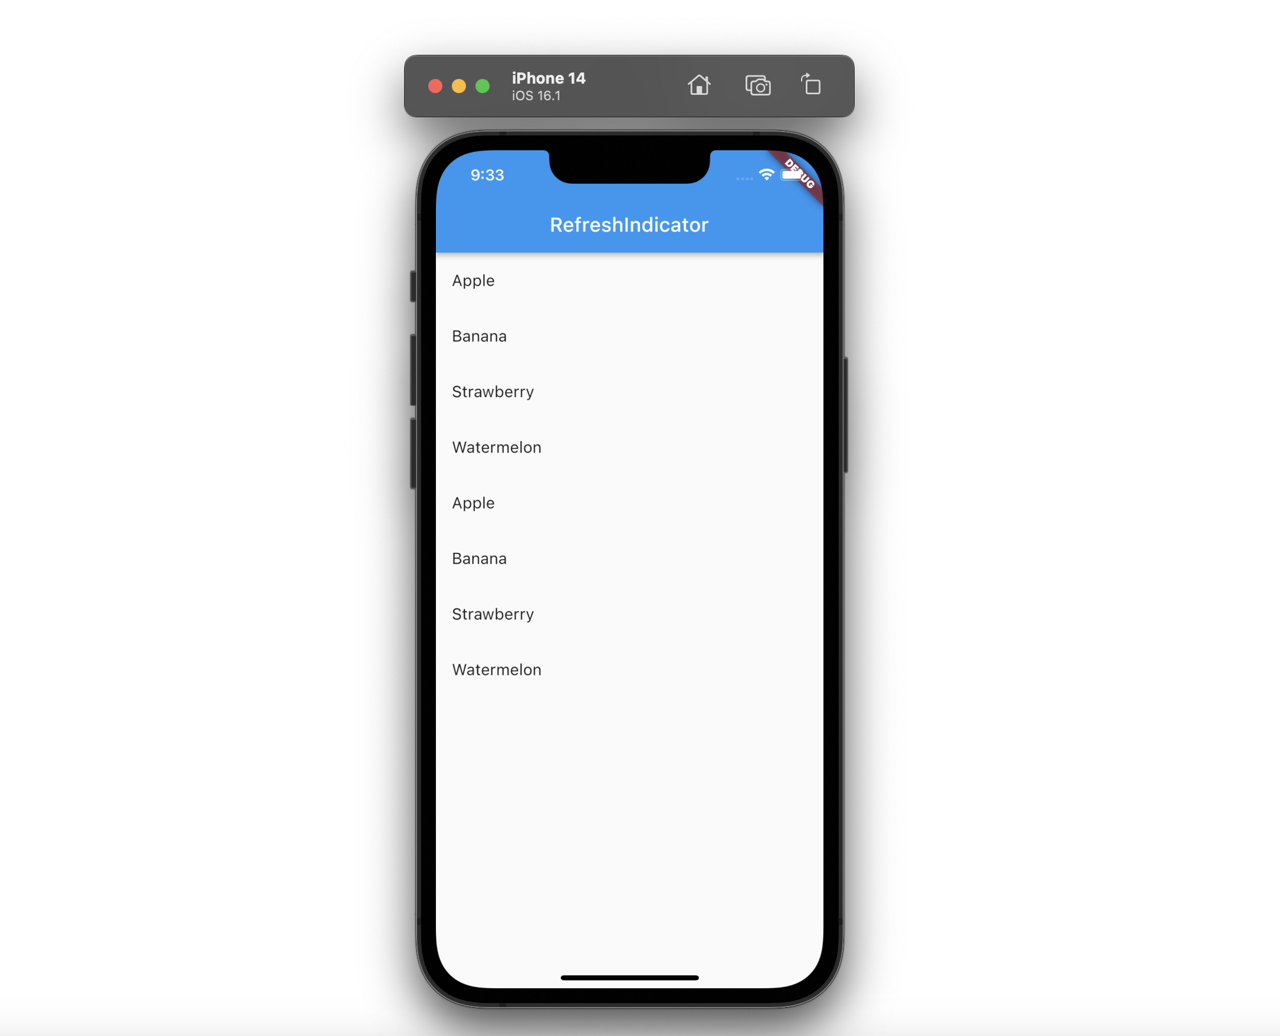
After writing the code, you can see the list is shown well like the following.

When you pull the list, you can see the loading icon(Indicator) unlike before.

And then, when you release it, you can see the list is updated well.
Empty screen with no list data
If there is data to be displayed on the screen from the beginning, it can be implemented with only the method so far. However, if there is not data, you need to show the empty screen and use the SingleChildScrollView widget with the AlwaysScrollableScrollPhysics option to implement the pull to refresh.
class _MyHomePageState extends State<MyHomePage> {
  List<String> _list = [];

  @override
  Widget build(BuildContext context) {
    return Scaffold(
      appBar: AppBar(title: const Text('RefreshIndicator')),
      body: RefreshIndicator(
        onRefresh: () async {
          final newList = ['Apple', 'Banana', "Strawberry", "Watermelon"];

          setState(() {
            _list = [..._list, ...newList];
          });
        },
        child: _list.isNotEmpty
            ? ListView.builder(
                itemCount: _list.length,
                itemBuilder: (context, index) {
                  return ListTile(
                    title: Text(_list[index]),
                  );
                },
              )
            : LayoutBuilder(
                builder: (context, constraints) {
                  return SingleChildScrollView(
                    physics: const AlwaysScrollableScrollPhysics(),
                    child: SizedBox(
                      height: constraints.maxHeight,
                      child: Center(
                        child: Column(
                          mainAxisAlignment: MainAxisAlignment.center,
                          children: const [
                            Text('There is not data.'),
                            Text('Pull to refresh.'),
                          ],
                        ),
                      ),
                    ),
                  );
                },
              ),
      ),
    );
  }
}
Let’s see the details of the code for no data.
LayoutBuilder(
  builder: (context, constraints) {
    return SingleChildScrollView(
      physics: const AlwaysScrollableScrollPhysics(),
      child: SizedBox(
        height: constraints.maxHeight,
        child: Center(
          child: Column(
            mainAxisAlignment: MainAxisAlignment.center,
            children: const [
              Text('There is not data.'),
              Text('Pull to refresh.'),
            ],
          ),
        ),
      ),
    );
  },
)
If you implement the SingleChildScrollView widget with the AlwaysScrollableScrollPhysics option, you can always scroll the screen regardless of the content size. Also, you can implement the empty screen with the LayoutBuilder widget for the full screen when there is no data.
After modifying the code, you can see the screen like the following.
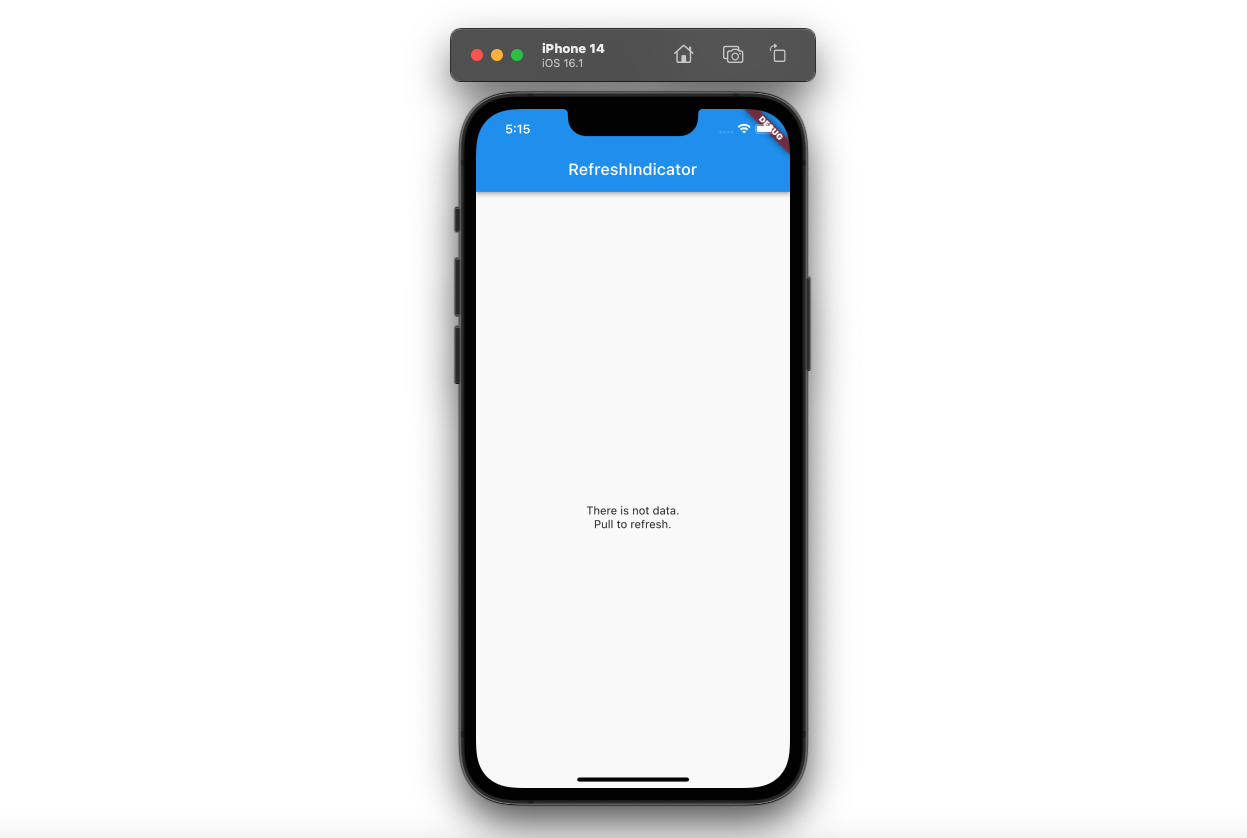
And then, when you pull the list, you can see the refresh icon.

And after releasing it, you can see the screen that the data is added on it.

Completed
Done! we’ve seen how to use the RefreshIndicator widget to implement the pull to refresh. The pull to refresh feature is needed for the almost list screen, so if you remember it well, it will be great helpful to implement it.
Was my blog helpful? Please leave a comment at the bottom. it will be a great help to me!
App promotion
Deku.Deku created the applications with Flutter.If you have interested, please try to download them for free.