Contents
Outline
I try to use Flutter to develop an app. In this blog post I will introduce how to create a Flutter project, and take a look at the main files and folders. Also, I will show you how to start the Flutter app on the emulator.
You can see the source code on the blog post via the link below.
Development environment
We need to install Flutter SDK to develop the app via Flutter. If you didn’t set the Flutter development environment, see the previous blog post on the link below.
Create project
Let’s create a new Flutter project. Execute the command below to create a new Flutter project.
# flutter create [Project Name]
flutter create first_app
We should use Snake case(only use lowercases and _) for the project name.
Main files and folders
Let’s see Flutter’s main files and folders.
pubspec.yaml
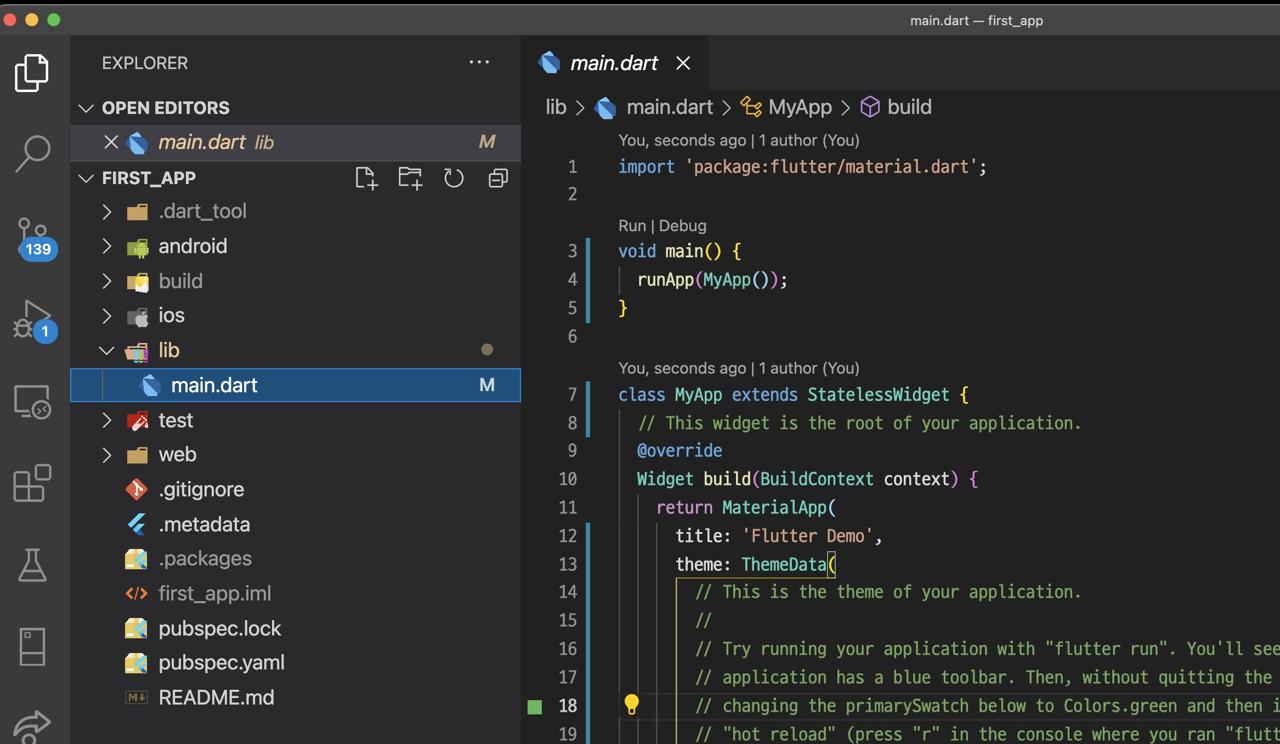
You can see the pubspec.yaml file on the Flutter project folder. This file has Flutter project meta data, and maintain them. It’s like package.json on Node.
On Flutter, we manage the version of the project, third-party libraries, or dependency.
iOS/Android/Web Folders
Flutter is a cross-platform development platform. It means Flutter uses just one code base to support multi-platforms.
We can develop iOS and Android app same time like React Native with Flutter. The project and files of each platform are stored on iOS folder and Android folder.
When we develop the app, we don’t need to modify the files on these folders. However, when we deploy the app, we’ll modify some files on these folders.
Recently, Flutter supports the Web platform, so to support the Web platform, the files and folders related to the Web platform are stored on the Web folder.
lib folder
We can develop the iOS app and Android app same time with one code base via Flutter. The one code base will be saved on the lib folder.
We’ll develop the app with Dart language in this folder. The main.dart file in the folder is the start file of the Flutter project. Flutter will build and start the app with this file.
test folder
The test folder has the test codes written by Dart language for testing Flutter app.
Done! we’ve seen Flutter project’s main folders and files.
Start project
Let’s see how to start Flutter project and execute the app on the emulator.
Open emulator
To execute the Flutter project, first, we need to start iOS simulator or Android emulator. Execute the command below to open the VSCode.
cd first_app
code .
When the VSCode is opened, to start iOS simulator or Android emulator, press command + shift + p key on the VSCode.

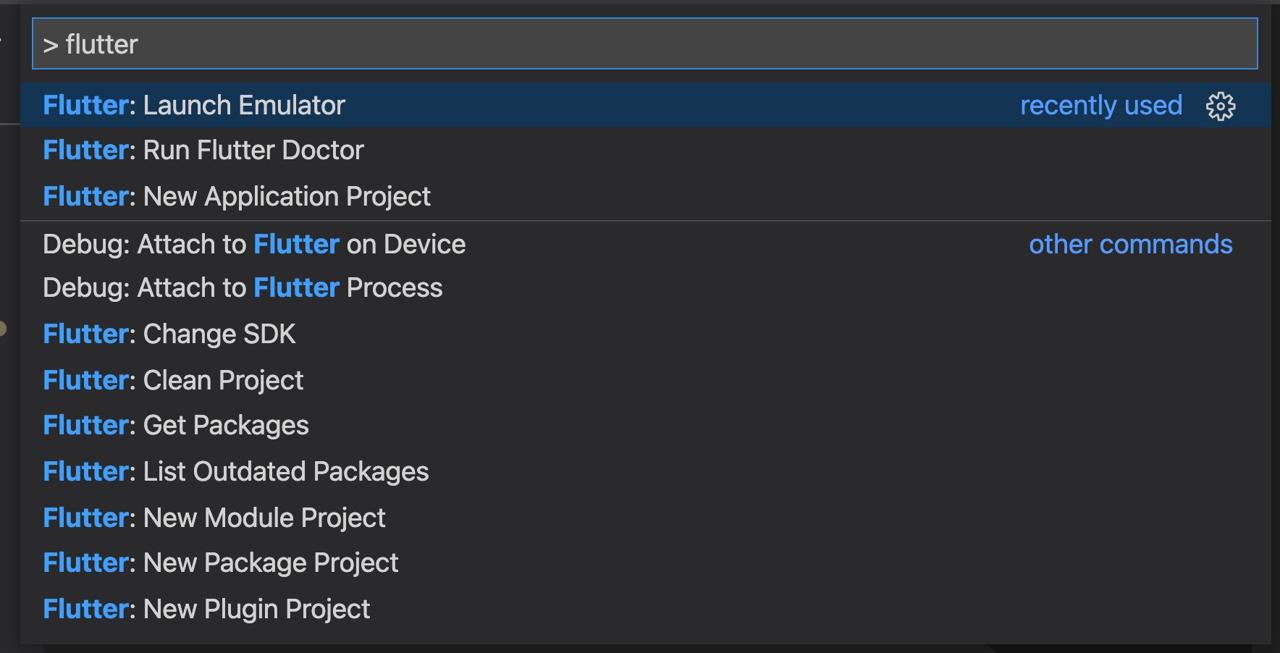
And the, search flutter, and you can find Flutter: Launch Emulator. use the keyboard arrow to select it and press Enter key. After it, you can see the screen like below to select the emulator.

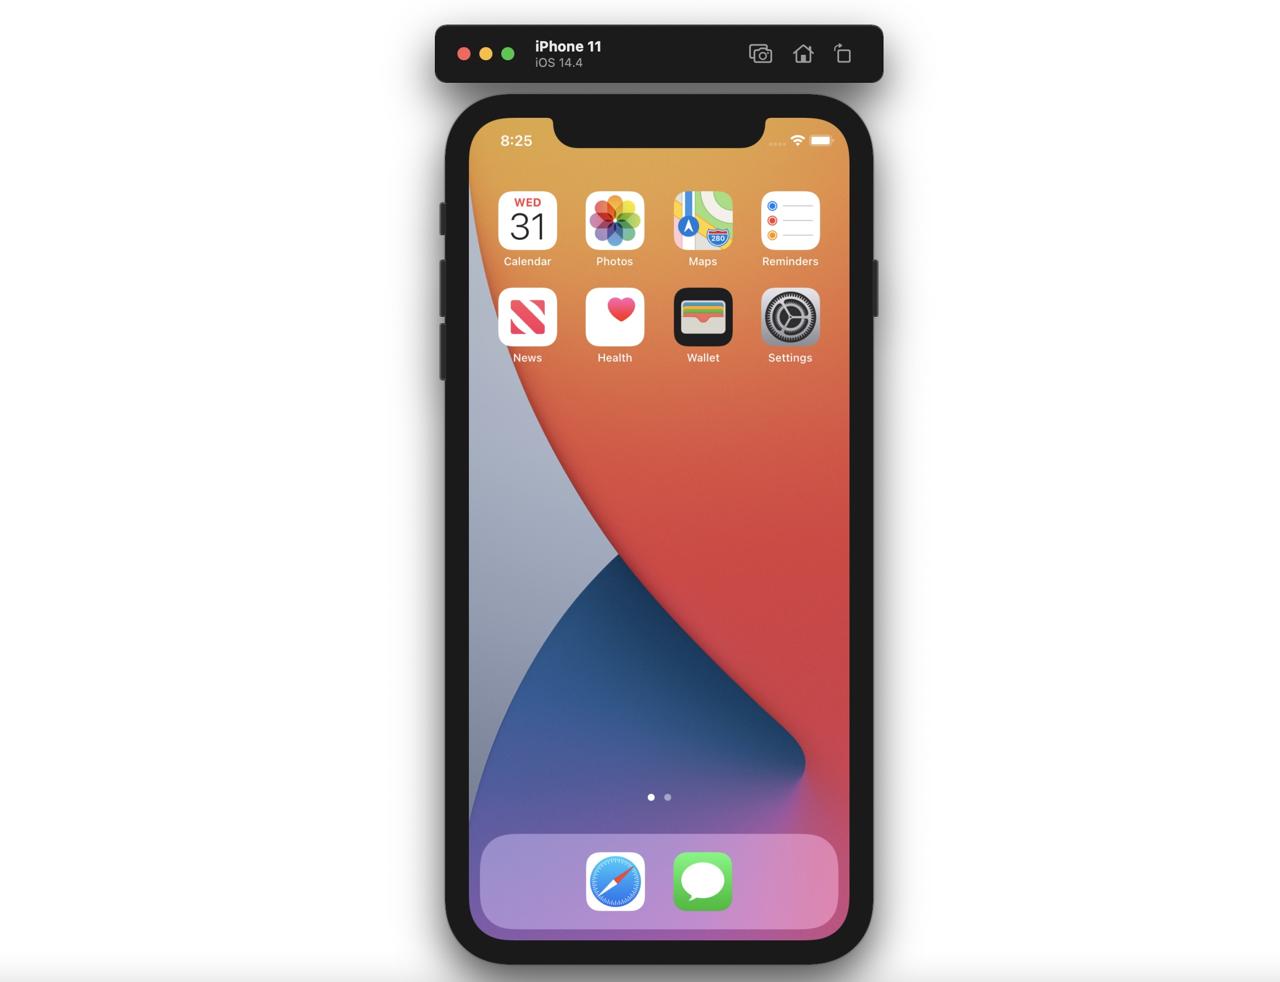
Basically, you can see the iOS simulator, and Android emulators. move the cursor to the emulator what you want to start, and press Enter key to start it. I selected iOS simulator in here.
You can execute the emulator on the Terminal instead of VSCode. You can open iOS simulator via the command below.
open -a SimulatorYou can open Android emulator via tha command below.
emulator -list-avds
emulator -avd @name-of-your-emulator
And than, you can see the simulator is opened well like below.

Execute project
Let’s execute Flutter app on the simulator. Select lib/main.dart file on VSCode.

And then, press command + shift + p key again, and search debug. You can find Debug: Start Debugging, and select it.

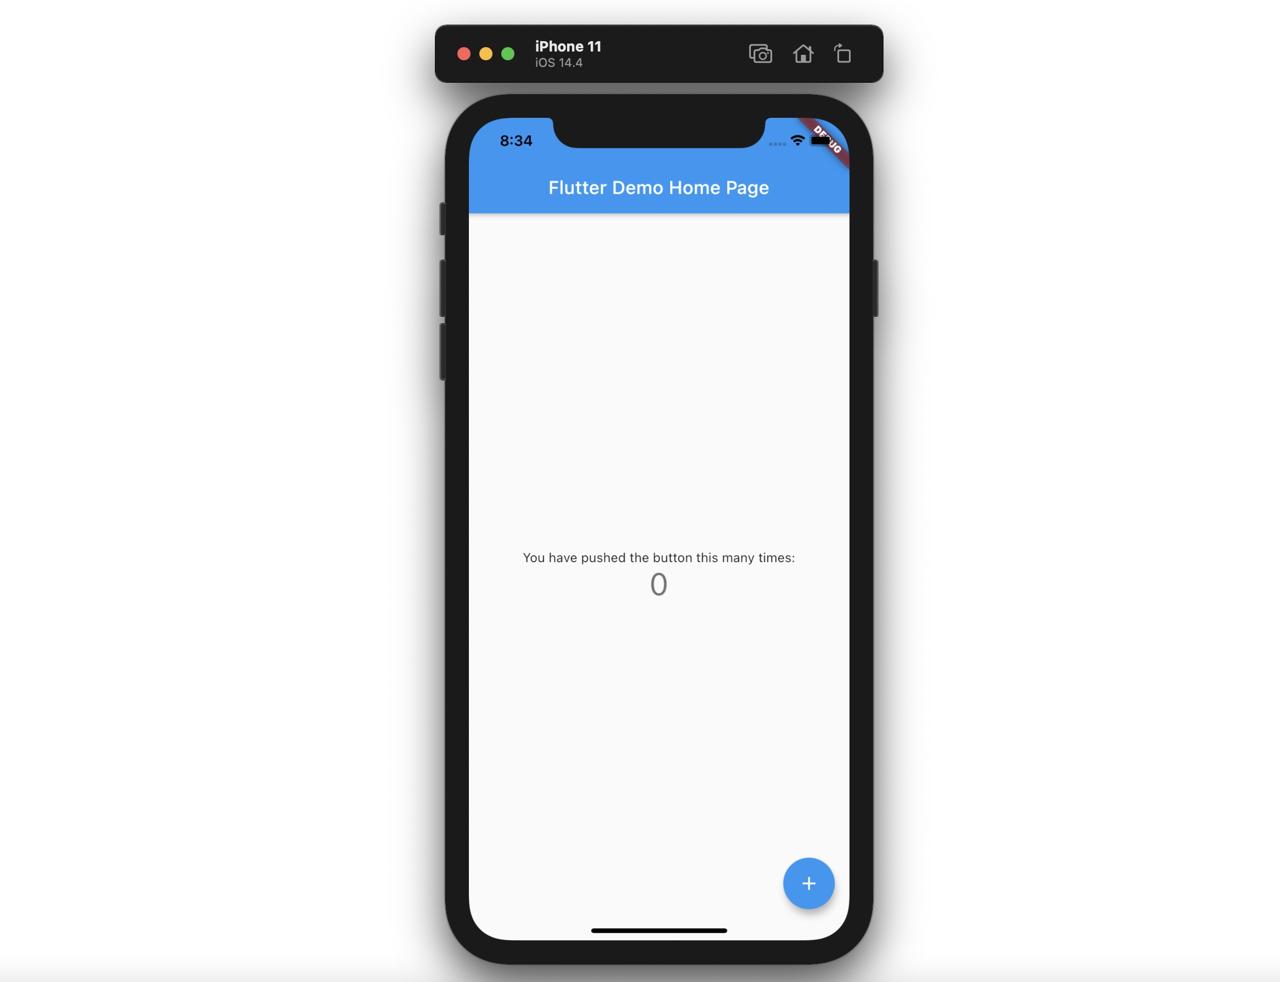
When you select it, the app build is started, and you can see the app, that is provided by Flutter, on the simulator like below.

You can execute the app via the Terminal instead of VSCode. Execute the command below to start Flutter project.
flutter runIn my case, if I use flutter run command, the Flutter Hot Reloading feature is not working well, so I just use VSCode Debugging feature to start the Flutter project.
Hot Reloading
If you have experience to develop the web front, you already know Hot Reloading keyword. Flutter also has Hot Reloading feature like the web front.
Hot Reloading is, when you modify the source code, the modification will be applied to the screen immediately, so you don’t need to rebuild the app.
Let’s see the feature is working well. Open lib/main.dart file and find the code like below.
...
home: MyHomePage(title: 'Flutter Demo Home Page'),
...
And then, modify it like below.
...
home: MyHomePage(title: 'Test'),
...
And when you save the file, you can see the code is applied soon.

flutter clean
When I develop the app with Flutter, sometimes the app is not built well. At this case, I execute the command below to remove the third-party libraries, and app build files.
flutter cleanDeleting Flutter’s build files like this often solves the problem.
flutter pub get
When we use flutter clean command, the third-party libraries are deleted, Or when you use git clone to clone the existing project, the third-party libraries are not commited, so we need to install them.
In Flutter, use the command below to install the libraries.
flutter pub getCompleted
Done! we’ve seen how to create a new Flutter project, and take a look at the main files and folders. Also, opened the emulator via VScode and Terminal, executed Flutter project on it!
Was my blog helpful? Please leave a comment at the bottom. it will be a great help to me!
App promotion
Deku.Deku created the applications with Flutter.If you have interested, please try to download them for free.


