Outline
In this blog post, I will introduce how to use GetX to show Dialog in Flutter. You can see full source code of this blog post on the link below.
Blog series
This blog post is made in the series about how to use GetX in Flutter. If you want to see the other features of the GetX, please check out the following blog posts.
- [GetX] State management
- [GetX] Route management
- [GetX] Dependency management
- [GetX] Localization
- [GetX] Theme
- [GetX] BottomSheet
- [GetX] Dialog
- [GetX] Snackbar
- [GetX] Platform and device info
GetX installation
To check how to use GetX in Flutter, execute the command below to create a new Flutter project.
flutter create dialogAnd then, execute the command below to install the GetX package.
flutter pub add getNext, let’s see how to use GetX to show Dialog.
Open Dialog
You can use the Get.dialog function to show Dialog with GetX like the below.
Get.dialog(
  AlertDialog(),
);
To check this, open the lib/main.dart file and modify it like the below.
import 'package:flutter/material.dart';
import 'package:get/get.dart';

void main() {
  runApp(const MyApp());
}

class MyApp extends StatelessWidget {
  const MyApp({Key? key}) : super(key: key);

  @override
  Widget build(BuildContext context) {
    return GetMaterialApp(
      title: 'Flutter Demo',
      theme: ThemeData(
        primarySwatch: Colors.blue,
      ),
      home: const MyHomePage(),
    );
  }
}

class MyHomePage extends StatelessWidget {
  const MyHomePage({Key? key}) : super(key: key);

  void openDialog() {
    Get.dialog(
      AlertDialog(
        title: const Text('Dialog'),
        content: const Text('This is a dialog'),
        actions: [
          TextButton(
            child: const Text("Close"),
            onPressed: () => Get.back(),
          ),
        ],
      ),
    );
  }

  @override
  Widget build(BuildContext context) {
    return Scaffold(
      appBar: AppBar(
        title: const Text("Dialog"),
      ),
      body: Center(
        child: Column(
          mainAxisAlignment: MainAxisAlignment.center,
          children: [
            const Text('Dialog example'),
            OutlinedButton(
              onPressed: openDialog,
              child: const Text('Open'),
            )
          ],
        ),
      ),
    );
  }
}
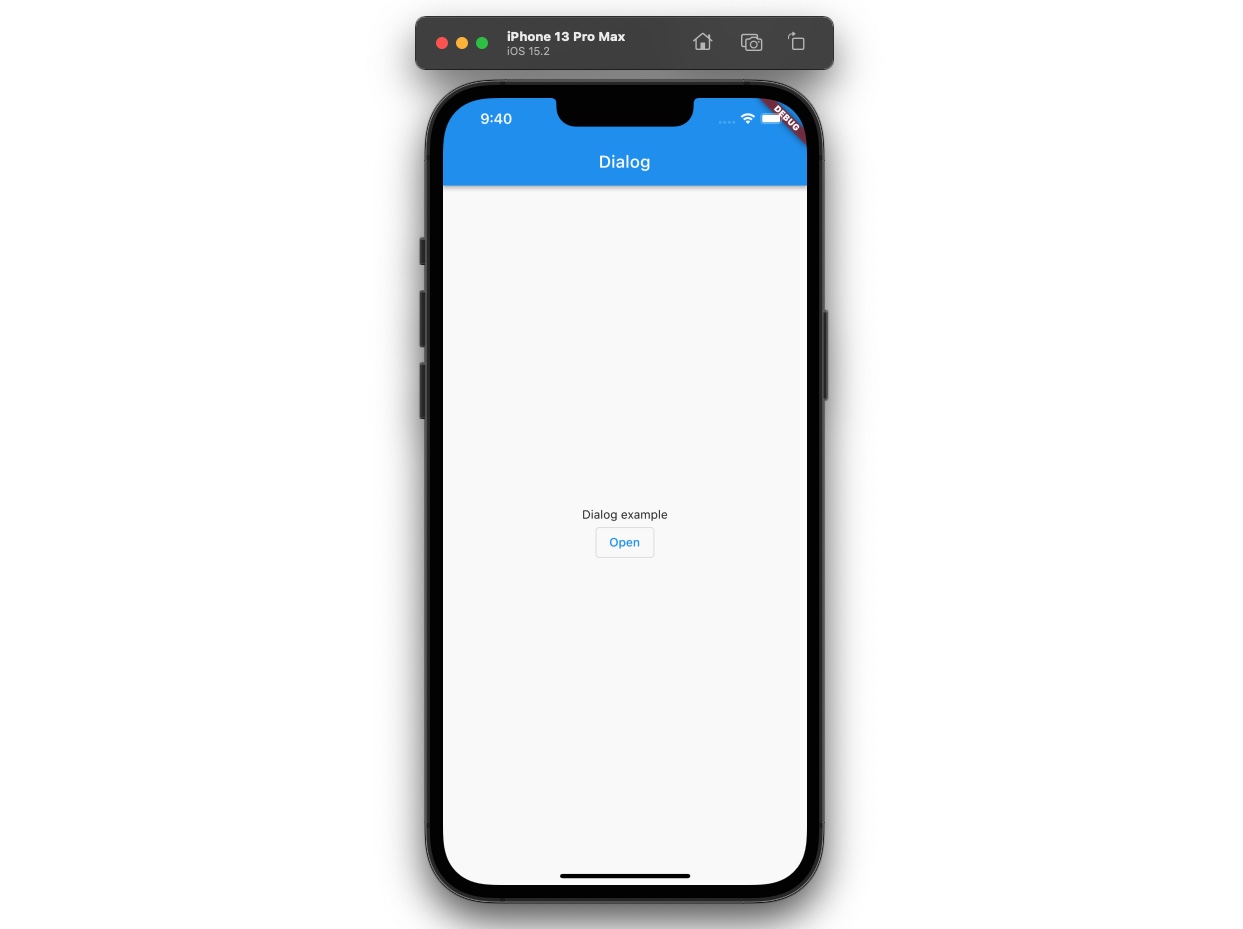
When you execute the above code, you will see the following screen.

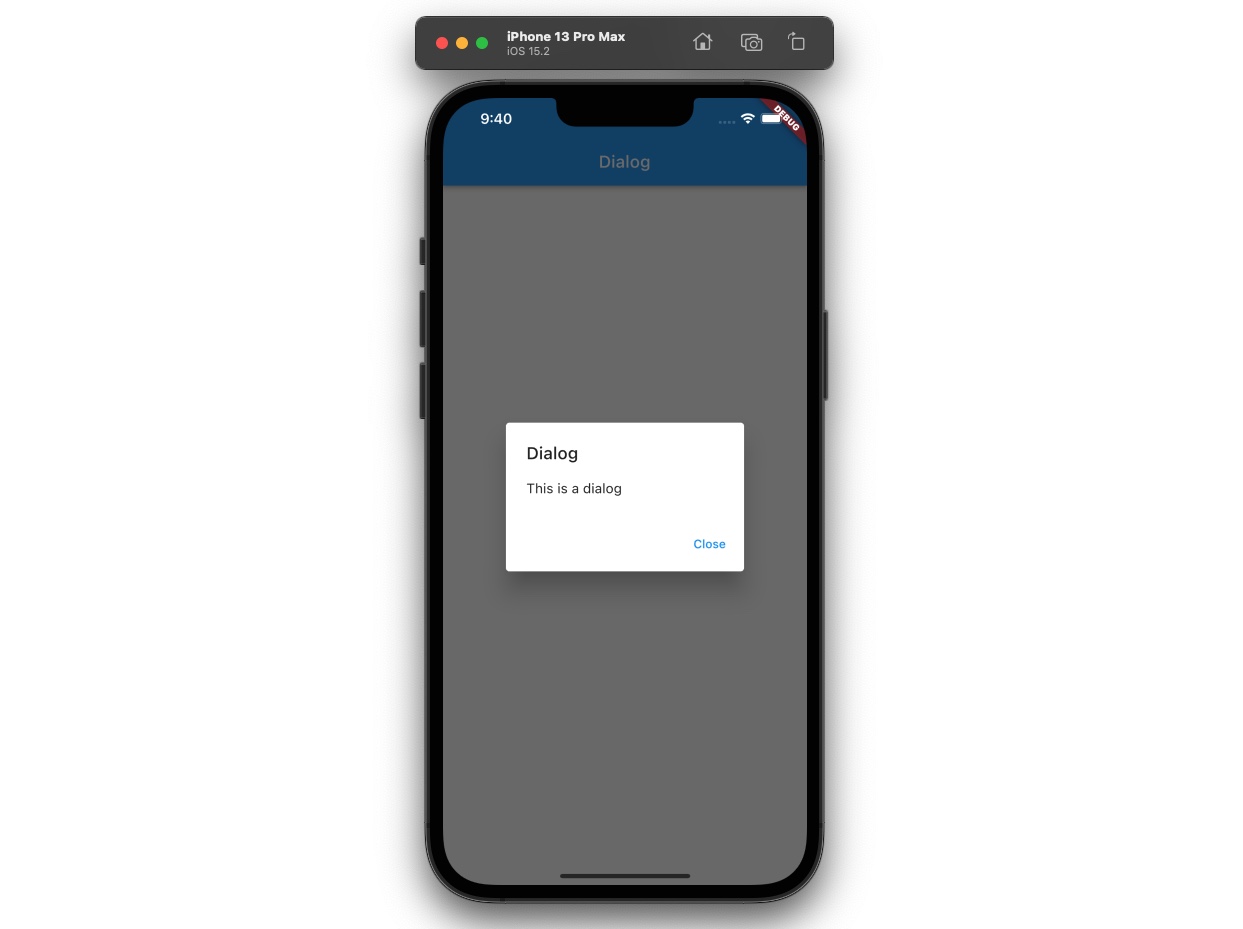
And then, when you press the Open button, Get.dialog is called like the below.
void openDialog() {
  Get.dialog(
    AlertDialog(
      title: const Text('Dialog'),
      content: const Text('This is a dialog'),
      actions: [
        TextButton(
          child: const Text("Close"),
          onPressed: () => Get.back(),
        ),
      ],
    ),
  );
}
After that, you can see the dialog like the below.

Close Dialog
To close the opened Dialog, you can use the Get.back function.
Get.back();In the example, the Get.back() function is called when the close button is pressed like the below.
void openDialog() {
  Get.dialog(
    AlertDialog(
      ...
      actions: [
        TextButton(
          child: const Text("Close"),
          onPressed: () => Get.back(),
        ),
      ],
    ),
  );
}
Check Dialog
In GetX, you can use the below code to check the Dialog is opened or not.
Get.isDialogOpenTo check this, modify the openDialog() function like the below.
void openDialog() {
  Future.delayed(const Duration(seconds: 1), () {
    // ignore: avoid_print
    print(Get.isDialogOpen);
  });

  Get.dialog(
    ...
  );
}
When you execute the above code, you can see the true is printed after 1 second.
flutter: trueCompleted
Done! we’ve seen how to use GetX to show the Dialog in Flutter. Also, we’ve seen how to close the dialog and how to check the dialog is opened or not.
Was my blog helpful? Please leave a comment at the bottom. it will be a great help to me!
App promotion
Deku.Deku created the applications with Flutter.If you have interested, please try to download them for free.


