개요
이번 블로그 포스트에서는 React 프레임워크인 Next.js에 TypeScript를 적용하는 방법에 대해서 알아보도록 하겠습니다.
- Next.js: https://nextjs.org/
- TypeScript: https://www.typescriptlang.org/
여기서 소개한 소스코드는 아래에 링크를 통해 확인할 수 있습니다.
블로그 리스트
이 블로그 포스트는 시리즈로 제작되었습니다. 다음은 Next.js의 시리즈 리스트입니다.
- [Next.js] 시작하기
- [Next.js] TypeScript
- [Next.js] Prettier
- [Next.js] 절대 경로로 컴포넌트 추가
- [Next.js] 테스트
- [Next.js] Storybook
- [Next.js] Storybook 배경색 변경
- [Next.js] 다국어 지원
- [Next.js] MUI
기존 프로젝트에 TypeScript 적용하기
기존의 JavaScript 기반의 Next.js 프로젝트를 사용하고 있는 경우, 다음과 같이 빈 tsconfig.json 파일을 생성합니다.
touch tsconfig.json그리고 다음 명령어로 Next.js 프로젝트를 실행합니다.
npm run dev그럼 다음과 같이 TypeScript를 설정하는 방법을 안내받을 수 있습니다.
It looks like you're trying to use TypeScript but do not have the required package(s) installed.

Please install @types/react and @types/node by running:

  npm install --save-dev @types/react @types/node

If you are not trying to use TypeScript, please remove the tsconfig.json file from your package root (and any TypeScript files in your pages directory).
그럼 안내받은 대로, 다음 명령어를 실행하여 TypeScript에 필요한 라이브러리를 설치합니다.
npm install --save-dev @types/react @types/node그리고 다시 다음 명령어를 실행하여 Next.js 프로젝트를 실행합니다.
npm run dev그럼 이전과는 다르게 프로젝트가 잘 실행되는 것을 확인할 수 있습니다.
ready - started server on 0.0.0.0:3000, url: http://localhost:3000
We detected TypeScript in your project and created a tsconfig.json file for you.

event - compiled client and server successfully in 1832 ms (125 modules)
또한, tsconfig.json 파일을 열어보면, 다음과 같이 자동으로 설정된 내용을 확인할 수 있습니다.
{
  "compilerOptions": {
    "target": "es5",
    "lib": [
      "dom",
      "dom.iterable",
      "esnext"
    ],
    "allowJs": true,
    "skipLibCheck": true,
    "strict": false,
    "forceConsistentCasingInFileNames": true,
    "noEmit": true,
    "incremental": true,
    "esModuleInterop": true,
    "module": "esnext",
    "moduleResolution": "node",
    "resolveJsonModule": true,
    "isolatedModules": true,
    "jsx": "preserve"
  },
  "include": [
    "next-env.d.ts",
    "**/*.ts",
    "**/*.tsx"
  ],
  "exclude": [
    "node_modules"
  ]
}
이제 .js 파일을 .tsx 또는 .ts로 변경하고, TypeScript를 적용하면 됩니다.
새로운 프로젝트 생성
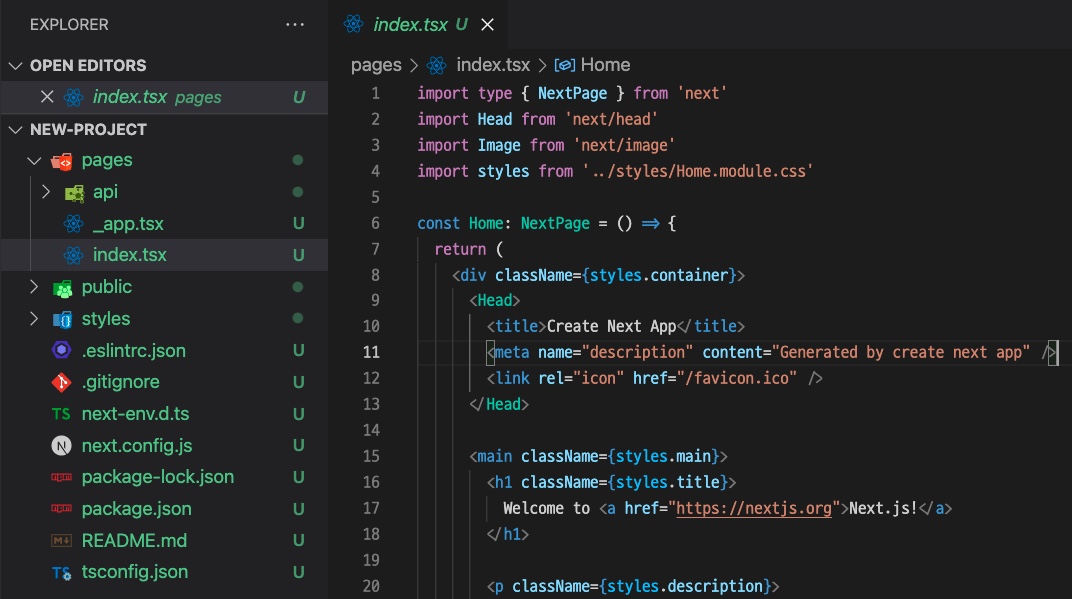
새롭게 Next.js 프로젝트를 생성한다면, 다음 명령어를 실행하여 TypeScript가 적용된 Next.js 프로젝트를 생성합니다.
npx create-next-app --typescript new-project생성된 프로젝트를 열어서 확인해보면, 다음과 같이 TypeScript가 적용된 Next.js 프로젝트가 잘 생성된 것을 확인할 수 있습니다.
완료
이번 블로그 포스트에서는 Next.js 프로젝트에 TypeScript를 적용하는 방법에 대해서 알아보았습니다. 기존 프로젝트에 적용하는 방법뿐만 아니라 새로운 프로젝트를 생성할 때, create-next-app으로 쉽게 TypeScript를 적용하는 방법에 대해서 알아보았습니다.
제 블로그가 도움이 되셨나요? 하단의 댓글을 달아주시면 저에게 큰 힘이 됩니다!
앱 홍보
Deku가 개발한 앱을 한번 사용해보세요.Deku가 개발한 앱은 Flutter로 개발되었습니다.관심있으신 분들은 앱을 다운로드하여 사용해 주시면 정말 감사하겠습니다.


