개요
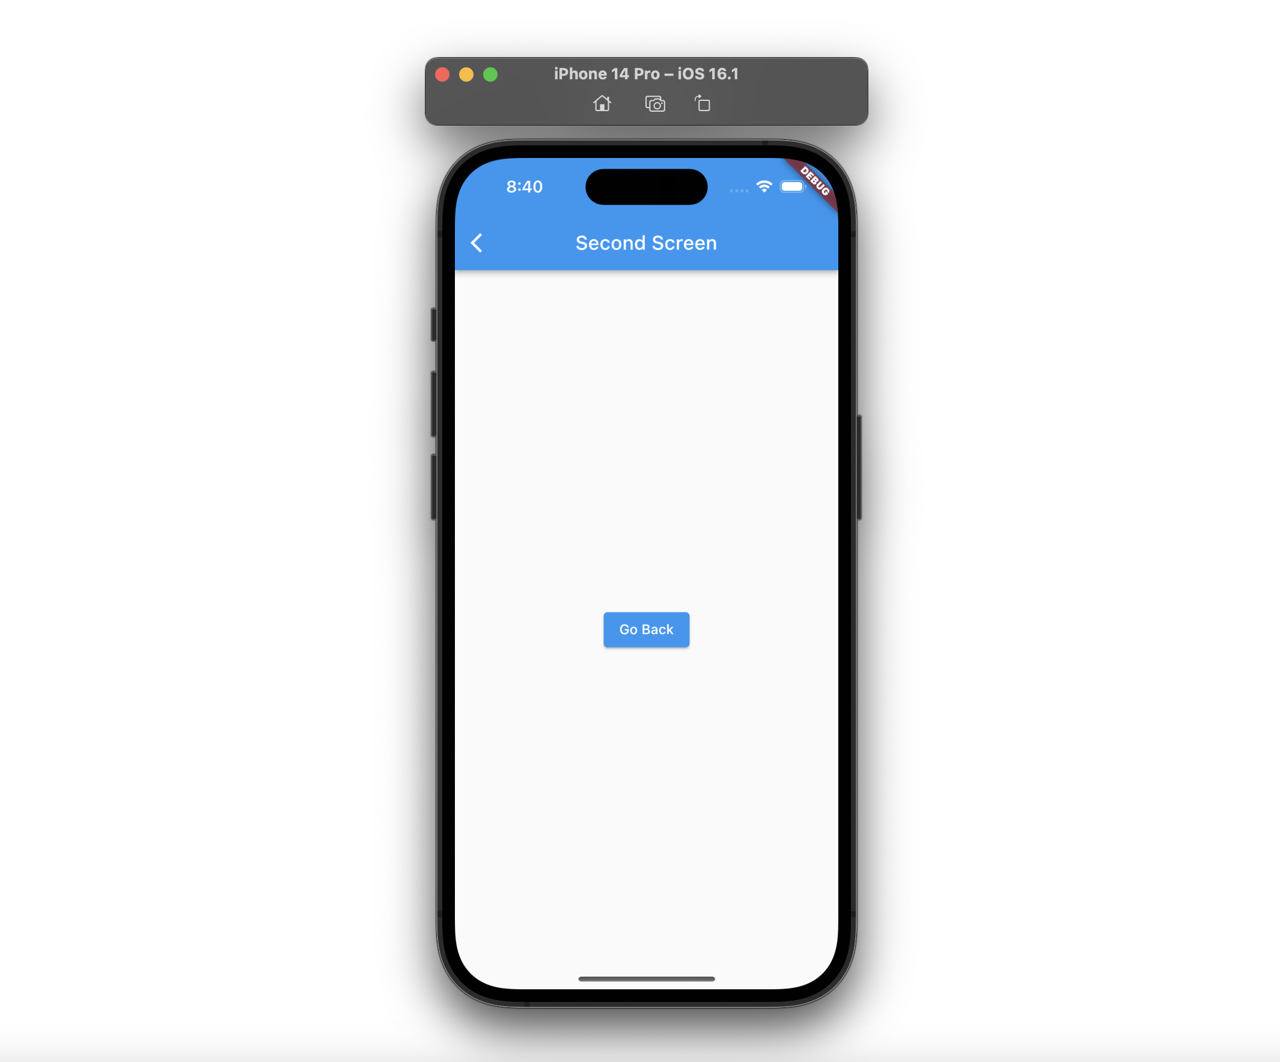
Flutter에서 화면을 전환하면, 아무런 설정을 하지 않아도 다음과 같이 두번째 화면의 AppBar에 뒤로가기 버튼이 자동으로 생기는 것을 확인할 수 있습니다.

이번 블로그 포스트에서는 자동으로 생성된 AppBar의 뒤로가기 버튼을 숨기는 방법에 대해서 알아보도록 하겠습니다.
여기서 소개하는 소스코드는 GitHub에서 확인하실 수 있습니다.
뒤로가기 버튼 없애기
AppBar 위젯에서는 다음과 같이 leading가 설정이 되어 있지 않아도 뒤로가기 버튼이 표시됩니다.
class SecondScreen extends StatelessWidget {
  const SecondScreen({super.key});

  @override
  Widget build(BuildContext context) {
    return Scaffold(
      appBar: AppBar(
        title: const Text('Second Screen'),
      ),
      body: Center(
        child: ElevatedButton(
          onPressed: () => Navigator.pop(context),
          child: const Text('Go Back'),
        ),
      ),
    );
  }
}

이렇게 표시된 뒤로가기 버튼을 없애기 위해서는 AppBar 위젯의 automaticallyImplyLeading을 사용할 필요가 있습니다.
- automaticallyImplyLeading: https://api.flutter.dev/flutter/material/AppBar/automaticallyImplyLeading.html
뒤로가기 버튼을 없애고자 하는 화면에서 다음과 같이 AppBar 위젯의 automaticallyImplyLeading을 설정합니다.
class SecondScreen extends StatelessWidget {
  const SecondScreen({super.key});

  @override
  Widget build(BuildContext context) {
    return Scaffold(
      appBar: AppBar(
        automaticallyImplyLeading: false,
        title: const Text('Second Screen'),
      ),
      body: Center(
        child: ElevatedButton(
          onPressed: () => Navigator.pop(context),
          child: const Text('Go Back'),
        ),
      ),
    );
  }
}
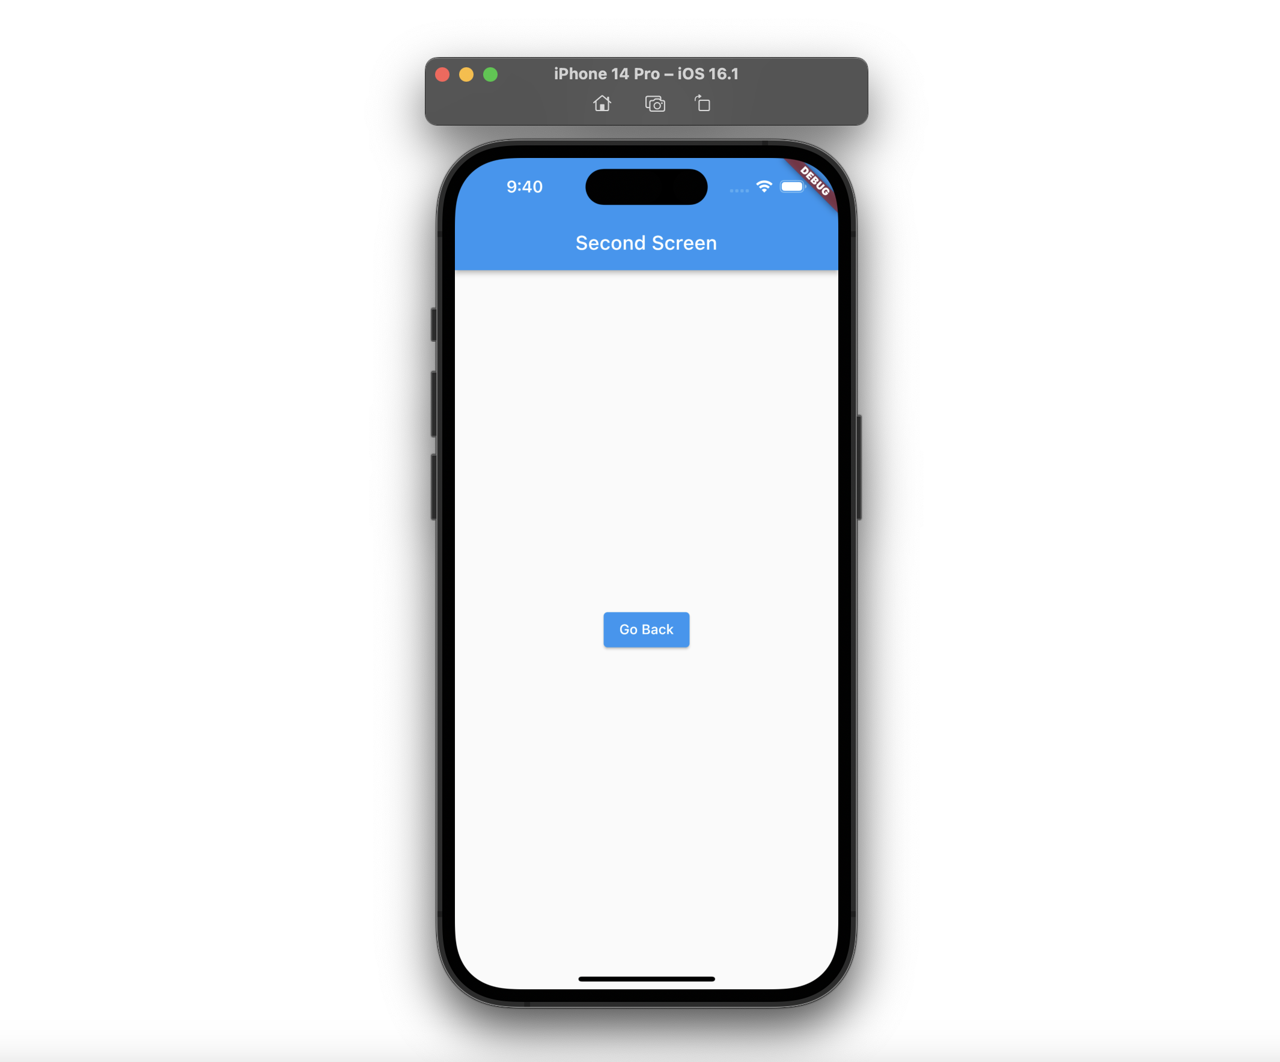
그럼 다음과 같이 뒤로가기 버튼이 없어지는 것을 확인할 수 있습니다.

완료
이번 블로그에서는 AppBar 위젯에서 자동으로 표시되는 뒤로가기 버튼을 없애는 방법에 대해서 알아보았습니다. 자동으로 뒤로가기 버튼을 만들어주므로 편하지만, 불필요한 경우도 있으니 automaticallyImplyLeading 옵션을 잘 기억해 둡시다.
제 블로그가 도움이 되셨나요? 하단의 댓글을 달아주시면 저에게 큰 힘이 됩니다!
앱 홍보
지금 보고 계신 블로그를 작성하는
관심있으신 분들은 앱을 다운로드하여 사용해 주시면 정말 감사하겠습니다.
Deku가 개발한 앱을 한번 사용해보세요.Deku가 개발한 앱은 Flutter로 개발되었습니다.관심있으신 분들은 앱을 다운로드하여 사용해 주시면 정말 감사하겠습니다.


![[심통]현장에서 바로 써먹는 리액트 with 타입스크립트 : 리액트와 스토리북으로 배우는 컴포넌트 주도 개발, 심통](https://img1c.coupangcdn.com/image/affiliate/banner/7cba8cb0601eebaf88a17a0c3cf65a63@2x.jpg)