개요
Flutter에서 간단한 애니메이션을 사용하기 위해 AnimatedContainer 위젯과 AnimatedOpacity 위젯을 사용하는 방법에 대해서 살펴보도록 하겠습니다.
이 블로그 포스트에서 소개하는 소스 코드는 아래에 링크에서 확인할 수 있습니다.
- GitHub: AnimatedContainer
- GitHub: AnimatedOpacity
Flutter 프로젝트 생성
Flutter에서 간단한 애니메이션을 사용법을 확인하기 위해, 다음 명령어를 사용하여 새로운 Flutter 프로젝트를 생성합니다.
flutter create my_app
cd my_app
AnimatedContainer
프로젝트를 생성하였다면, main.dart 파일을 다음과 같이 수정하여 AnimatedContainer 위젯을 표시합니다.
import 'dart:math';

import 'package:flutter/material.dart';

void main() {
  runApp(MyApp());
}

class MyApp extends StatelessWidget {
  @override
  Widget build(BuildContext context) {
    return MaterialApp(
      title: 'Flutter Demo',
      theme: ThemeData(
        primarySwatch: Colors.blue,
      ),
      home: MyHomePage(),
    );
  }
}

class MyHomePage extends StatefulWidget {
  @override
  _MyHomePageState createState() => _MyHomePageState();
}

class _MyHomePageState extends State<MyHomePage> {
  double _width = 0;
  double _height = 0;
  Color _color = Colors.green;
  double _borderRadius = 0;

  @override
  Widget build(BuildContext context) {
    return Scaffold(
      appBar: AppBar(
        title: Text('AnimatedContainer'),
      ),
      body: Center(
        child: AnimatedContainer(
          duration: Duration(seconds: 1),
          curve: Curves.fastOutSlowIn,
          width: _width,
          height: _height,
          decoration: BoxDecoration(
              color: _color,
              borderRadius: BorderRadius.circular(_borderRadius)),
        ),
      ),
      floatingActionButton: FloatingActionButton(
        onPressed: () {
          setState(() {
            final random = Random();
            _width = random.nextInt(300).toDouble();
            _height = random.nextInt(300).toDouble();
            _color = Color.fromRGBO(random.nextInt(256), random.nextInt(256),
                random.nextInt(256), 1);
            _borderRadius = random.nextInt(150).toDouble();
          });
        },
        child: Icon(Icons.play_arrow),
      ),
    );
  }
}
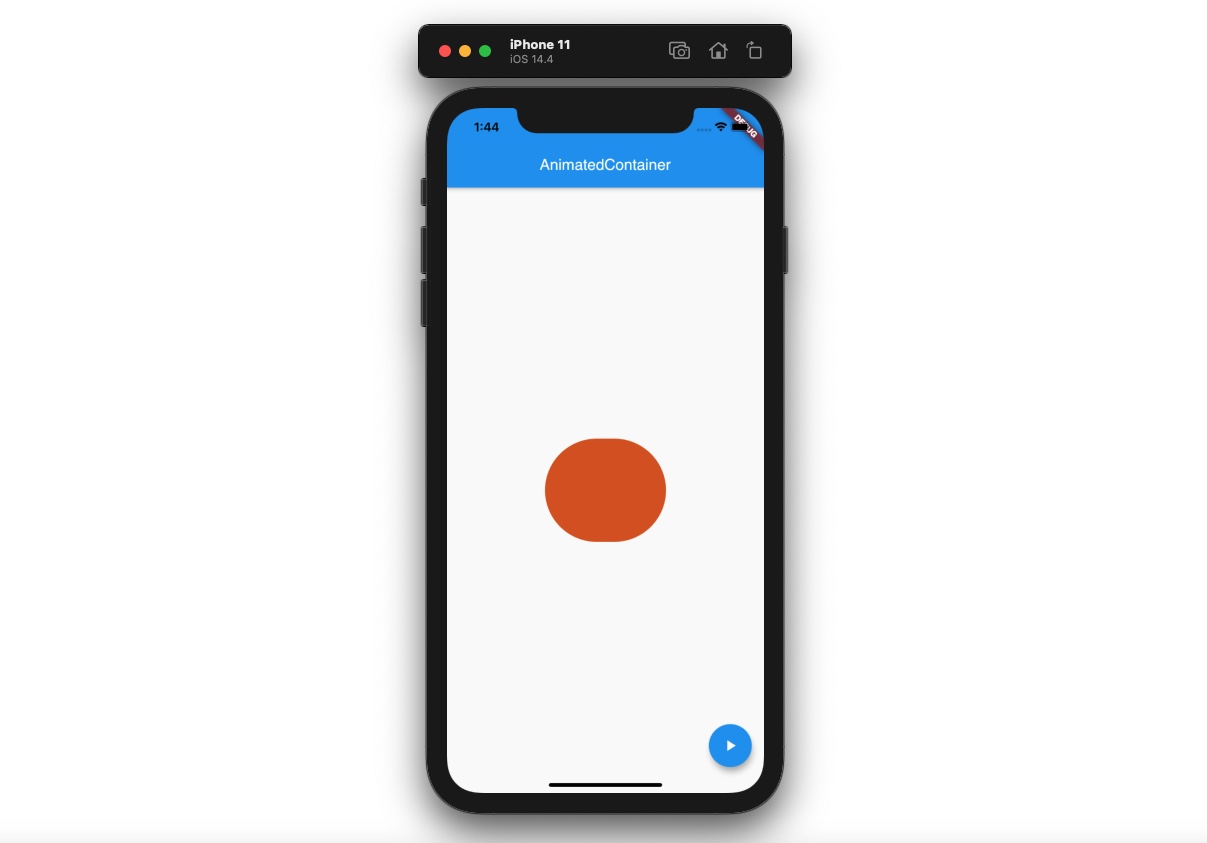
위와 같이 코드를 작성하면 다음과 같은 화면을 확인할 수 있습니다.

그럼 AnimatedContainer 위젯을 사용하는 부분만 자세히 살펴보도록 하겠습니다.
class _MyHomePageState extends State<MyHomePage> {
  double _width = 0;
  double _height = 0;
  Color _color = Colors.green;
  double _borderRadius = 0;
  ...
}
Stateful widget을 사용하여 애니메이션에 사용될 변수들을 정의하였습니다.
class _MyHomePageState extends State<MyHomePage> {
  ...
  @override
  Widget build(BuildContext context) {
    return Scaffold(
      ...
      body: Center(
        child: AnimatedContainer(
          duration: Duration(seconds: 1),
          curve: Curves.fastOutSlowIn,
          width: _width,
          height: _height,
          decoration: BoxDecoration(
              color: _color,
              borderRadius: BorderRadius.circular(_borderRadius)),
        ),
      ),
      ...
    );
  }
}
이렇게 정의한 변수들을 AnimatedContainer 위젯을 생성할 때 전달하였습니다.
class _MyHomePageState extends State<MyHomePage> {
  ...
  @override
  Widget build(BuildContext context) {
    return Scaffold(
      ...
      floatingActionButton: FloatingActionButton(
        onPressed: () {
          setState(() {
            final random = Random();
            _width = random.nextInt(300).toDouble();
            _height = random.nextInt(300).toDouble();
            _color = Color.fromRGBO(random.nextInt(256), random.nextInt(256),
                random.nextInt(256), 1);
            _borderRadius = random.nextInt(150).toDouble();
          });
        },
        child: Icon(Icons.play_arrow),
      ),
    );
  }
}
마지막으로 FloatingActionButton을 선택하였을 때, setState를 통해 애니메이션에서 사용되는 변수들의 값을 변경해 주었습니다. 이제 FloatingActionButton 버튼을 누르면 다양한 모양의 사각형이 화면에 표시되는 것을 확인할 수 있습니다.
AnimatedOpacity
AnimatedOpacity 위젯은 AnimatedContainer 위젯과는 다르게, 단순히 투명도(Opacity)에 대한 애니메이션을 적용할 수 있습니다. main.dart 파일을 열고 다음과 같이 수정합니다.
import 'package:flutter/material.dart';

void main() {
  runApp(MyApp());
}

class MyApp extends StatelessWidget {
  @override
  Widget build(BuildContext context) {
    return MaterialApp(
      title: 'Flutter Demo',
      theme: ThemeData(
        primarySwatch: Colors.blue,
      ),
      home: MyHomePage(),
    );
  }
}

class MyHomePage extends StatefulWidget {
  @override
  _MyHomePageState createState() => _MyHomePageState();
}

class _MyHomePageState extends State<MyHomePage> {
  bool _isVisible = true;

  @override
  Widget build(BuildContext context) {
    return Scaffold(
      appBar: AppBar(
        title: Text('AnimatedOpacity'),
      ),
      body: Center(
        child: AnimatedOpacity(
          opacity: _isVisible ? 1.0 : 0,
          duration: Duration(seconds: 1),
          child: Container(
            width: 200,
            height: 200,
            color: Colors.green,
          ),
        ),
      ),
      floatingActionButton: FloatingActionButton(
        onPressed: () {
          setState(() {
            _isVisible = !_isVisible;
          });
        },
        child: Icon(Icons.play_arrow),
      ),
    );
  }
}
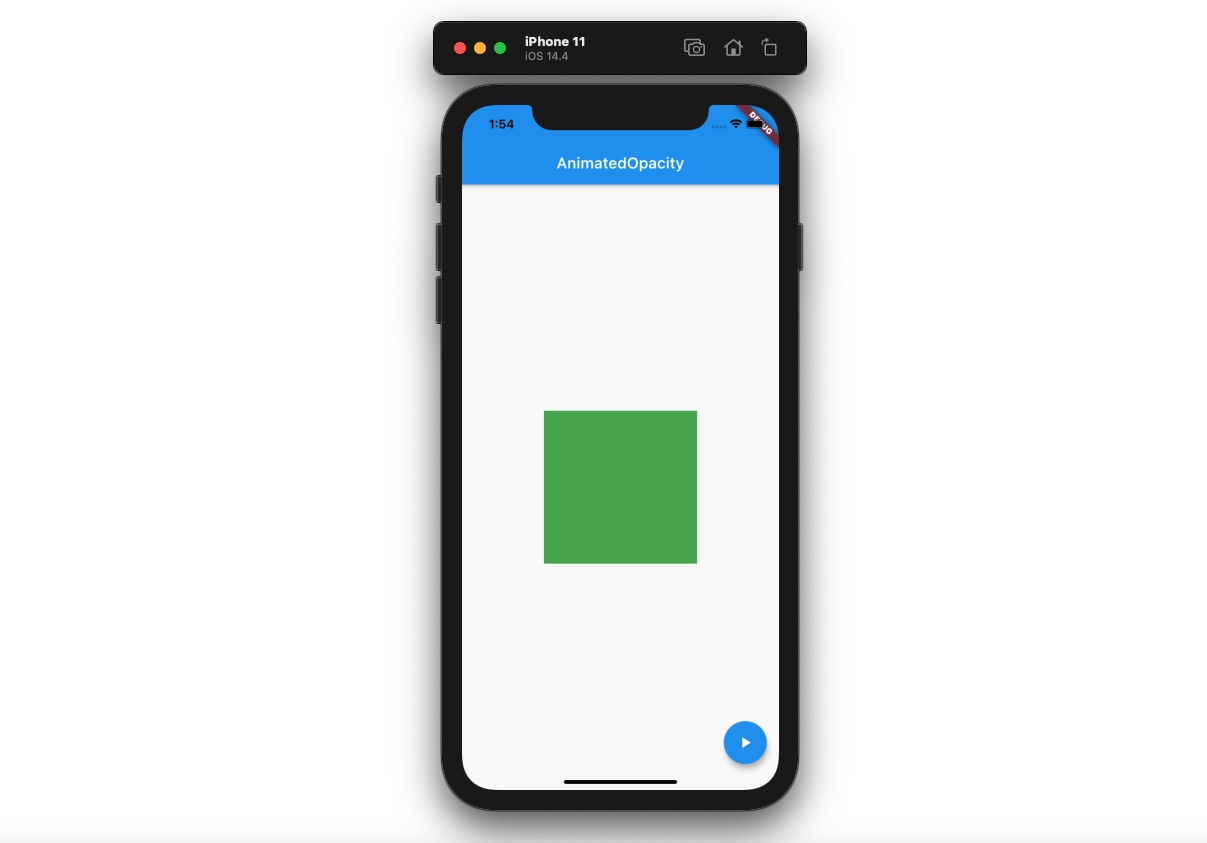
위와 같이 코드를 작성하면 다음과 같은 화면을 확인할 수 있습니다.

그럼 AnimatedOpacity 위젯을 사용하는 부분만 자세히 살펴보도록 하겠습니다.
class _MyHomePageState extends State<MyHomePage> {
  bool _isVisible = true;
  ...
}
이번 예제에서는 _isVisible 변수를 사용하여, true인 경우에는 AnimatedOpacity 위젯이 화면에 표시되도록 하고, false인 경우 위젯이 화면에 표시되지 않도록 할 예정입니다.
class _MyHomePageState extends State<MyHomePage> {
  ...
  @override
  Widget build(BuildContext context) {
    return Scaffold(
      ...
      body: Center(
        child: AnimatedOpacity(
          opacity: _isVisible ? 1.0 : 0,
          duration: Duration(seconds: 1),
          child: Container(
            width: 200,
            height: 200,
            color: Colors.green,
          ),
        ),
      ),
      ...
    );
  }
}
AnimatedOpacity 위젯은 child로 위젯을 필수로 전달해야 하며, opacity에 원하는 값을 전달함으로써 투명도에 애니메이션을 적용할 수 있습니다.
class _MyHomePageState extends State<MyHomePage> {
  ...
  @override
  Widget build(BuildContext context) {
    return Scaffold(
      ...
      floatingActionButton: FloatingActionButton(
        onPressed: () {
          setState(() {
            _isVisible = !_isVisible;
          });
        },
        child: Icon(Icons.play_arrow),
      ),
    );
  }
}
이제 FloatingActionButton 위젯을 통해 _isVisible을 변경하여, AnimatedOpacity 위젯의 투명도를 변경하였습니다.
완료
이것으로 Flutter에서 AnimatedContainer 위젯과 AnimatedOpacity 위젯을 통해 간단하게 애니메이션을 적용하는 방법에 대해서 살펴보았습니다.
제 블로그가 도움이 되셨나요? 하단의 댓글을 달아주시면 저에게 큰 힘이 됩니다!
앱 홍보
Deku가 개발한 앱을 한번 사용해보세요.Deku가 개발한 앱은 Flutter로 개발되었습니다.관심있으신 분들은 앱을 다운로드하여 사용해 주시면 정말 감사하겠습니다.


