개요
리스트를 가지는 앱에서 당겨서 새로고침(Pull to refresh)은 이제 기본적으로 제공하는 UI/UX가 되었습니다. 이번 블로그에서는 Flutter로 개발한 앱에서 당겨서 새로고침을 사용하여 표시된 리스트 갱신하는 방법에 대해서 알아보겠습니다.
여기서 소개하는 소스코드는 GitHub에서 확인하실 수 있습니다.
RefreshIndicator
Flutter에서 당겨서 새로고침을 사용하기 위해서는 RefreshIndicator 위젯을 사용할 필요가 있습니다.
- Document: RefreshIndicator class
이번 블로그 포스트에서는 RefreshIndicator 위젯을 사용하여 당겨서 새로고침을 구현하는 방법에 대해서 알아보도록 하겠습니다.
ListView
우선 ListView 위젯을 사용하여 일반적으로 리스트를 표시하는 코드를 작성해 봅시다.
class _MyHomePageState extends State<MyHomePage> {
  final List<String> _list = ['Apple', 'Banana', "Strawberry", "Watermelon"];

  @override
  Widget build(BuildContext context) {
    return Scaffold(
      appBar: AppBar(title: const Text('RefreshIndicator')),
      body: ListView.builder(
        itemCount: _list.length,
        itemBuilder: (context, index) {
          return ListTile(
            title: Text(_list[index]),
          );
        },
      ),
    );
  }
}
RefreshIndicator 위젯을 사용하여 화면에 표시되는 리스트를 업데이트할 예정이므로 State Widget을 사용했습니다.
이와같이 코드를 작성하면, 다음과 같이 ListView 위젯이 표시되는 것을 확인할 수 있습니다.
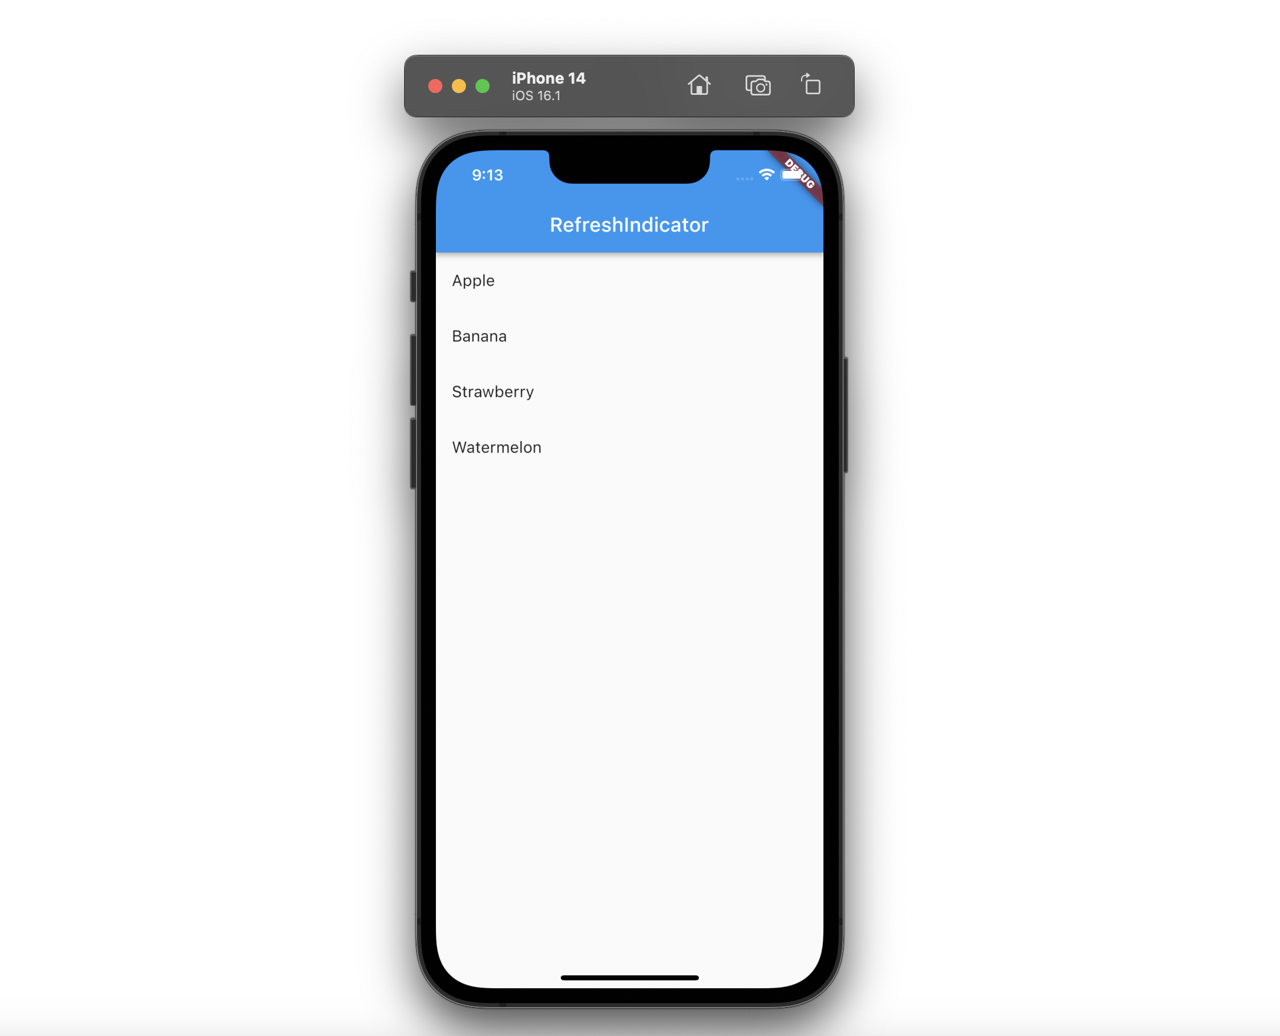
이렇게 표시된 ListView 위젯을 다음과 같이 아래로 당기면 상단 영역이 넓어질뿐 새로고침 동작이 발생하지 않습니다.

RefreshIndicator 위젯 사용 방법
그럼 이제 RefreshIndicator 위젯을 사용하여 당겨서 새로고침을 구현해 봅시다. RefreshIndicator 위젯은 다음과 같이 onRefresh 함수와 child를 사용할 수 있습니다.
RefreshIndicator(
  onRefresh: ...,
  child: ...,
)
그럼 이제 ListView 위젯을 사용하여 리스트 화면을 구현한 코드에 RefreshIndicator 위젯을 적용해 봅시다.
class _MyHomePageState extends State<MyHomePage> {
  List<String> _list = ['Apple', 'Banana', "Strawberry", "Watermelon"];

  @override
  Widget build(BuildContext context) {
    return Scaffold(
      appBar: AppBar(title: const Text('RefreshIndicator')),
      body: RefreshIndicator(
        onRefresh: () async {
          setState(() {
            _list = [..._list, ..._list];
          });
        },
        child: ListView.builder(
          itemCount: _list.length,
          itemBuilder: (context, index) {
            return ListTile(
              title: Text(_list[index]),
            );
          },
        ),
      ),
    );
  }
}
ListView 위젯의 부모 위젯으로 RefreshIndicator 위젯을 사용하였고, onRefresh 함수에는 화면에 표시되고 있는 리스트를 갱신하도록 코드를 작성하였습니다.
이렇게 작성하고 앱의 화면을 보면 이전과 같이 리스트가 잘 표시되는 것을 확인할 수 있습니다.

이렇게 표시된 리스트를 아래로 당기면 이전과는 다르게 로딩 아이콘(Indicator)이 표시되는 것을 확인할 수 있습니다.

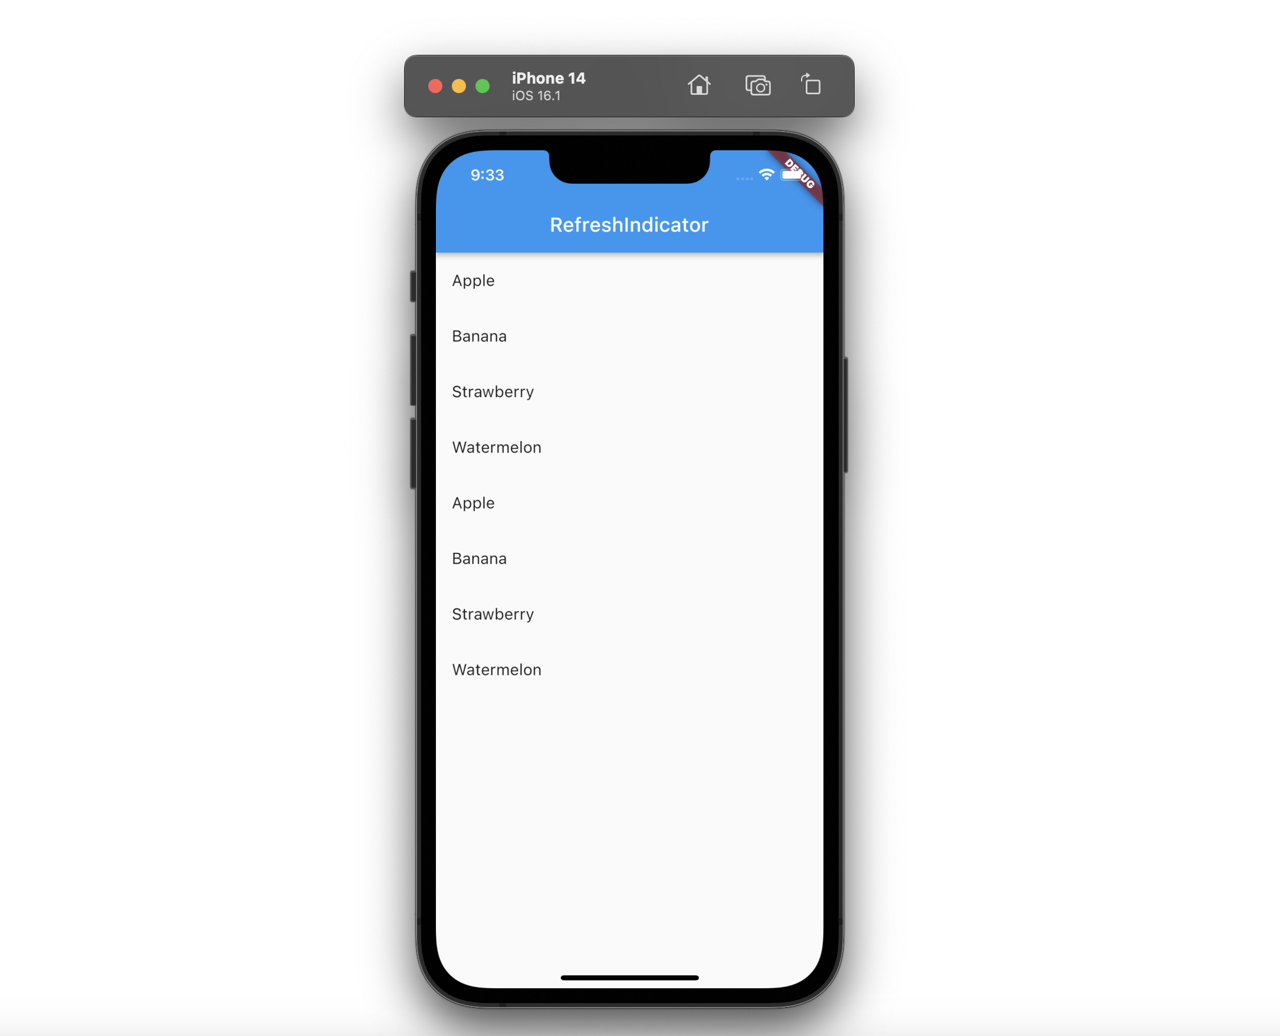
그리고 당긴 화면을 풀면 다음과 같이 데이터가 추가된 리스트가 잘 표시되는 것을 확인할 수 있습니다.
리스트가 없는 빈 화면에 적용
처음부터 화면에 표시할 데이터가 있는 경우는 지금까지의 방식만으로 구현이 가능합니다. 하지만, 데이터가 없는 경우 빈 화면을 보여주고, 역시 동일한 방식으로 당겨서 새로고침을 할 경우는 다음과 같이 SingleChildScrollView 위젯의 AlwaysScrollableScrollPhysics을 사용할 수 있습니다.
class _MyHomePageState extends State<MyHomePage> {
  List<String> _list = [];

  @override
  Widget build(BuildContext context) {
    return Scaffold(
      appBar: AppBar(title: const Text('RefreshIndicator')),
      body: RefreshIndicator(
        onRefresh: () async {
          final newList = ['Apple', 'Banana', "Strawberry", "Watermelon"];

          setState(() {
            _list = [..._list, ...newList];
          });
        },
        child: _list.isNotEmpty
            ? ListView.builder(
                itemCount: _list.length,
                itemBuilder: (context, index) {
                  return ListTile(
                    title: Text(_list[index]),
                  );
                },
              )
            : LayoutBuilder(
                builder: (context, constraints) {
                  return SingleChildScrollView(
                    physics: const AlwaysScrollableScrollPhysics(),
                    child: SizedBox(
                      height: constraints.maxHeight,
                      child: Center(
                        child: Column(
                          mainAxisAlignment: MainAxisAlignment.center,
                          children: const [
                            Text('There is not data.'),
                            Text('Pull to refresh.'),
                          ],
                        ),
                      ),
                    ),
                  );
                },
              ),
      ),
    );
  }
}
데이터가 없는 경우의 코드만을 보면 다음과 같습니다.
LayoutBuilder(
builder: (context, constraints) {
return SingleChildScrollView(
physics: const AlwaysScrollableScrollPhysics(),
child: SizedBox(
height: constraints.maxHeight,
child: Center(
child: Column(
mainAxisAlignment: MainAxisAlignment.center,
children: const [
Text('There is not data.'),
Text('Pull to refresh.'),
],
),
),
),
);
},
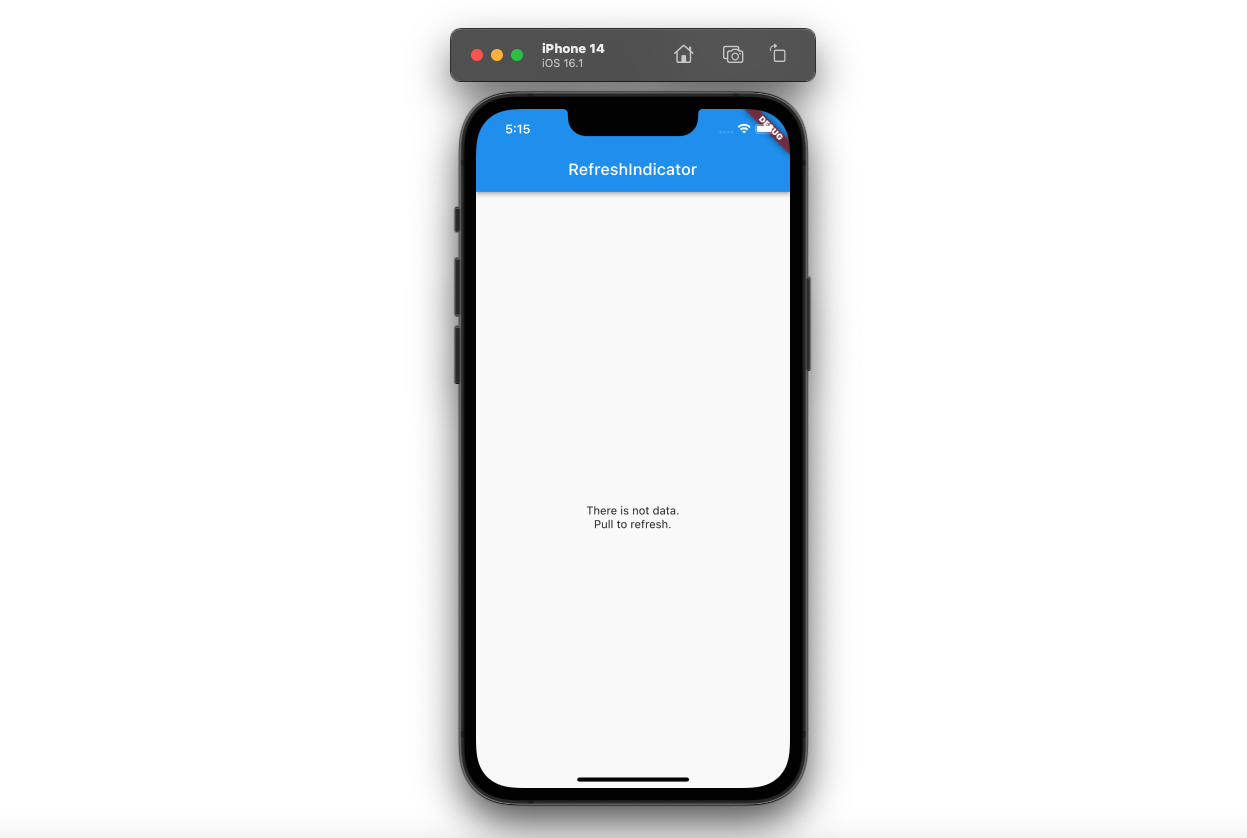
)SingleChildScrollView 위젯에 AlwaysScrollableScrollPhysics 옵션을 사용하면 컨텐츠의 크기와 상관없이 언제든지 스크롤이 되도록 만들 수 있습니다. 이렇게 만든 스크롤에 LayoutBuilder 위젯을 사용하여 화면 전체 크기로 데이터가 없을 때 보여줄 빈 화면을 표시하면 데이터가 없을 때 화면을 만들 수 있습니다.
이렇게 코드를 수정하면 다음과 같은 화면을 확인할 수 있습니다.
그런 다음 화면을 당기면 다음과 같이 새로고침 아이콘이 표시되는 것을 확인할 수 있습니다.

그리고 새로고침을 하면, 다음과 같이 데이터가 추가된 화면을 확인할 수 있습니다.

완료
이것으로 RefreshIndicator 위젯을 사용하여 당겨서 새로고침을 사용하는 방법에 대해서 알아보았습니다. 당겨서 새로고침은 거의 모든 리스트 화면에서 구현하고 있으므로, 잘 기억해두면 활용하는데 큰 도움이 될거 같습니다.
제 블로그가 도움이 되셨나요? 하단의 댓글을 달아주시면 저에게 큰 힘이 됩니다!
앱 홍보
Deku가 개발한 앱을 한번 사용해보세요.Deku가 개발한 앱은 Flutter로 개발되었습니다.관심있으신 분들은 앱을 다운로드하여 사용해 주시면 정말 감사하겠습니다.


