개요
이번 블로그 포스트에서는 url_launcher를 사용하여 웹 브라우저를 실행하거나, 메일, 전화 등을 실행하는 방법에 대해서 알아보도록 하겠습니다.
- url_launcher: https://pub.dev/packages/url_launcher
이 블로그 포스트에서 소개하는 소스 코드는 아래에 링크에서 확인할 수 있습니다.
url_launcher 설치
Flutter에서 url_launcher의 사용법을 확인하기 위해 다음 명령어를 사용하여 Flutter의 새로운 프로젝트를 생성합니다.
flutter create url_launcher_example그런 다음 명령어를 실행하여 url_launcher 패키지를 설치합니다.
flutter pub add url_launcher이제 이렇게 설치한 url_launcher를 사용하는 방법에 대해서 알아보도록 합시다.
설정
url_launcher를 사용하기 위해서는 다음과 같은 설정을 할 필요가 있습니다.
iOS
iOS에서 url_launcher를 사용하기 위해서는 ios/Runner/Info.plist 파일을 열고 다음과 같이 수정해야 합니다.
<?xml version="1.0" encoding="UTF-8"?>
<!DOCTYPE plist PUBLIC "-//Apple//DTD PLIST 1.0//EN" "http://www.apple.com/DTDs/PropertyList-1.0.dtd">
<plist version="1.0">
<dict>
  ...
  <key>LSApplicationQueriesSchemes</key>
  <array>
    <string>https</string>
    <string>http</string>
  </array>
</dict>
</plist>
Android
Android에서 url_launcher를 사용하기 위해서는 android/app/src/main/AndroidManifest.xml 파일을 열고 다음과 같이 수정해야 합니다.
<manifest xmlns:android="http://schemas.android.com/apk/res/android"
    package="com.example.url_launcher_example">
    <queries>
        <!-- If your app opens https URLs -->
        <intent>
            <action android:name="android.intent.action.VIEW" />
            <data android:scheme="https" />
        </intent>
        <!-- If your app makes calls -->
        <intent>
            <action android:name="android.intent.action.DIAL" />
            <data android:scheme="tel" />
        </intent>
        <!-- If your sends SMS messages -->
        <intent>
            <action android:name="android.intent.action.SENDTO" />
            <data android:scheme="smsto" />
        </intent>
        <!-- If your app sends emails -->
        <intent>
            <action android:name="android.intent.action.SEND" />
            <data android:mimeType="*/*" />
        </intent>
    </queries>

   <application>
        ...
    </application>
</manifest>
사용법
이렇게 url_launcher를 설치하고 설정하였다면, 다음과 같이 launchUrl 함수를 통해 브라우저를 실행할 수 있습니다.
import 'package:url_launcher/url_launcher.dart';
...
launchUrl(
  Uri.parse('https://deku.posstree.com/en/'),
);launchUrl에서 사용하는 Uri는 위와 같이 문자열로부터 생성할 수 있으며, 다음과 같이 생성자를 통해서도 생성이 가능합니다.
// https://play.google.com/store/apps/details?id=com.google.android.tts
Uri(
  scheme: 'https',
  host: 'play.google.com',
  path: 'store/apps/details',
  queryParameters: {"id": 'com.google.android.tts'},
),
또한 다음과 같이 canLaunchUrl 함수를 사용하여 해당 URL이 실행 가능한지 확인할 수 있습니다.
const url = Uri.parse('https://deku.posstree.com/en/');
if (await canLaunchUrl(url)) {
  launchUrl(url);
}
그리고 다음과 같은 URL을 사용하여 웹 브라우저 이외에 앱을 실행할 수 있습니다.
- Email:
launchUrl(Uri.parse('mailto:[email protected]?subject=Hello&body=Test')); - Tel:
launchUrl(Uri.parse('tel:+1 555 010 999')); - SMS:
launchUrl(Uri.parse('sms:5550101234')); - Google Play store App page:
launchUrl(Uri.parse('http://play.google.com/store/apps/details?id=com.google.android.tts'));
예제
그럼 지금까지에 내용을 확인하기 위해 lib/main.dart 파일을 열고 다음과 같이 수정합니다.
import 'package:flutter/material.dart';
import 'package:url_launcher/url_launcher.dart';

void main() {
  runApp(const MyApp());
}

class MyApp extends StatelessWidget {
  const MyApp({Key? key}) : super(key: key);

  @override
  Widget build(BuildContext context) {
    return MaterialApp(
      title: 'Flutter Demo',
      theme: ThemeData(
        primarySwatch: Colors.blue,
      ),
      home: const MyHomePage(),
    );
  }
}

class MyHomePage extends StatelessWidget {
  const MyHomePage({Key? key}) : super(key: key);

  @override
  Widget build(BuildContext context) {
    return Scaffold(
      appBar: AppBar(
        title: const Text('URL Launcher'),
      ),
      body: Center(
        child: Column(
          mainAxisAlignment: MainAxisAlignment.center,
          children: [
            ElevatedButton(
              onPressed: () async {
                final url = Uri.parse(
                  'https://deku.posstree.com/en/',
                );
                if (await canLaunchUrl(url)) {
                  launchUrl(url);
                } else {
                  // ignore: avoid_print
                  print("Can't launch $url");
                }
              },
              child: const Text('Web Link'),
            ),
            ElevatedButton(
              onPressed: () async {
                final url = Uri(
                  scheme: 'mailto',
                  path: '[email protected]',
                  query: 'subject=Hello&body=Test',
                );
                if (await canLaunchUrl(url)) {
                  launchUrl(url);
                } else {
                  // ignore: avoid_print
                  print("Can't launch $url");
                }
              },
              child: const Text('Mail to'),
            ),
            ElevatedButton(
              onPressed: () async {
                final url = Uri.parse('tel:+1 555 010 999');
                if (await canLaunchUrl(url)) {
                  launchUrl(url);
                } else {
                  // ignore: avoid_print
                  print("Can't launch $url");
                }
              },
              child: const Text('Tel'),
            ),
            ElevatedButton(
              onPressed: () async {
                final url = Uri.parse('sms:5550101234');
                if (await canLaunchUrl(url)) {
                  launchUrl(url);
                } else {
                  // ignore: avoid_print
                  print("Can't launch $url");
                }
              },
              child: const Text('SMS'),
            ),
          ],
        ),
      ),
    );
  }
}
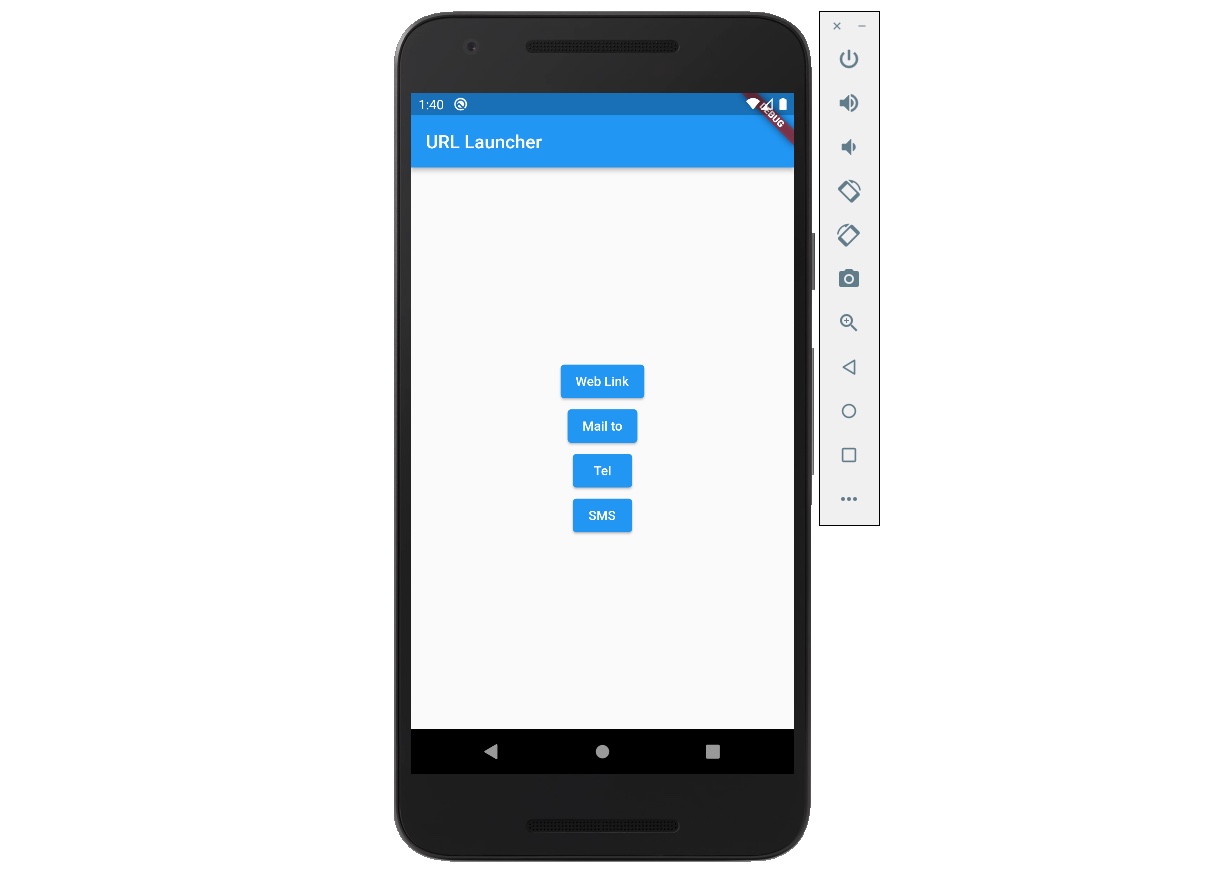
화면에 예제 버튼을 표시하고 버튼을 누르면, 버튼에 해당하는 앱이 실행되는 예제입니다.
Column(
  mainAxisAlignment: MainAxisAlignment.center,
  children: [
    ElevatedButton(
      onPressed: () async {
        final url = Uri.parse(
          'https://deku.posstree.com/en/',
        );
        if (await canLaunchUrl(url)) {
          launchUrl(url);
        } else {
          // ignore: avoid_print
          print("Can't launch $url");
        }
      },
      child: const Text('Web Link'),
    ),
    ElevatedButton(
      onPressed: () async {
        final url = Uri(
          scheme: 'mailto',
          path: '[email protected]',
          query: 'subject=Hello&body=Test',
        );
        if (await canLaunchUrl(url)) {
          launchUrl(url);
        } else {
          // ignore: avoid_print
          print("Can't launch $url");
        }
      },
      child: const Text('Mail to'),
    ),
    ElevatedButton(
      onPressed: () async {
        final url = Uri.parse('tel:+1 555 010 999');
        if (await canLaunchUrl(url)) {
          launchUrl(url);
        } else {
          // ignore: avoid_print
          print("Can't launch $url");
        }
      },
      child: const Text('Tel'),
    ),
    ElevatedButton(
      onPressed: () async {
        final url = Uri.parse('sms:5550101234');
        if (await canLaunchUrl(url)) {
          launchUrl(url);
        } else {
          // ignore: avoid_print
          print("Can't launch $url");
        }
      },
      child: const Text('SMS'),
    ),
  ],
),
확인
이렇게 수정한 예제를 실행하면 다음과 같은 화면을 확인할 수 있습니다.
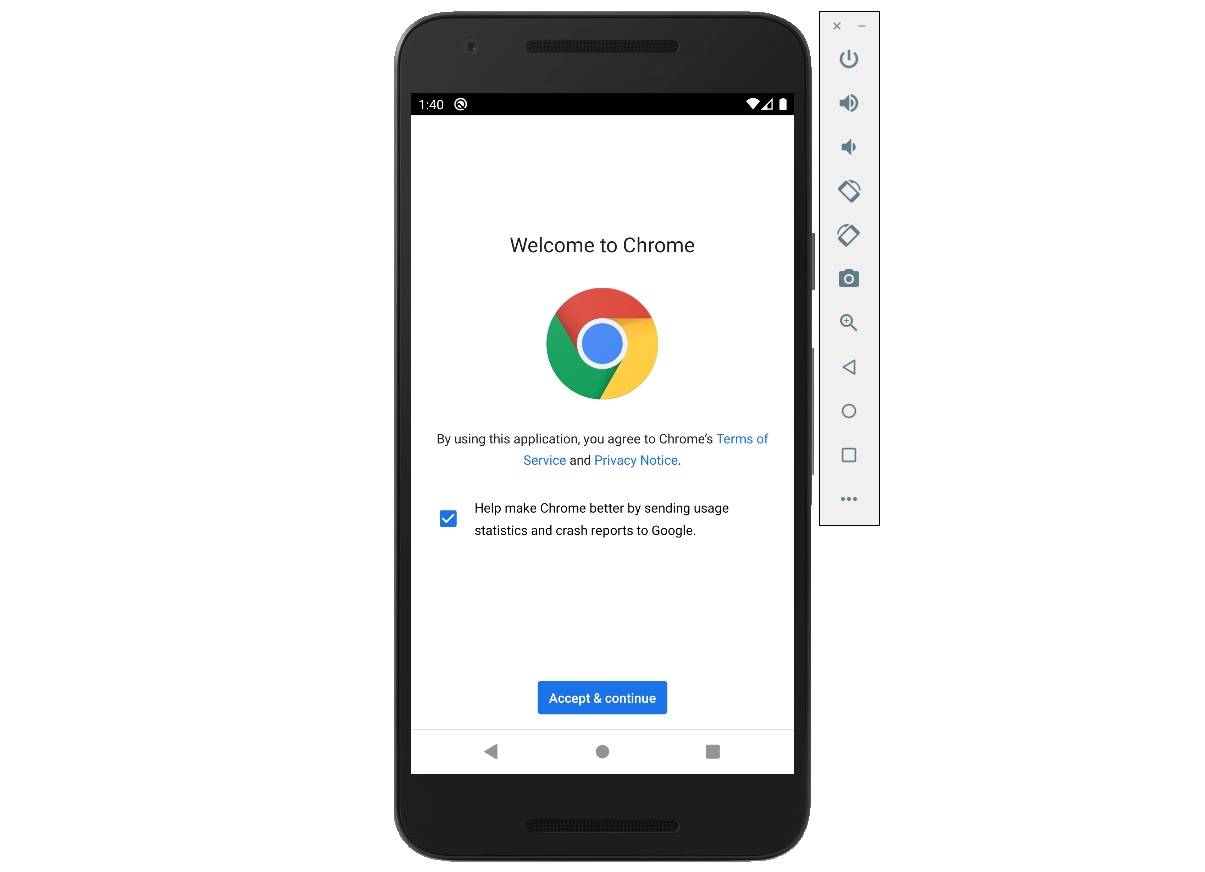
Web Link 버튼을 누르면 다음과 같이 웹 브라우저가 실행되는 것을 확인할 수 있습니다.
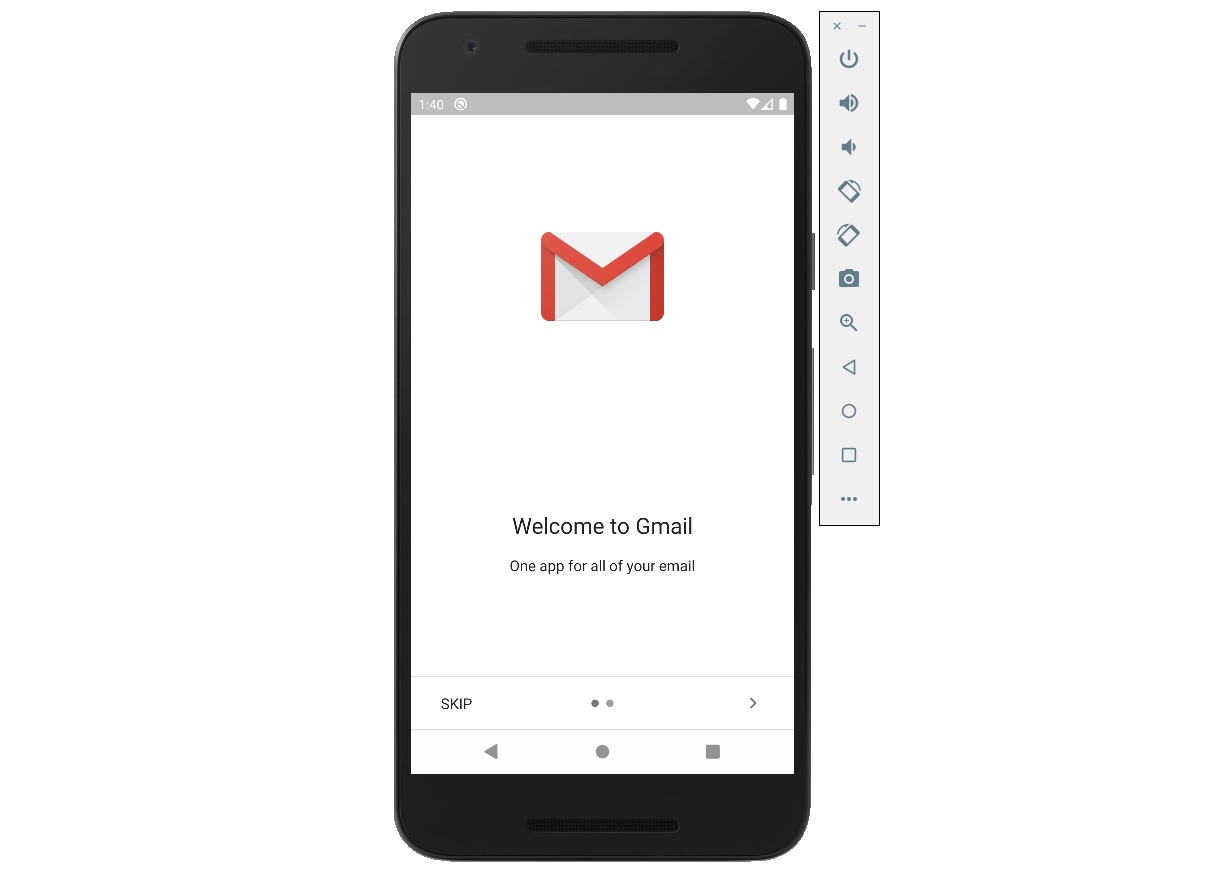
Mail to 버튼을 누르면 다음과 같이 이메일 앱이 실행되는 것을 확인할 수 있습니다.
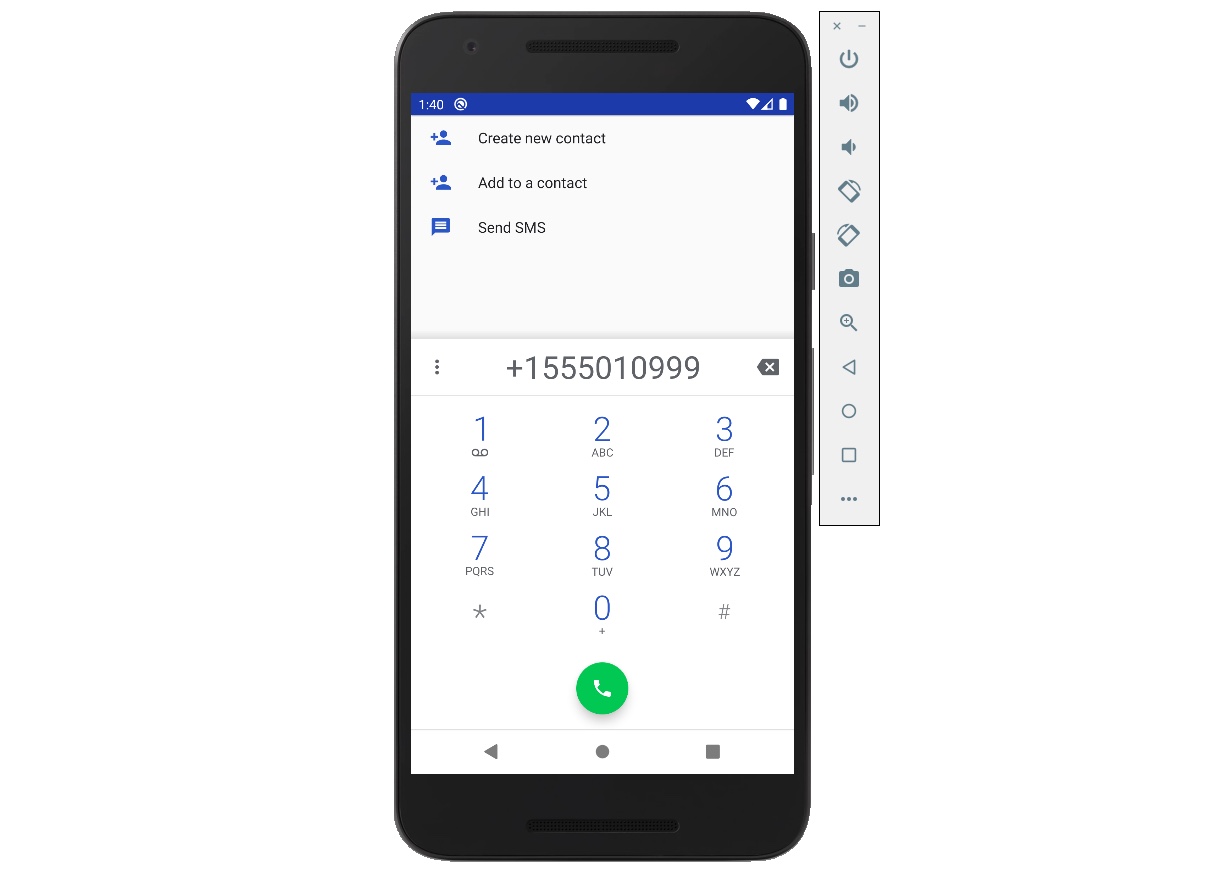
Tel 버튼을 누르면 다음과 같이 전화 앱이 실행되는 것을 확인할 수 있습니다.
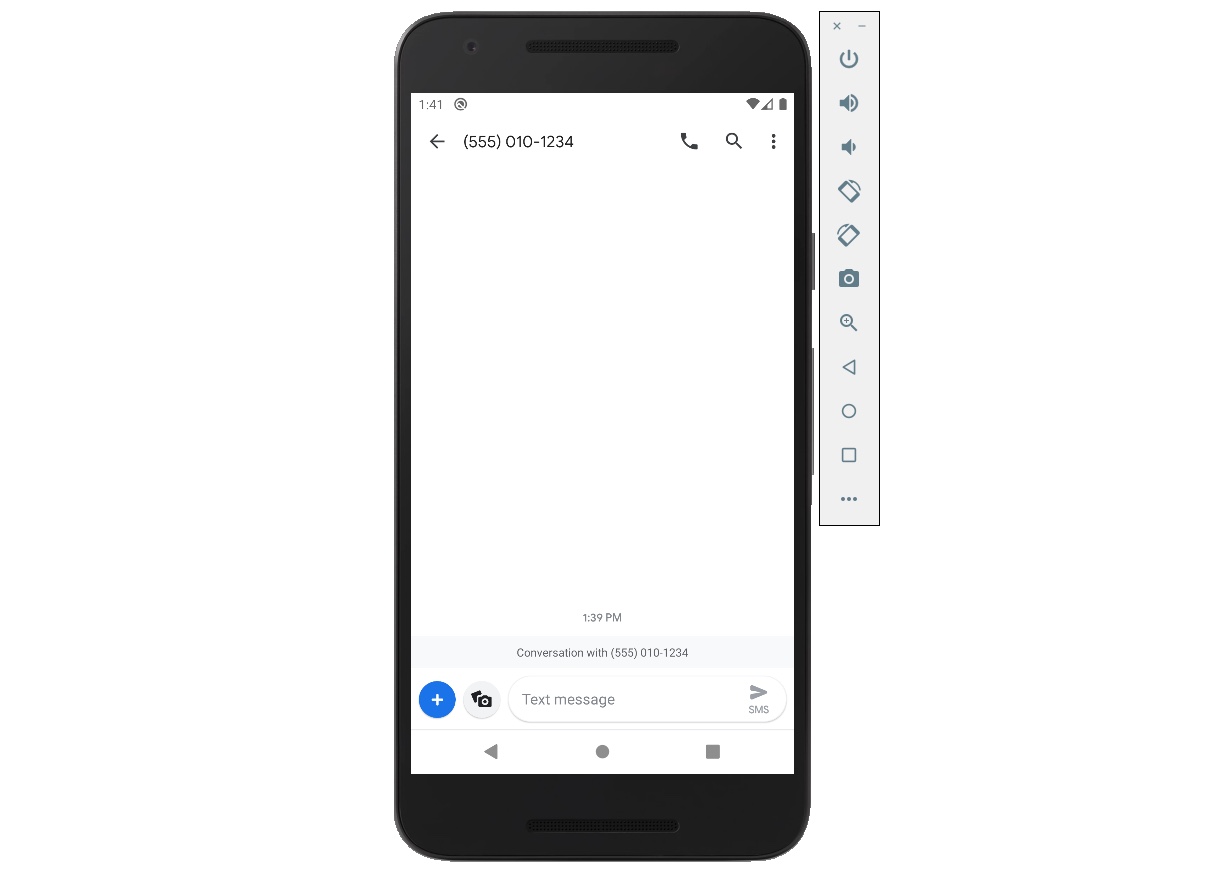
SMS 버튼을 누르면 다음과 같이 SMS 앱이 실행되는 것을 확인할 수 있습니다.
완료
이것으로 url_launcher를 사용하여 원하는 URL을 브라우저로 여는 방법에 대해서 살펴보았습니다. 또한, 이메일과 전화번호, SMS로 설정한 URL로 해당 앱들을 실행하는 방법에 대해서도 살펴보았습니다.
제 블로그가 도움이 되셨나요? 하단의 댓글을 달아주시면 저에게 큰 힘이 됩니다!
앱 홍보
Deku가 개발한 앱을 한번 사용해보세요.Deku가 개발한 앱은 Flutter로 개발되었습니다.관심있으신 분들은 앱을 다운로드하여 사용해 주시면 정말 감사하겠습니다.


