개요
이번 블로그 포스트에서는 http 패키지를 사용하여 서버 API를 호출하는 방법에 대해서 알아봅시다.
이 블로그 포스트에서 소개하는 소스 코드는 아래에 링크에서 확인할 수 있습니다.
http 설치
Flutter에서 http의 사용법을 확인하기 위해 다음 명령어를 사용하여 Flutter의 새로운 프로젝트를 생성합니다.
flutter create http_example
그런 다음 명령어를 실행하여 http 패키지를 설치합니다.
flutter pub add http
이제 이렇게 설치한 http를 사용하는 방법에 대해서 알아보도록 합시다.
사용법
http를 사용하여 다음과 같이 GET/POST 방식으로 서버 API를 호출할 수 있습니다.
- get
import 'package:http/http.dart' as http;

final url = Uri.parse('https://reqbin.com/sample/post/json');
final response = await http.post(url, body: {
  'key': 'value',
});

print('Response status: ${response.statusCode}');
print('Response body: ${response.body}');
- post
import 'package:http/http.dart' as http;

final url = Uri.parse(
  'https://raw.githubusercontent.com/dev-yakuza/users/master/api.json',
);
final response = await http.get(url);

print('Response status: ${response.statusCode}');
print('Response body: ${response.body}');
예제
http의 사용법을 확인하기 위해, lib/main.dart 파일을 열고 다음과 같이 수정합니다.
// ignore_for_file: avoid_print

import 'package:flutter/material.dart';
import 'package:http/http.dart' as http;

void main() {
  runApp(const MyApp());
}

class MyApp extends StatelessWidget {
  const MyApp({Key? key}) : super(key: key);

  @override
  Widget build(BuildContext context) {
    return MaterialApp(
      title: 'Flutter Demo',
      theme: ThemeData(
        primarySwatch: Colors.blue,
      ),
      home: const MyHomePage(),
    );
  }
}

class MyHomePage extends StatelessWidget {
  const MyHomePage({Key? key}) : super(key: key);

  void _callAPI() async {
    var url = Uri.parse(
      'https://raw.githubusercontent.com/dev-yakuza/users/master/api.json',
    );
    var response = await http.get(url);
    print('Response status: ${response.statusCode}');
    print('Response body: ${response.body}');

    url = Uri.parse('https://reqbin.com/sample/post/json');
    response = await http.post(url, body: {
      'key': 'value',
    });
    print('Response status: ${response.statusCode}');
    print('Response body: ${response.body}');
  }

  @override
  Widget build(BuildContext context) {
    return Scaffold(
      appBar: AppBar(
        title: const Text('http Example'),
      ),
      body: Center(
        child: ElevatedButton(
          onPressed: _callAPI,
          child: const Text('Call API'),
        ),
      ),
    );
  }
}
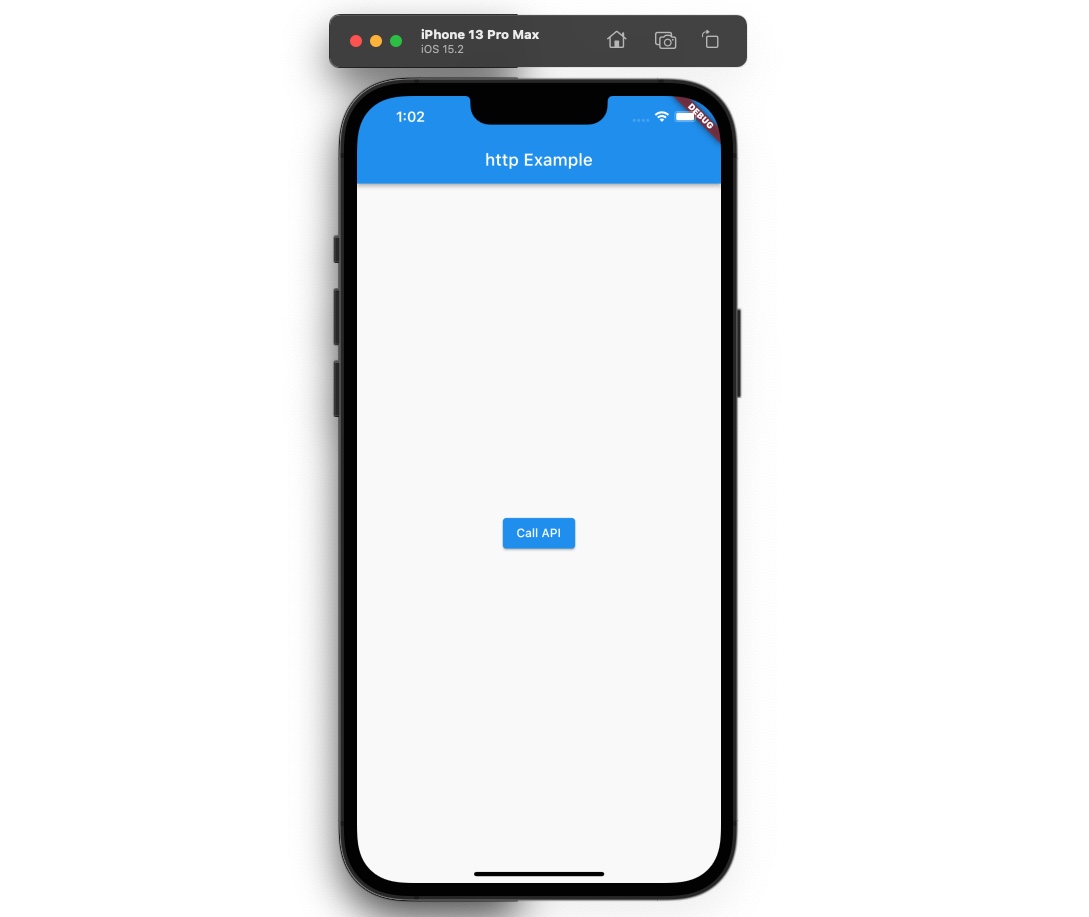
예제를 실행하면 다음과 같이 Call API 버튼이 화면 가운데에 표시되는 것을 확인할 수 있습니다.

해당 버튼을 누르면 다음과 같이 http 패키지를 사용하여 API를 호출합니다.
void _callAPI() async {
  var url = Uri.parse(
    'https://raw.githubusercontent.com/dev-yakuza/users/master/api.json',
  );
  var response = await http.get(url);
  print('Response status: ${response.statusCode}');
  print('Response body: ${response.body}');

  url = Uri.parse('https://reqbin.com/sample/post/json');
  response = await http.post(url, body: {
    'key': 'value',
  });
  print('Response status: ${response.statusCode}');
  print('Response body: ${response.body}');
}
http 패키지를 사용하여 성공적으로 API를 호출하였다면, Debug console에 다음과 같은 결과를 확인할 수 있습니다.
flutter: Response status: 200
flutter: Response body: [
  {
    "name": "Durand Thomas",
    "photo": "https://raw.githubusercontent.com/dev-yakuza/users/master/images/1.jpg"
  },
  {
    "name": "Petersen Simon",
    "photo": "https://raw.githubusercontent.com/dev-yakuza/users/master/images/5.jpg"
  },
  {
    "name": "Øglænd Helene",
    "photo": "https://raw.githubusercontent.com/dev-yakuza/users/master/images/6.jpg"
  },
  {
    "name": "Jean Olivia",
    "photo": "https://raw.githubusercontent.com/dev-yakuza/users/master/images/7.jpg"
  },
  {
    "name": "Owren Aras",
    "photo": "https://raw.githubusercontent.com/dev-yakuza/users/master/images/8.<…>
flutter: Response status: 200
flutter: Response body: {"success":"true"}
완료
이것으로 Flutter에서 http를 사용하여 API를 호출하는 방법에 대해서 알아보았습니다. 이제 여러분도 http 패키지를 사용하여 서버와 통신을 시도해 보시기 바랍니다.
제 블로그가 도움이 되셨나요? 하단의 댓글을 달아주시면 저에게 큰 힘이 됩니다!
앱 홍보
지금 보고 계신 블로그를 작성하는
관심있으신 분들은 앱을 다운로드하여 사용해 주시면 정말 감사하겠습니다.
Deku가 개발한 앱을 한번 사용해보세요.Deku가 개발한 앱은 Flutter로 개발되었습니다.관심있으신 분들은 앱을 다운로드하여 사용해 주시면 정말 감사하겠습니다.


![[심통]현장에서 바로 써먹는 리액트 with 타입스크립트 : 리액트와 스토리북으로 배우는 컴포넌트 주도 개발, 심통](https://img1c.coupangcdn.com/image/affiliate/banner/7cba8cb0601eebaf88a17a0c3cf65a63@2x.jpg)