목차
개요
이번 블로그 포스트에서는 Flutter에서 firebase_core을 사용하여 Firebase를 연동하는 방법에 대해서 소개합니다.
블로그 시리즈
이 블로그는 시리즈로 제작되었습니다. 다음 링크를 통해 다른 블로그 포스트도 확인해 보시기 바랍니다.
- [Flutter] Firebase Core
- [Flutter] Firebase Analytics
- [Flutter] Firebase Crashlytics
- [Flutter] Firebase App Check
- [Flutter] Firebase Performance
Firebase 프로젝트 생성
다음은 구글의 파이어베이스(Google Firebase)에서 프로젝트를 생성할 필요가 있습니다. 아래에 링크를 눌러 구글 파이어베이스(Google Firebase)로 이동합니다.
- 구글 파이어베이스(Google Firebase): https://firebase.google.com
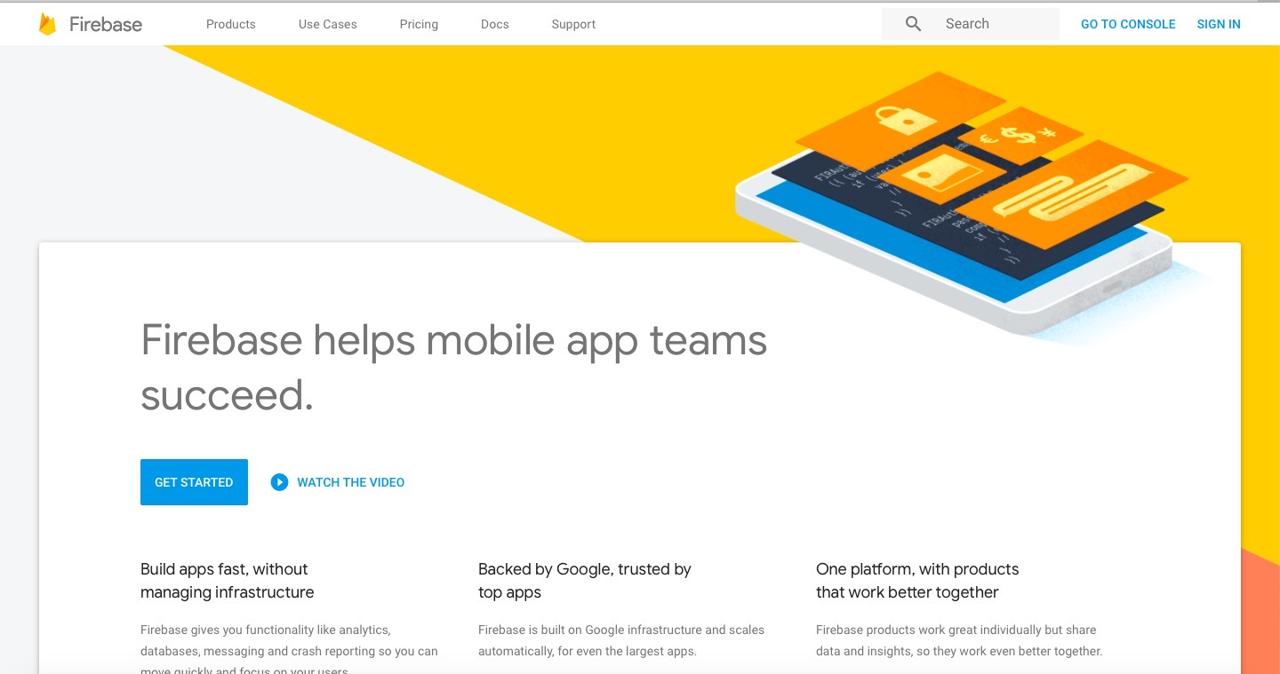
오른쪽 위에 SIGN IN 버튼을 눌러 로그인합니다.
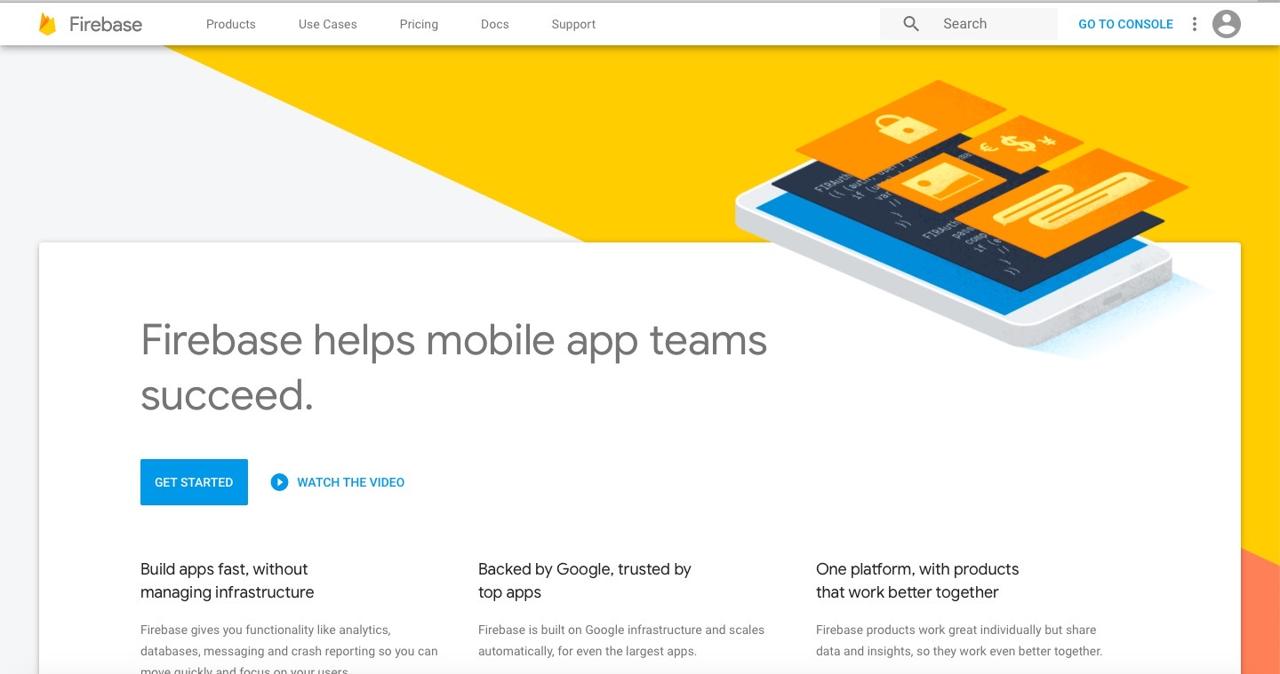
로그인을 했다면 오른쪽 위에 GO TO CONSOLE을 눌러 구글 파이어베이스 콘솔(Google Firebase Console)로 이동합니다.
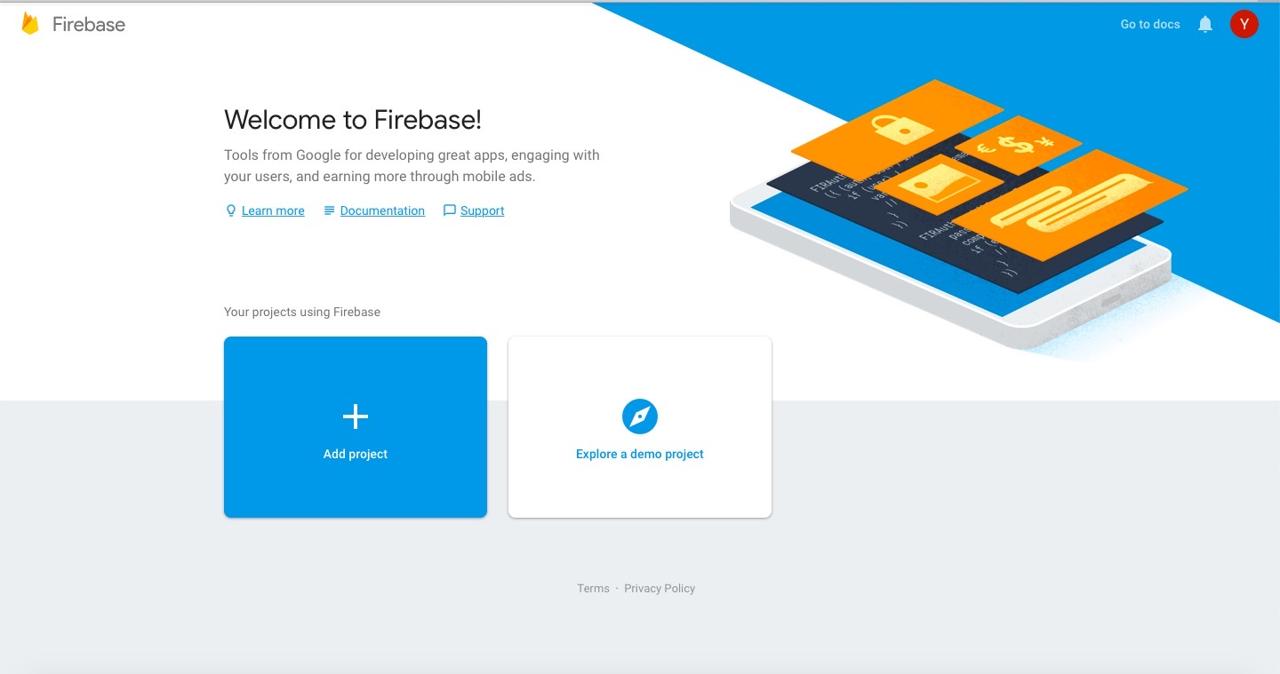
구글 파이어베이스 콘솔(Google Firebase Console)에서 + Add project를 눌러 프로젝트를 추가합니다.

위와 같은 화면에서 Enter your project name에 만들고자하는 Firebase 프로젝트 이름을 입력합니다. 입력을 하였다면 하단에 있는 Continue 버튼을 눌러 다음으로 진행합니다.
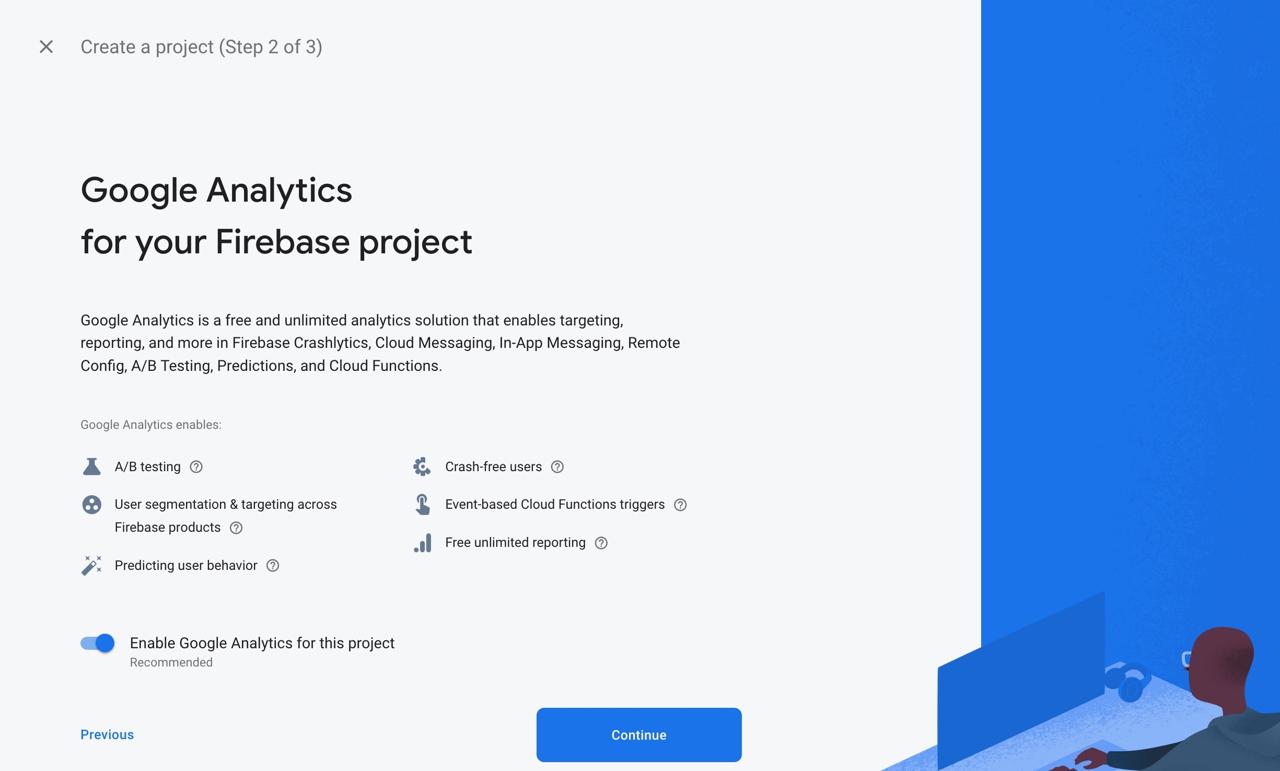
프로젝트 명을 입력하였다면, 위와 같이 Google Analytics을 연동하는 화면을 볼 수 있습니다. Google Analytics와 연동을 원하지 않는 경우, 왼쪽 하단의 스위치를 선택하여 Disable로 변경하고 Firebase 프로젝트를 생성합니다.
Google Analytics와 연동을 원하는 분들은 Continue를 눌러 진행합니다.
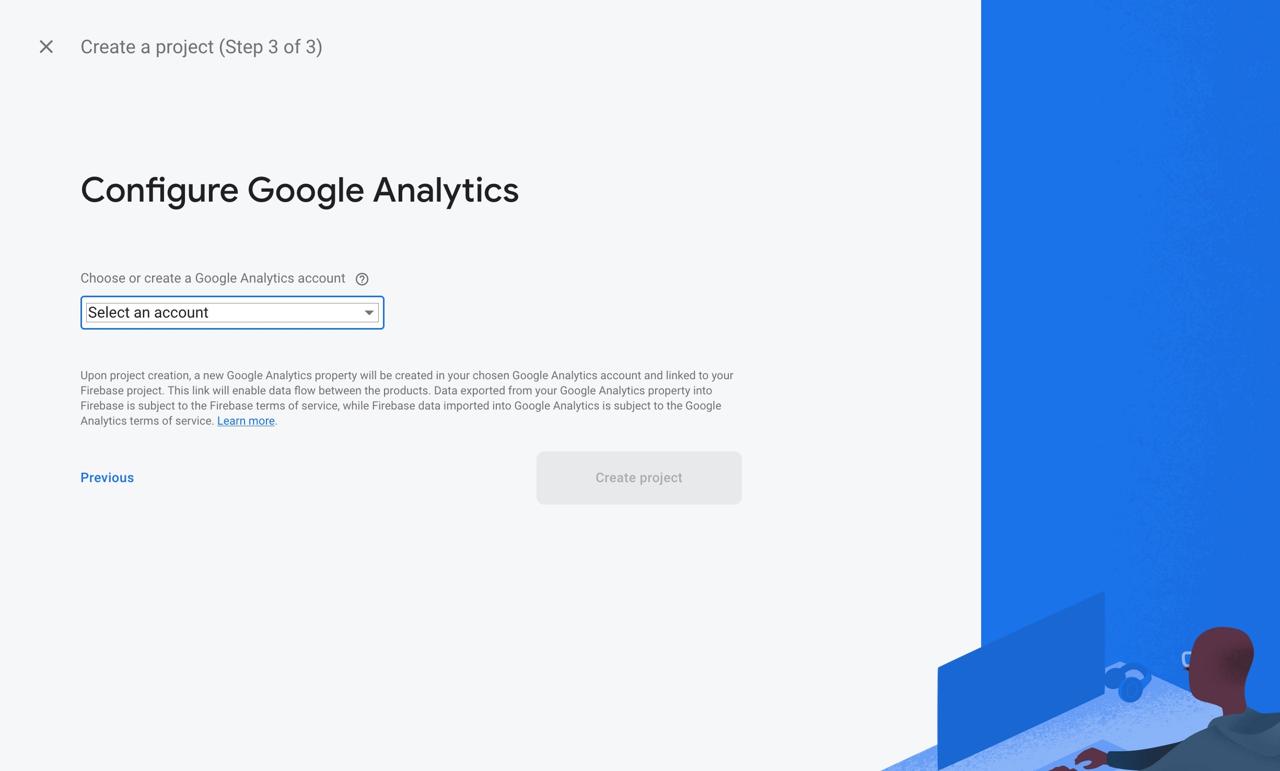
Google Analytics 계정을 선택하고, Create project 버튼을 눌러 Firebase 프로젝트를 생성합니다.
iOS 설정
firebase_core을 사용해서 Flutter에서 Firebase를 사용하기 위해 iOS를 설정하는 방법에 대해서 알아봅시다.
Bundle identifier 변경
Firebase에 iOS 프로젝트를 생성하기 전에, iOS의 Bundle identifier를 변경할 필요가 있습니다. ios/Runner.xcworkspace 파일을 실행하여 Xcode를 실행합니다.
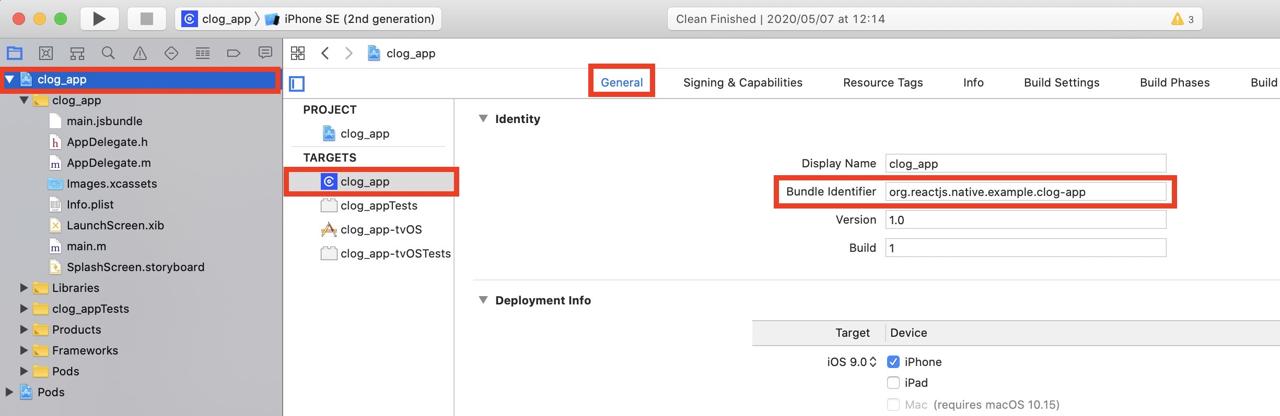
왼쪽 상단의 프로젝트 명을 선택하고 General 탭으로 이동하면, 상단에 Bundle Identifier를 확인할 수 있습니다. 이 Bundle ID를 자신의 프로젝트에 맞게 변경해 줍니다.
Firebase iOS 프로젝트 설정
구글 파이어베이스 콘솔(Google Firebase Console)에서 프로젝트를 선택하면 다음과 같은 화면이 보입니다.
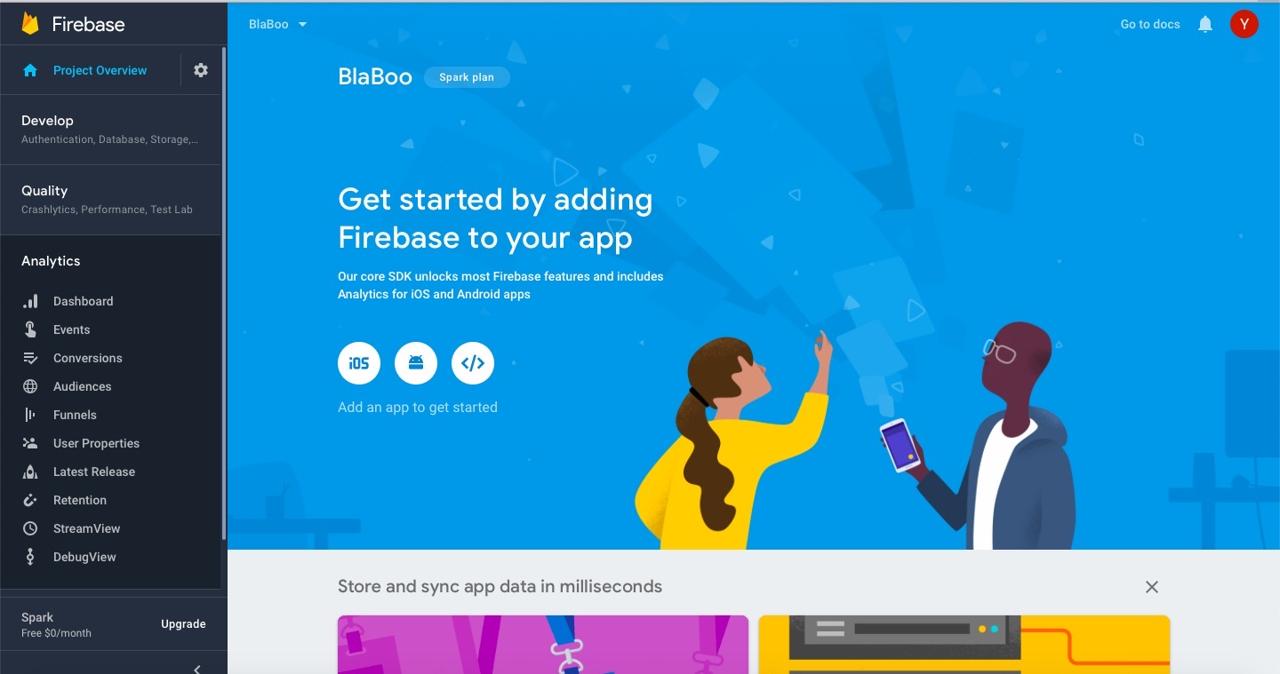
중앙에 iOS 버튼을 눌러 iOS 설정 화면으로 이동합니다.
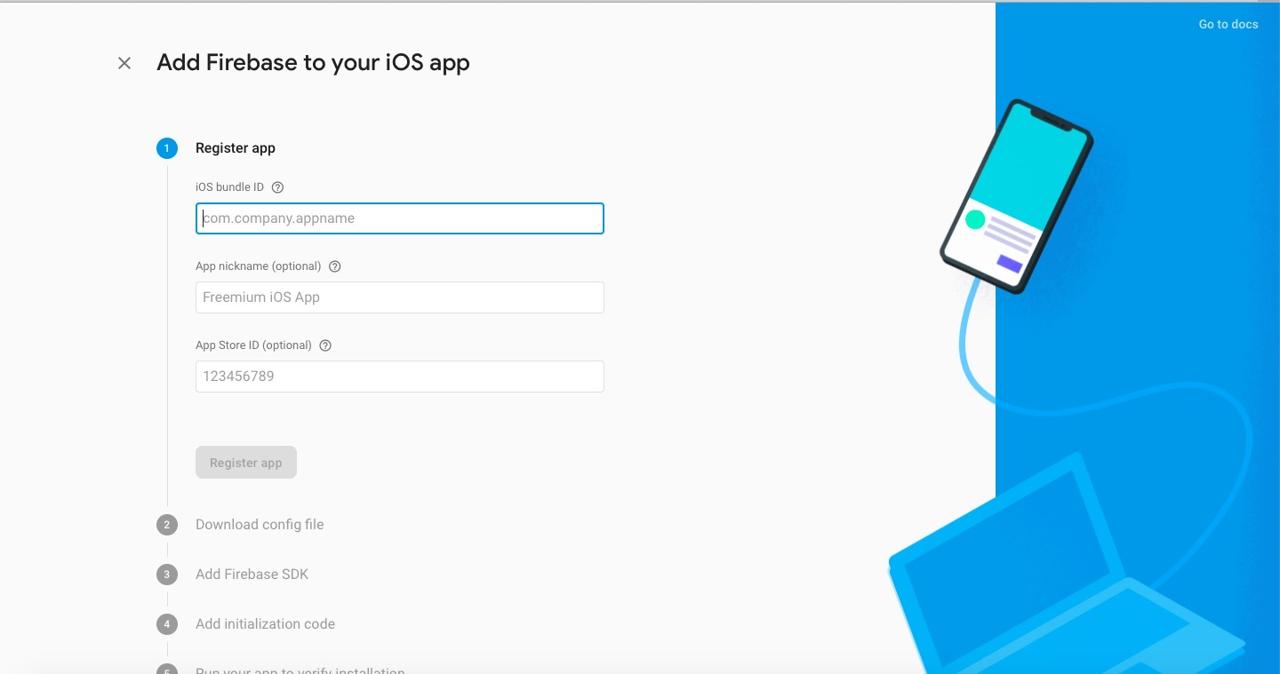
개발한 앱에 번들 ID(bundle ID)를 입력하고 Register app 버튼을 선택합니다.
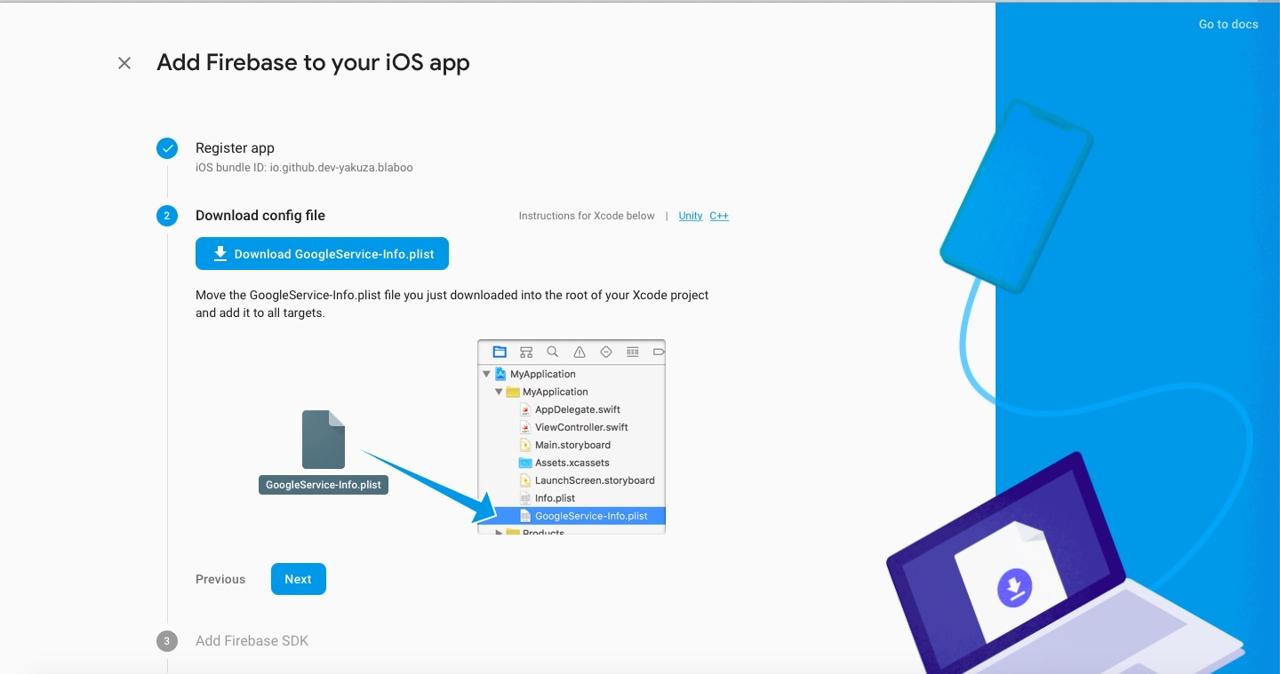
구글 파이어베이스(Google Firebase)가 생성한 GoogleService-Info.plist 파일을 다운로드하여, Xcode를 통해 Runner/Runner 폴더에 드래그하여 해당 파일을 추가합니다. GoogleService-Info.plist 파일 추가를 완료했다면 Next 버튼을 클릭합니다.
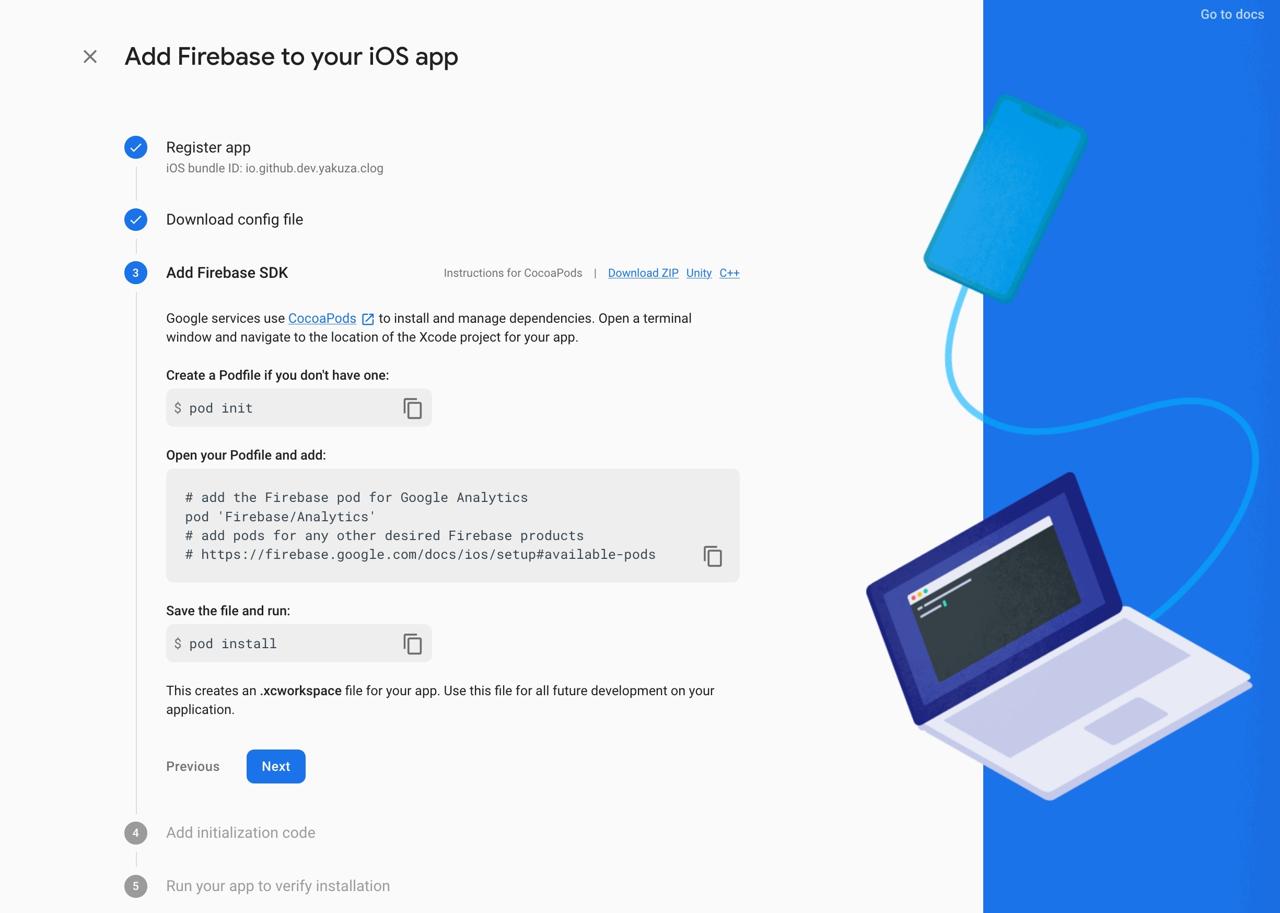
이 화면이 표시되면, Next 버튼을 클릭하여 다음 화면으로 이동합니다.
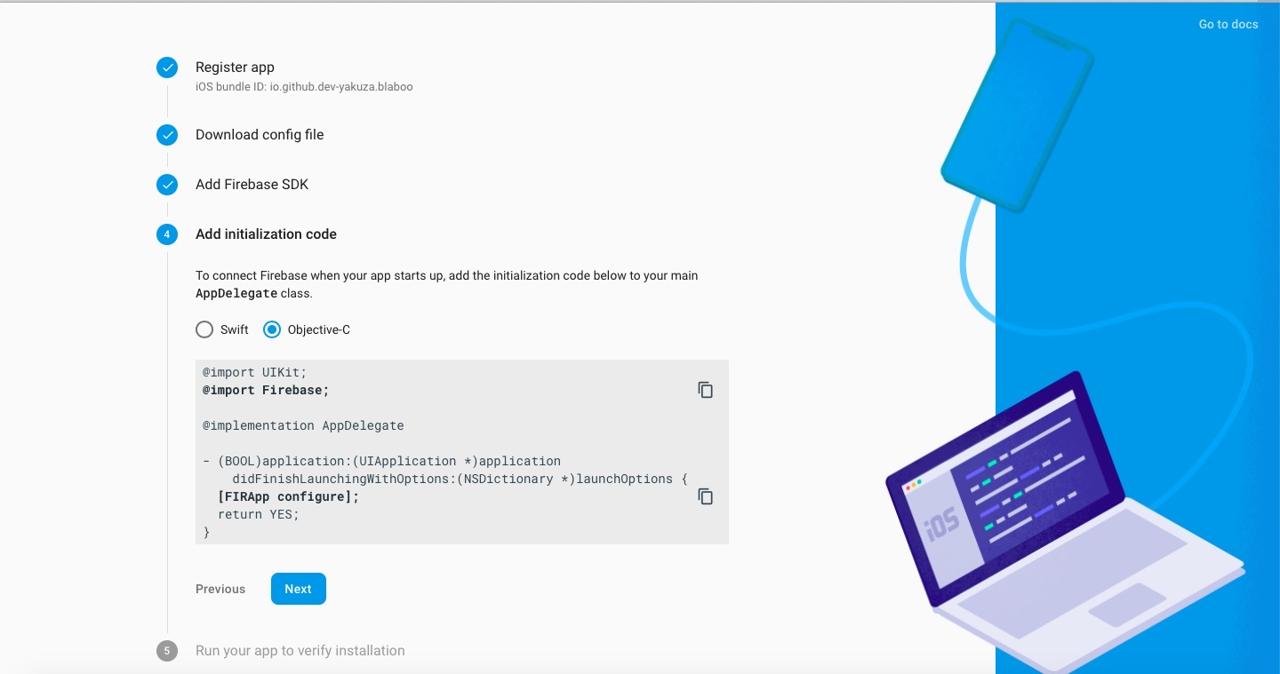
위와 같은 화면에서도 Next 버튼을 클릭하여 다음 화면으로 이동합니다.
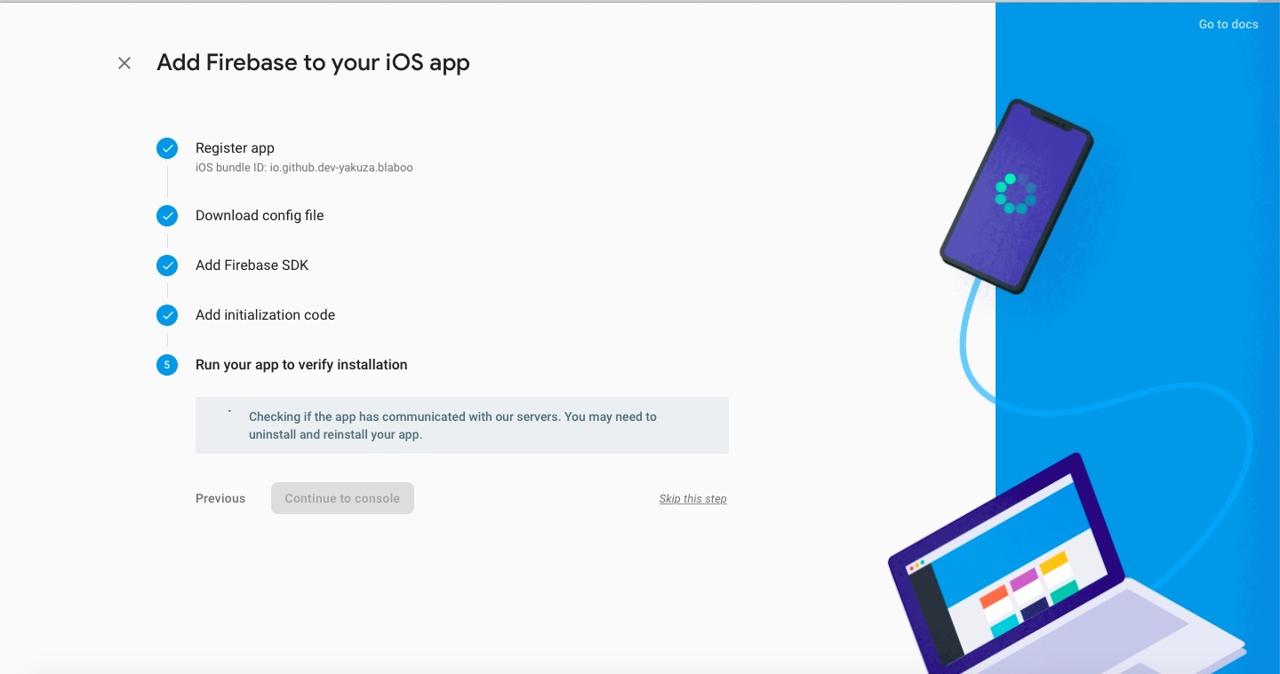
저는 이 부분에서 Skip this step을 눌러 이 부분을 건너 뛰었습니다.
안드로이드 설정
firebase_core을 사용해서 Flutter에서 Firebase를 사용하기 위해 안드로이드를 설정하는 방법에 대해서 알아봅시다.
Firebase 안드로이드 프로젝트 설정
구글 파이어베이스 콘솔(Google Firebase Console)에서 왼쪽 상단의 Project Overview를 선택합니다.
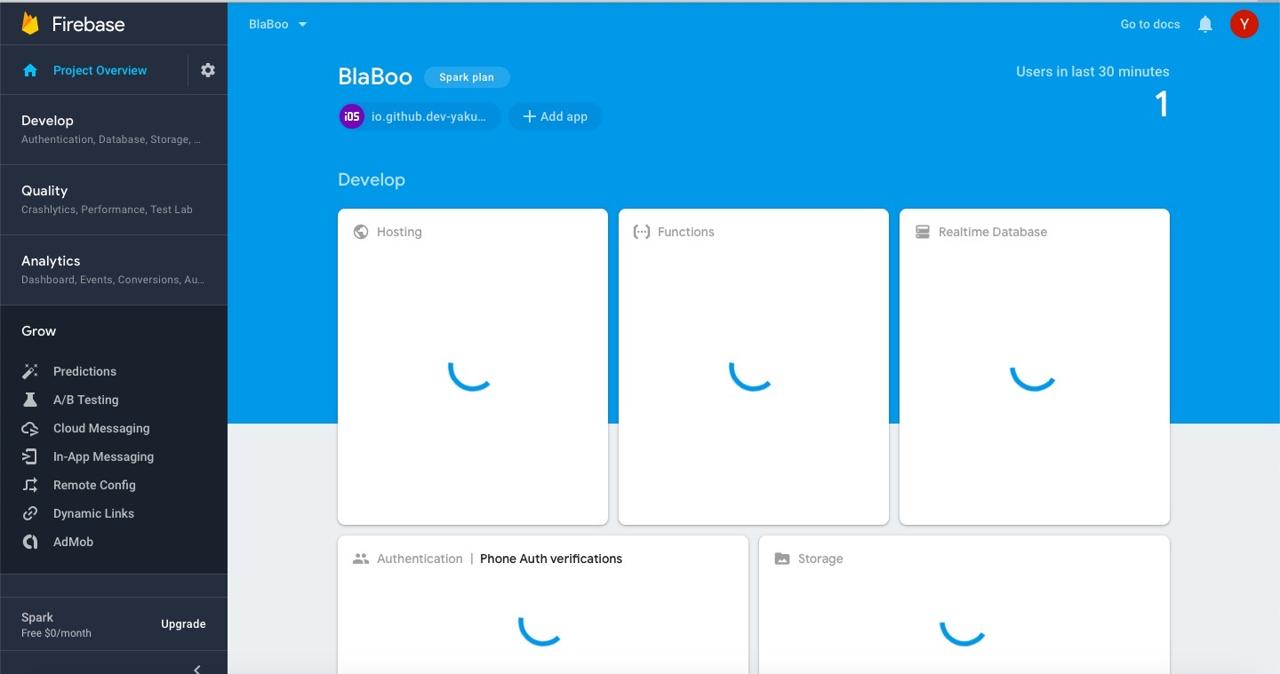
상단에 + Add app > 안드로이드(Android) 아이콘을 눌러 안드로이드(Android) 프로젝트 설정으로 이동합니다.
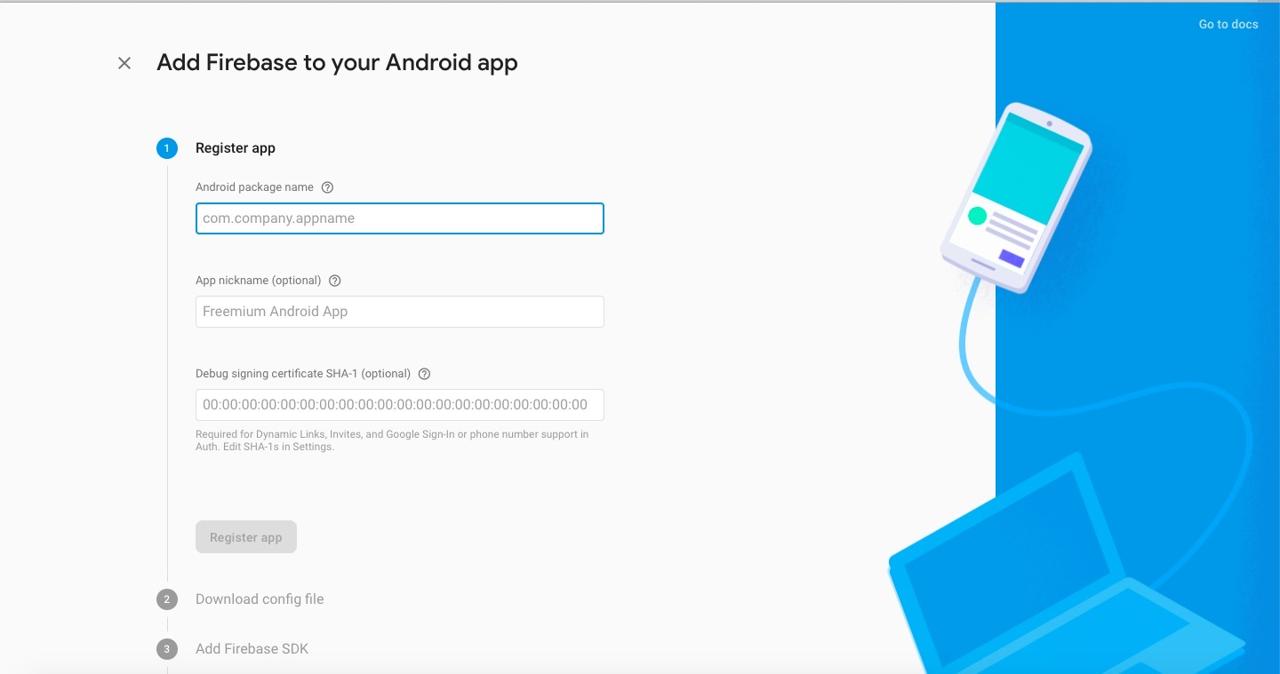
안드로이드 패키지명(Android Package Name)에 위에서 설정한 applicationId을 입력하고 Register app을 선택합니다.
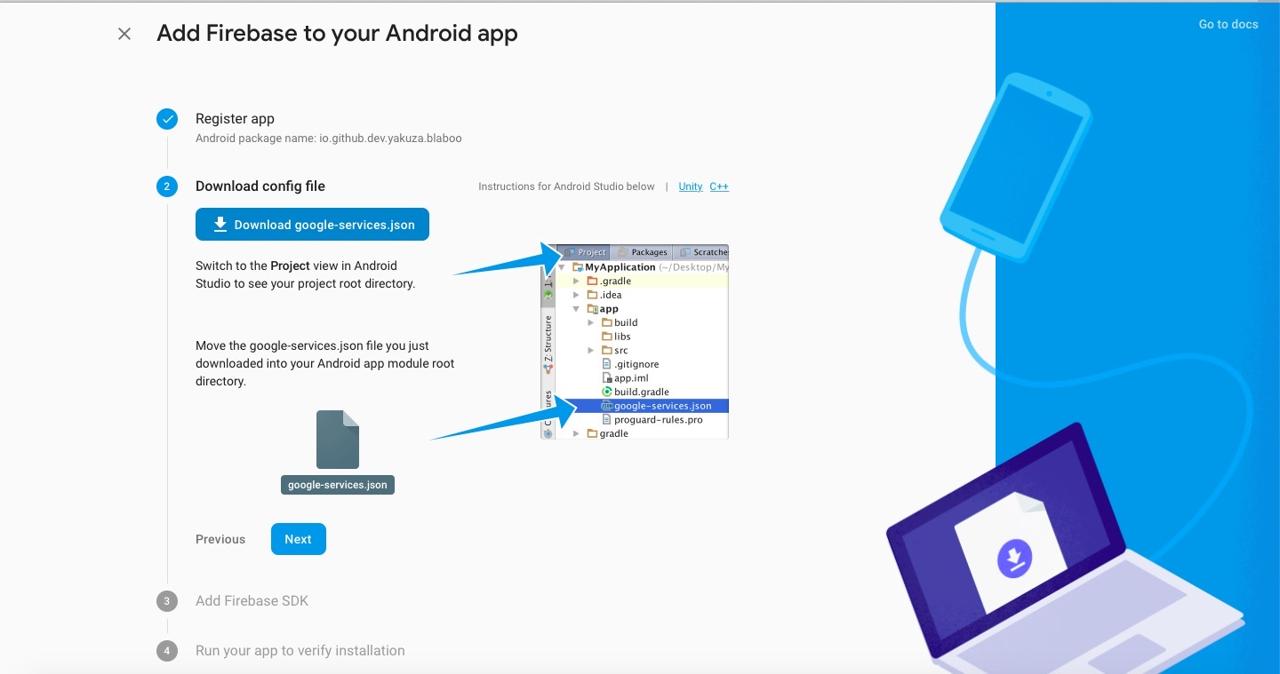
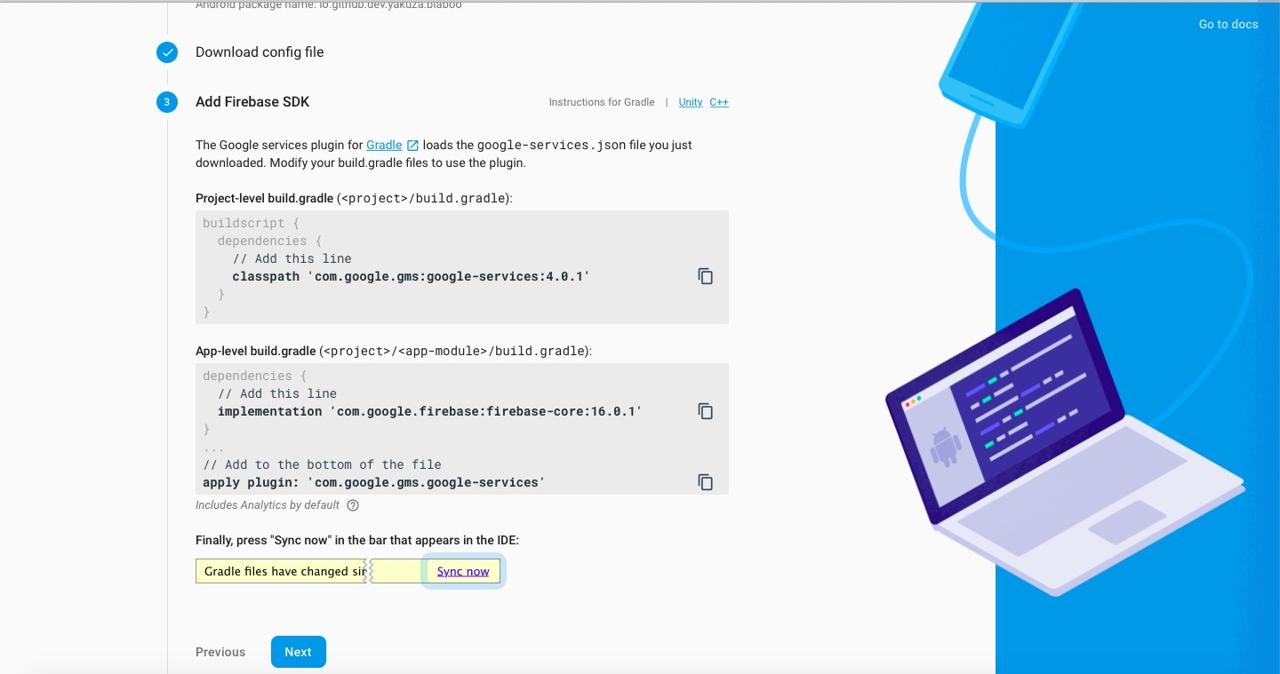
구글 파이어베이스(Google Firebase)가 만든 google-services.json 파일을 Flutter 프로젝트의 android/app 폴더에 복사합니다. 이것으로 안드로이드에서 Firebase를 사용할 준비가 끝났습니다. 이후에 나오는 화면들에서 Next 버튼을 눌러 진행합니다.
Firebase 설정
Firebase 설정을 위해서는 firebase-tools를 설치할 필요가 있습니다.
npm install -g firebase-tools그런 다음, 다음 명령어를 실행하여 Firebase에 로그인합니다.
firebase login로그인한 후, 다음 명령어를 실행하여 flutterfire_cli을 설치합니다.
dart pub global activate flutterfire_cli그런 다음, 다음 명령어를 사용하여 Firebase를 설정합니다.
flutterfire configurefirebase_core 설치
Flutter에서 Firebase를 사용하기 위해, firebase_core 패키지를 설치할 필요가 있습니다. 다음 명령어를 사용하여 firebase_core를 설치합니다.
flutter pub add firebase_coreiOS 설치
iOS에서 firebase_core를 사용하기 위해서는 ./ios/Podfile을 수정하고, 필요한 라이브러리를 설치할 필요가 있습니다. firebase_core는 iOS 버전 11을 요구하므로, ./ios/Podfile 파일을 열고 다음과 같이 수정합니다.
# Uncomment this line to define a global platform for your project
platform :ios, '13.0'
...
그리고 다음 명령어를 실행하여 필요한 라이브러리를 설치합니다.
# cd ios
pod install
Firebase 초기화
이렇게 firebase_core 패키지를 설치하였다면, 이제 해당 패키지를 사용하여 Firebase를 초기화할 필요가 있습니다. main.dart 파일을 열고 다음과 같이 수정하여 Firebase를 초기화해 줍니다.
import 'package:firebase_core/firebase_core.dart';

Future<void> main() async {
  WidgetsFlutterBinding.ensureInitialized();
  await Firebase.initializeApp(
    options: DefaultFirebaseOptions.currentPlatform,
  );

  runApp(MyApp());
}
테스트 코드
FirebaseCore에 대한 테스트 코드를 작성하기 위해서는 mockito 패키지를 설치할 필요가 있습니다.
- mockito: https://pub.dev/packages/mockito
다음 명령어를 실행하여 mockito를 설치합니다.
flutter pub add mockito그런 다음, 다음과 같이 FirebaseCore의 mock을 만들 필요가 있습니다.
import 'package:firebase_core_platform_interface/firebase_core_platform_interface.dart';
import 'package:flutter_test/flutter_test.dart';
import 'package:mockito/mockito.dart';
import 'package:plugin_platform_interface/plugin_platform_interface.dart';

class MockFirebaseCore extends Mock
    with
        // ignore: prefer_mixin, plugin_platform_interface needs to migrate to use `mixin`
        MockPlatformInterfaceMixin
    implements
        FirebasePlatform {
  @override
  FirebaseAppPlatform app([String name = defaultFirebaseAppName]) {
    return super.noSuchMethod(
      Invocation.method(#app, [name]),
      returnValue: FakeFirebaseAppPlatform(),
      returnValueForMissingStub: FakeFirebaseAppPlatform(),
    );
  }

  @override
  Future<FirebaseAppPlatform> initializeApp({
    String? name,
    FirebaseOptions? options,
  }) {
    return super.noSuchMethod(
      Invocation.method(
        #initializeApp,
        const [],
        {
          #name: name,
          #options: options,
        },
      ),
      returnValue: Future.value(FakeFirebaseAppPlatform()),
      returnValueForMissingStub: Future.value(FakeFirebaseAppPlatform()),
    );
  }

  @override
  List<FirebaseAppPlatform> get apps {
    return super.noSuchMethod(
      Invocation.getter(#apps),
      returnValue: <FirebaseAppPlatform>[],
      returnValueForMissingStub: <FirebaseAppPlatform>[],
    );
  }
}

class FakeFirebaseAppPlatform extends Fake implements FirebaseAppPlatform {}
해당 코드는 FirebaseCore의 GitHub에서 가져왔습니다.
- FirebaseCore mock: firebase_core_test.dart
이 내용을 mocks/mock_firebase_core.dart 파일로 생성하고 붙여넣기를 하였습니다. 그런 다음, 다음과 같이 테스트 코드를 작성했습니다.
import 'package:firebase_core/firebase_core.dart';
import 'package:flutter_test/flutter_test.dart';
import 'package:mockito/mockito.dart';
import 'mocks/firebase.mocks.dart';
import 'package:firebase_core_platform_interface/firebase_core_platform_interface.dart';
import 'package:my_app/main.dart' as app;

void main() {
  TestWidgetsFlutterBinding.ensureInitialized();

  const testAppName = 'testApp';
  const FirebaseOptions testOptions = FirebaseOptions(
    apiKey: 'apiKey',
    appId: 'appId',
    messagingSenderId: 'messagingSenderId',
    projectId: 'projectId',
  );
  final mockFirebaseCore = MockFirebaseCore();

  setUp(() {
    clearInteractions(mockFirebaseCore);
    Firebase.delegatePackingProperty = mockFirebaseCore;
    final FirebaseAppPlatform platformApp =
        FirebaseAppPlatform(testAppName, testOptions);

    when(mockFirebaseCore.initializeApp(
      options: anyNamed('options'),
    )).thenAnswer((_) {
      return Future.value(platformApp);
    });
  });

  testWidgets('FirebaseCore is initialized', (WidgetTester tester) async {
    await app.main();

    verify(mockFirebaseCore.initializeApp(
      options: anyNamed('options'),
    )).called(1);
  });
}
테스트 코드를 통해 FirebaseCore의 initializeApp 함수가 호출되는지 여부를 검사하였습니다.
완료
이것으로 Flutter에서 Firebase를 사용하기 위해 Flutter 프로젝트와 Firebase 프로젝트를 준비하고, firebase_core를 설정하는 방법에 대해서 알아보았습니다. 이제 Firebase의 다른 기능들을 사용하기 위해, 다른 블로그 포스트를 확인해 주시기 바랍니다.
제 블로그가 도움이 되셨나요? 하단의 댓글을 달아주시면 저에게 큰 힘이 됩니다!
앱 홍보
Deku가 개발한 앱을 한번 사용해보세요.Deku가 개발한 앱은 Flutter로 개발되었습니다.관심있으신 분들은 앱을 다운로드하여 사용해 주시면 정말 감사하겠습니다.


