目次
概要
今回のブログポストではwebview_flutterパッケージを使ってアプリ内でウェブページを表示する方法について説明します。
- webview_flutter: https://pub.dev/packages/webview_flutter
このブログポストで紹介するソースコードは下記のリンクで確認できます。
Flutterプロジェクト生成
Flutterでwebview_flutterの使い方を確認するため下記のコマンドを使ってFlutterの新しいプロジェクトを生成します。
flutter create webview_flutter_examplewebview_flutterのインストール
webview_flutterを使うために、次のコマンドを実行してwebview_flutterパッケージをインストールします。
flutter pub add webview_flutterこのようにインストールしたwebview_flutterを使う方法について説明します。
Androidの設定
アンドロイドではwebview_flutterを使うためminSdkVersionを19で設定する必要があります。./android/app/build.gradleファイルを開いて下記のように修正します。
android {
    defaultConfig {
        minSdkVersion 19
    }
}
使い方
webview_flutterの使い方を確認するため./lib/main.dartファイルを開いて下記のように修正します。
import 'package:flutter/material.dart';
import 'package:webview_flutter/webview_flutter.dart';
...
class MyHomePage extends StatelessWidget {
  const MyHomePage({Key? key}) : super(key: key);

  @override
  Widget build(BuildContext context) {
    return const WebView(
      initialUrl: 'https://deku.posstree.com/en/',
      javascriptMode: JavascriptMode.unrestricted,
    );
  }
}
このコードを実行してみると次のような画面が表示されることが確認できます。
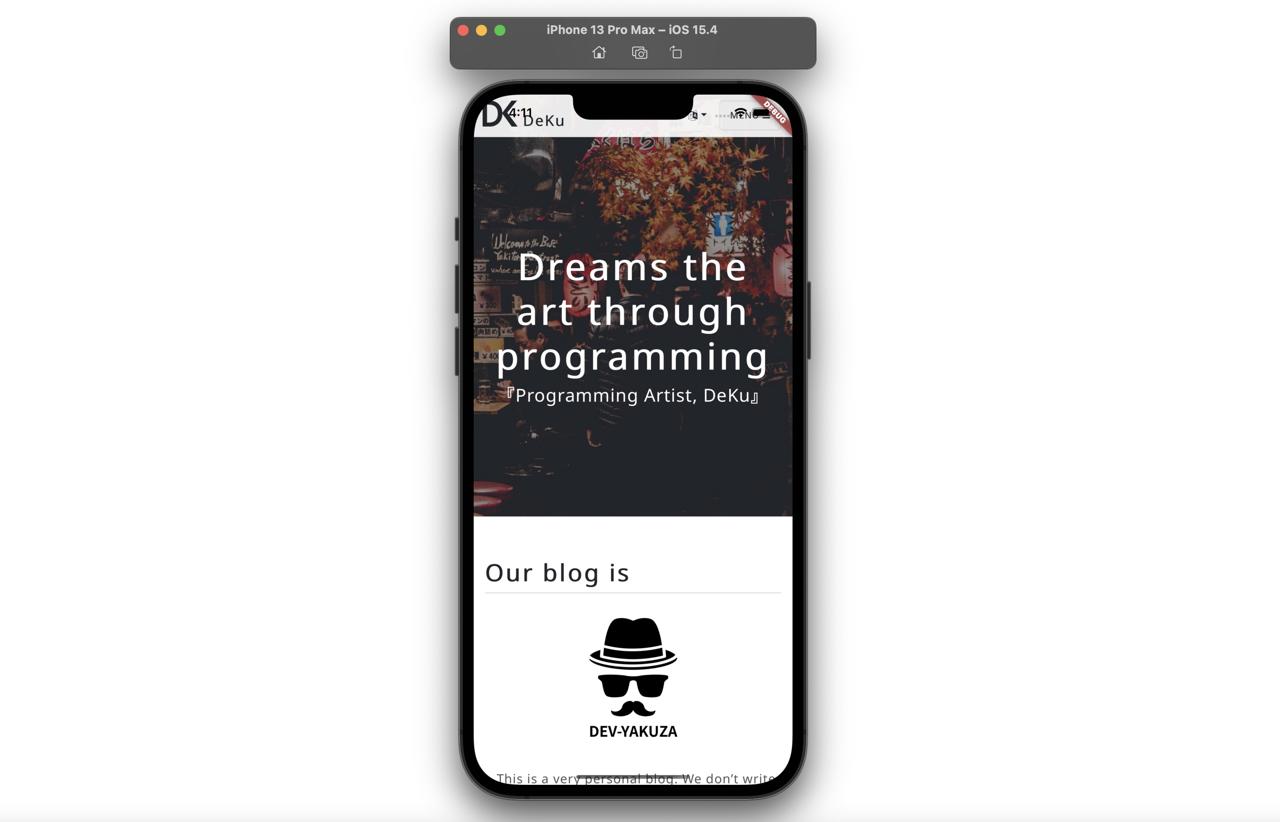
SafeArea
例題コードを実行してみると、上のステータスバーと下のホームバーの下にウェブページが表示されることが確認できます。SafeAreaウィジェットを使うとウェブページをステータスバーとホームバーと重ねないように表示することができます。また、./lib/main.dartファイルを開いて下記のように修正します。
...
class MyHomePage extends StatelessWidget {
  const MyHomePage({Key? key}) : super(key: key);

  @override
  Widget build(BuildContext context) {
    return const Scaffold(
      body: SafeArea(
        child: WebView(
          initialUrl: 'https://deku.posstree.com/en/',
          javascriptMode: JavascriptMode.unrestricted,
        ),
      ),
    );
  }
}
これを実行すると次のようにウェブページがうまく表示されることが確認できます。
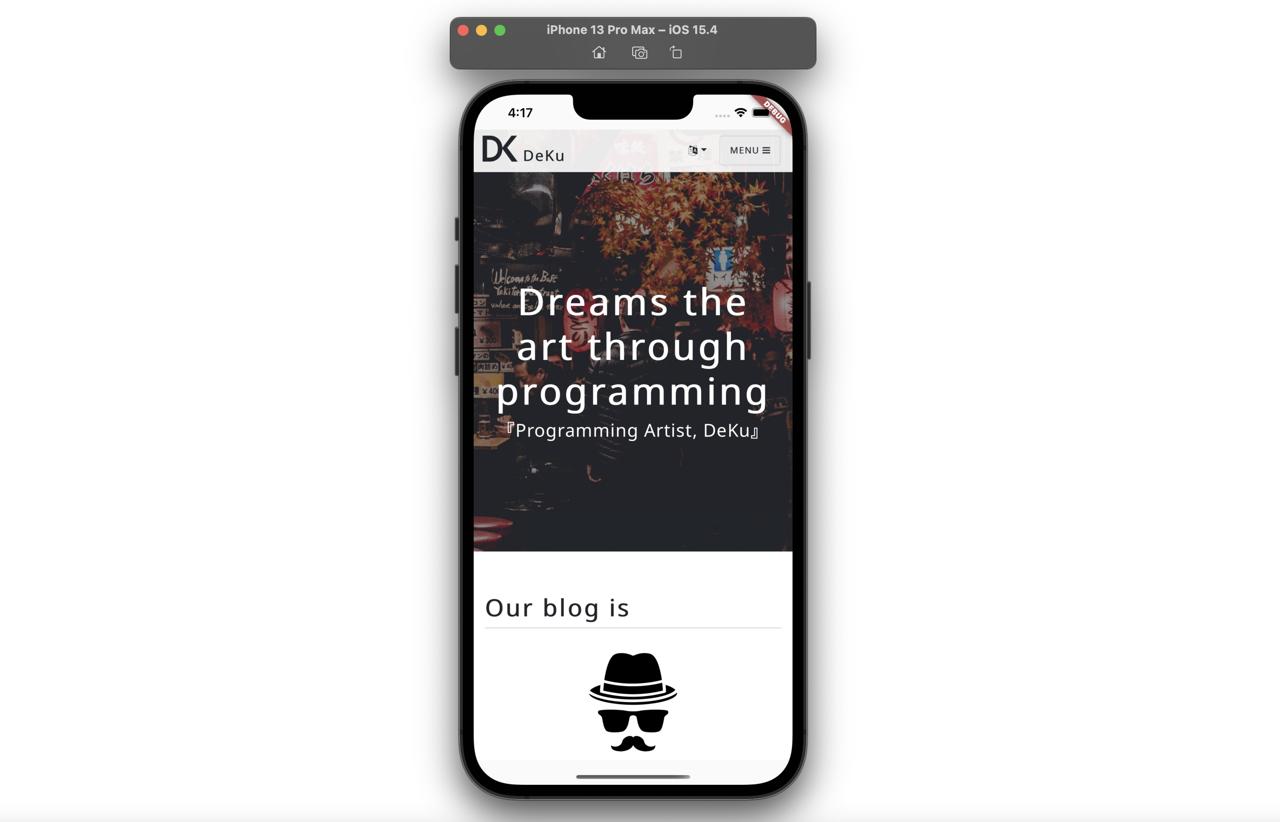
gestureNavigationEnabled
アプリやウェブで以前のページに戻るため、スワイプを使います。このような機能を有効にするためgestureNavigationEnabledオプションを使う必要があります。また、./lib/main.dartファイルを開いて下記のように修正します。
...
class MyHomePage extends StatelessWidget {
  const MyHomePage({Key? key}) : super(key: key);

  @override
  Widget build(BuildContext context) {
    return const Scaffold(
      body: SafeArea(
        child: WebView(
          initialUrl: 'https://deku.posstree.com/en/',
          javascriptMode: JavascriptMode.unrestricted,
          gestureNavigationEnabled: true,
        ),
      ),
    );
  }
}
また、アプリを再実行して、次のページに移動した後、スワイプをすると次のように以前のページに戻れることができます。
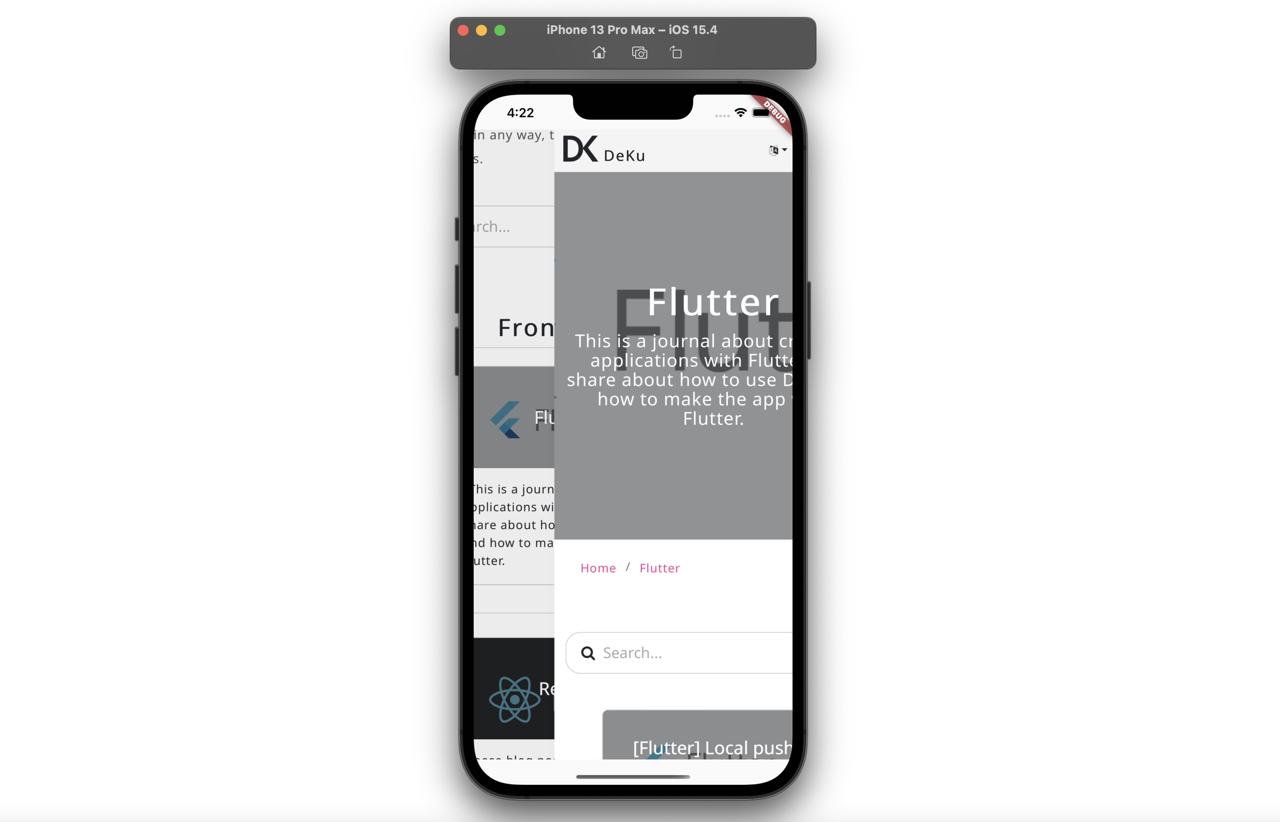
userAgent
ウェブページでグーグルログインを使う場合、次のように403: disallowed_useragentエラーが発生します。
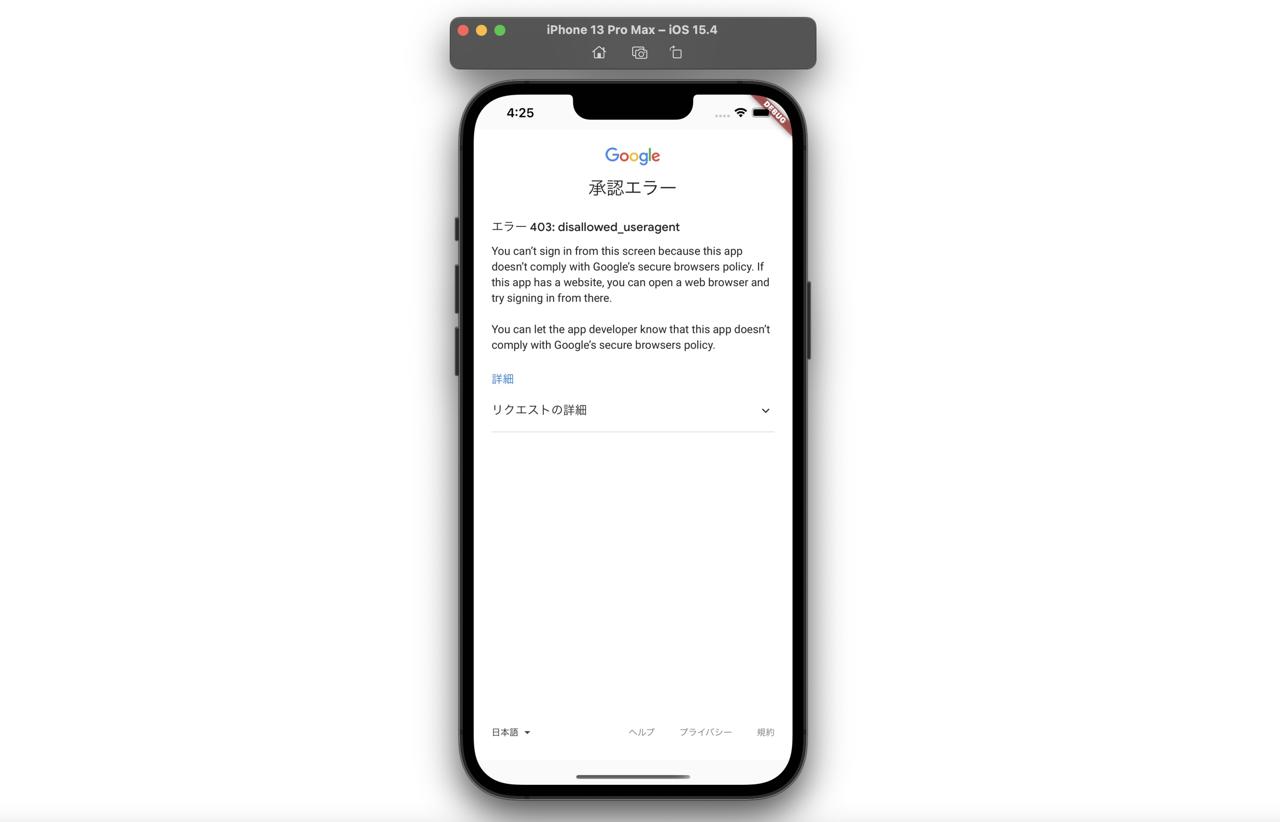
これを解決するためにはWebViewにuserAgentを設定する必要があります。./lib/main.dartファイルを開いて下記のように修正します。
class MyHomePage extends StatelessWidget {
const MyHomePage({Key? key}) : super(key: key);
@override
Widget build(BuildContext context) {
return const Scaffold(
body: SafeArea(
child: WebView(
initialUrl: 'https://deku.posstree.com/en/',
javascriptMode: JavascriptMode.unrestricted,
gestureNavigationEnabled: true,
userAgent: "random",
),
),
);
}
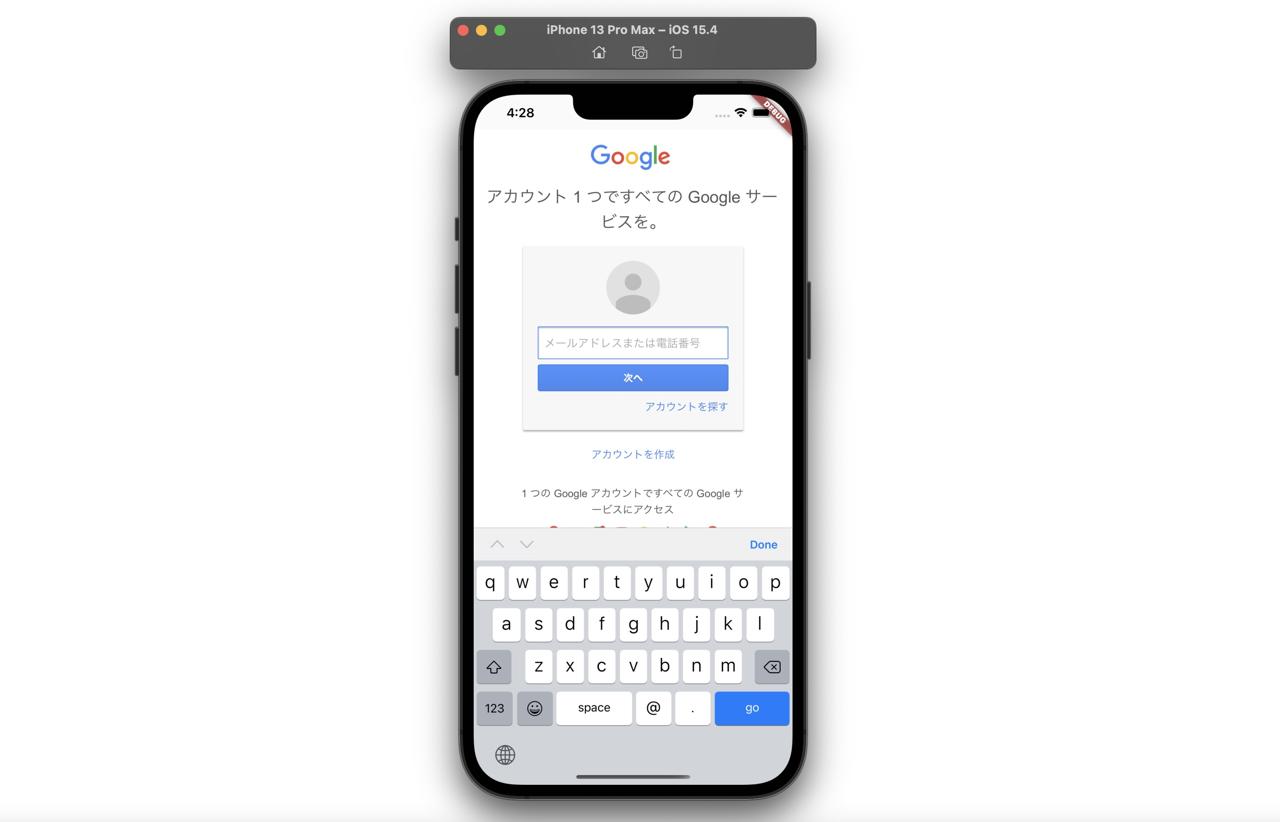
}またアプリを再実行してグーグルログインを実行すると、次のようにグーグルのログイン画面がうまく表示されることが確認できます。
完了
これでFlutterでwebview_flutterを使ってアプリ内でウェブページを表示する方法についてみてみました。また、webview_flutterを使ったら発生する問題を解決する方法も確認しました。
私のブログが役に立ちましたか?下にコメントを残してください。それは私にとって大きな大きな力になります!
アプリ広報
Dekuが開発したアプリを使ってみてください。Dekuが開発したアプリはFlutterで開発されています。興味がある方はアプリをダウンロードしてアプリを使ってくれると本当に助かります。