概要
今回のブログポストではurl_launcherを使ってウェブブラウザを開いたり、メール、電話などのアプリを実行する方法について説明します。
- url_launcher: https://pub.dev/packages/url_launcher
このブログポストで紹介するソースコードは下記のリンクで確認できます。
url_launcherのインストール
Flutterでurl_launcherの使い方を確認するため次のコマンドを実行して新しいFlutterプロジェクトを生成します。
flutter create url_launcher_exampleその後、次のコマンドを実行してurl_launcherパッケージをインストールします。
flutter pub add url_launcher次はこのようにインストールしたurl_launcherを使う方法について説明します。
設定
url_launcherを使うためには下記のような設定をする必要があります。
iOS
iOSでurl_launcherを使うためにはios/Runner/Info.plistファイルを開いて下記のように修正します。
<?xml version="1.0" encoding="UTF-8"?>
<!DOCTYPE plist PUBLIC "-//Apple//DTD PLIST 1.0//EN" "http://www.apple.com/DTDs/PropertyList-1.0.dtd">
<plist version="1.0">
<dict>
  ...
  <key>LSApplicationQueriesSchemes</key>
  <array>
    <string>https</string>
    <string>http</string>
  </array>
</dict>
</plist>
Android
Androidではurl_launcherを使うためandroid/app/src/main/AndroidManifest.xmlファイルを開いて下記のように修正する必要があります。
<manifest xmlns:android="http://schemas.android.com/apk/res/android"
    package="com.example.url_launcher_example">
    <queries>
        <!-- If your app opens https URLs -->
        <intent>
            <action android:name="android.intent.action.VIEW" />
            <data android:scheme="https" />
        </intent>
        <!-- If your app makes calls -->
        <intent>
            <action android:name="android.intent.action.DIAL" />
            <data android:scheme="tel" />
        </intent>
        <!-- If your sends SMS messages -->
        <intent>
            <action android:name="android.intent.action.SENDTO" />
            <data android:scheme="smsto" />
        </intent>
        <!-- If your app sends emails -->
        <intent>
            <action android:name="android.intent.action.SEND" />
            <data android:mimeType="*/*" />
        </intent>
    </queries>

   <application>
        ...
    </application>
</manifest>
使い方
このようにurl_launcherをインストールして設定したら、次のようにlaunchUrl関数を使ってブラウザをオープンすることができます。
import 'package:url_launcher/url_launcher.dart';
...
launchUrl(
  Uri.parse('https://deku.posstree.com/en/'),
);launchUrlで使うUriは上のように文字列から生成することができますし、次のようにコンストラクタを使って、生成することもできます。
// https://play.google.com/store/apps/details?id=com.google.android.tts
Uri(
  scheme: 'https',
  host: 'play.google.com',
  path: 'store/apps/details',
  queryParameters: {"id": 'com.google.android.tts'},
),または、次のようにcanLaunchUrl関数を使って当該URLが実行できるかどうかを確認することができます。
const url = Uri.parse('https://deku.posstree.com/en/');
if (await canLaunchUrl(url)) {
  launchUrl(url);
}
そして次のようなURLを使ってウェブブラウザ以外にアプリを実行することができます。
- Email:
launchUrl(Uri.parse('mailto:[email protected]?subject=Hello&body=Test')); - Tel:
launchUrl(Uri.parse('tel:+1 555 010 999')); - SMS:
launchUrl(Uri.parse('sms:5550101234')); - Google Play store App page:
launchUrl(Uri.parse('http://play.google.com/store/apps/details?id=com.google.android.tts'));
例題
次は今までの内容を確認するためlib/main.dartファイルを開いて下記のように修正します。
import 'package:flutter/material.dart';
import 'package:url_launcher/url_launcher.dart';

void main() {
  runApp(const MyApp());
}

class MyApp extends StatelessWidget {
  const MyApp({Key? key}) : super(key: key);

  @override
  Widget build(BuildContext context) {
    return MaterialApp(
      title: 'Flutter Demo',
      theme: ThemeData(
        primarySwatch: Colors.blue,
      ),
      home: const MyHomePage(),
    );
  }
}

class MyHomePage extends StatelessWidget {
  const MyHomePage({Key? key}) : super(key: key);

  @override
  Widget build(BuildContext context) {
    return Scaffold(
      appBar: AppBar(
        title: const Text('URL Launcher'),
      ),
      body: Center(
        child: Column(
          mainAxisAlignment: MainAxisAlignment.center,
          children: [
            ElevatedButton(
              onPressed: () async {
                final url = Uri.parse(
                  'https://deku.posstree.com/en/',
                );
                if (await canLaunchUrl(url)) {
                  launchUrl(url);
                } else {
                  // ignore: avoid_print
                  print("Can't launch $url");
                }
              },
              child: const Text('Web Link'),
            ),
            ElevatedButton(
              onPressed: () async {
                final url = Uri(
                  scheme: 'mailto',
                  path: '[email protected]',
                  query: 'subject=Hello&body=Test',
                );
                if (await canLaunchUrl(url)) {
                  launchUrl(url);
                } else {
                  // ignore: avoid_print
                  print("Can't launch $url");
                }
              },
              child: const Text('Mail to'),
            ),
            ElevatedButton(
              onPressed: () async {
                final url = Uri.parse('tel:+1 555 010 999');
                if (await canLaunchUrl(url)) {
                  launchUrl(url);
                } else {
                  // ignore: avoid_print
                  print("Can't launch $url");
                }
              },
              child: const Text('Tel'),
            ),
            ElevatedButton(
              onPressed: () async {
                final url = Uri.parse('sms:5550101234');
                if (await canLaunchUrl(url)) {
                  launchUrl(url);
                } else {
                  // ignore: avoid_print
                  print("Can't launch $url");
                }
              },
              child: const Text('SMS'),
            ),
          ],
        ),
      ),
    );
  }
}
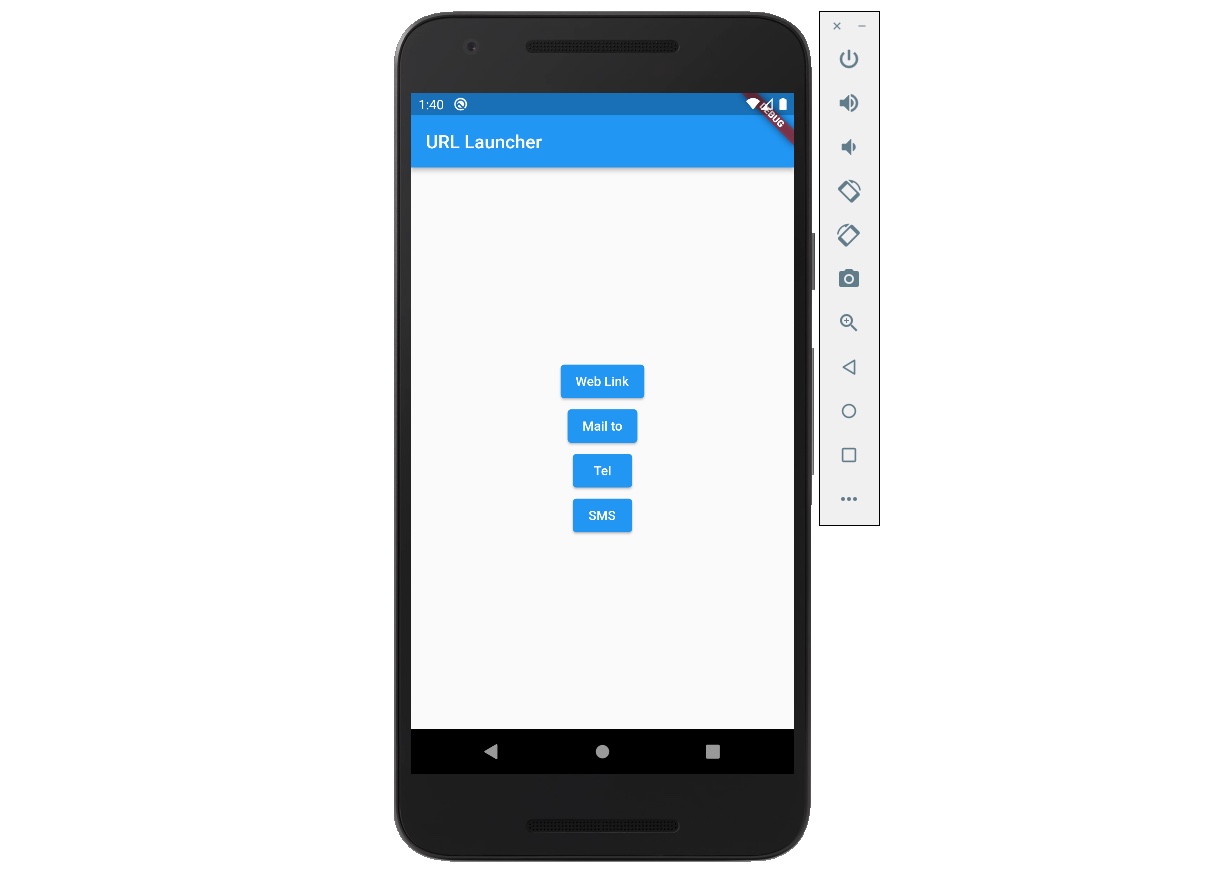
画面に例題ボタンを表示してボタンを押すと、そのボタンに対するアプリが起動する例題です。
Column(
  mainAxisAlignment: MainAxisAlignment.center,
  children: [
    ElevatedButton(
      onPressed: () async {
        final url = Uri.parse(
          'https://deku.posstree.com/en/',
        );
        if (await canLaunchUrl(url)) {
          launchUrl(url);
        } else {
          // ignore: avoid_print
          print("Can't launch $url");
        }
      },
      child: const Text('Web Link'),
    ),
    ElevatedButton(
      onPressed: () async {
        final url = Uri(
          scheme: 'mailto',
          path: '[email protected]',
          query: 'subject=Hello&body=Test',
        );
        if (await canLaunchUrl(url)) {
          launchUrl(url);
        } else {
          // ignore: avoid_print
          print("Can't launch $url");
        }
      },
      child: const Text('Mail to'),
    ),
    ElevatedButton(
      onPressed: () async {
        final url = Uri.parse('tel:+1 555 010 999');
        if (await canLaunchUrl(url)) {
          launchUrl(url);
        } else {
          // ignore: avoid_print
          print("Can't launch $url");
        }
      },
      child: const Text('Tel'),
    ),
    ElevatedButton(
      onPressed: () async {
        final url = Uri.parse('sms:5550101234');
        if (await canLaunchUrl(url)) {
          launchUrl(url);
        } else {
          // ignore: avoid_print
          print("Can't launch $url");
        }
      },
      child: const Text('SMS'),
    ),
  ],
),
確認
この例題を実行すると次のような画面が確認できます。
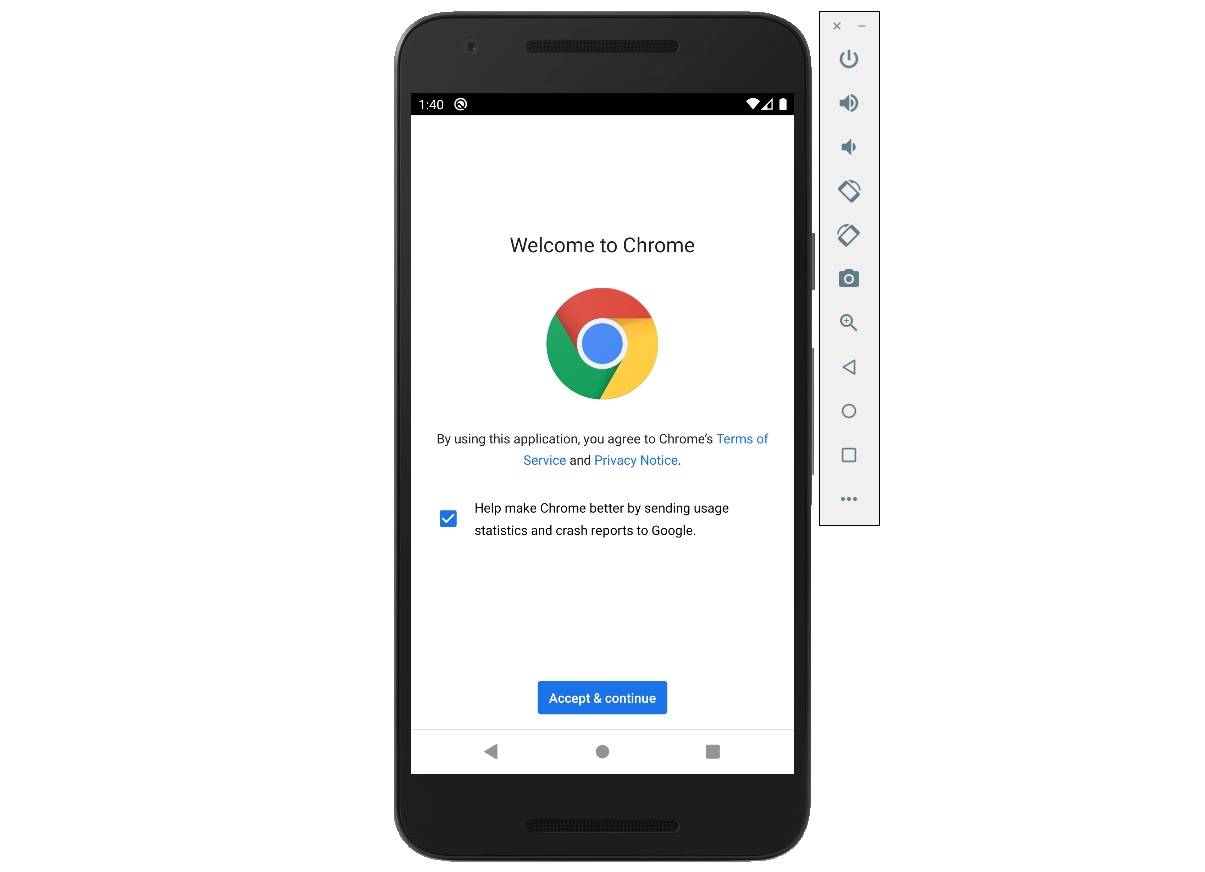
Web Linkボタンを押すと次のようにブラウザが実行されることが確認できます。
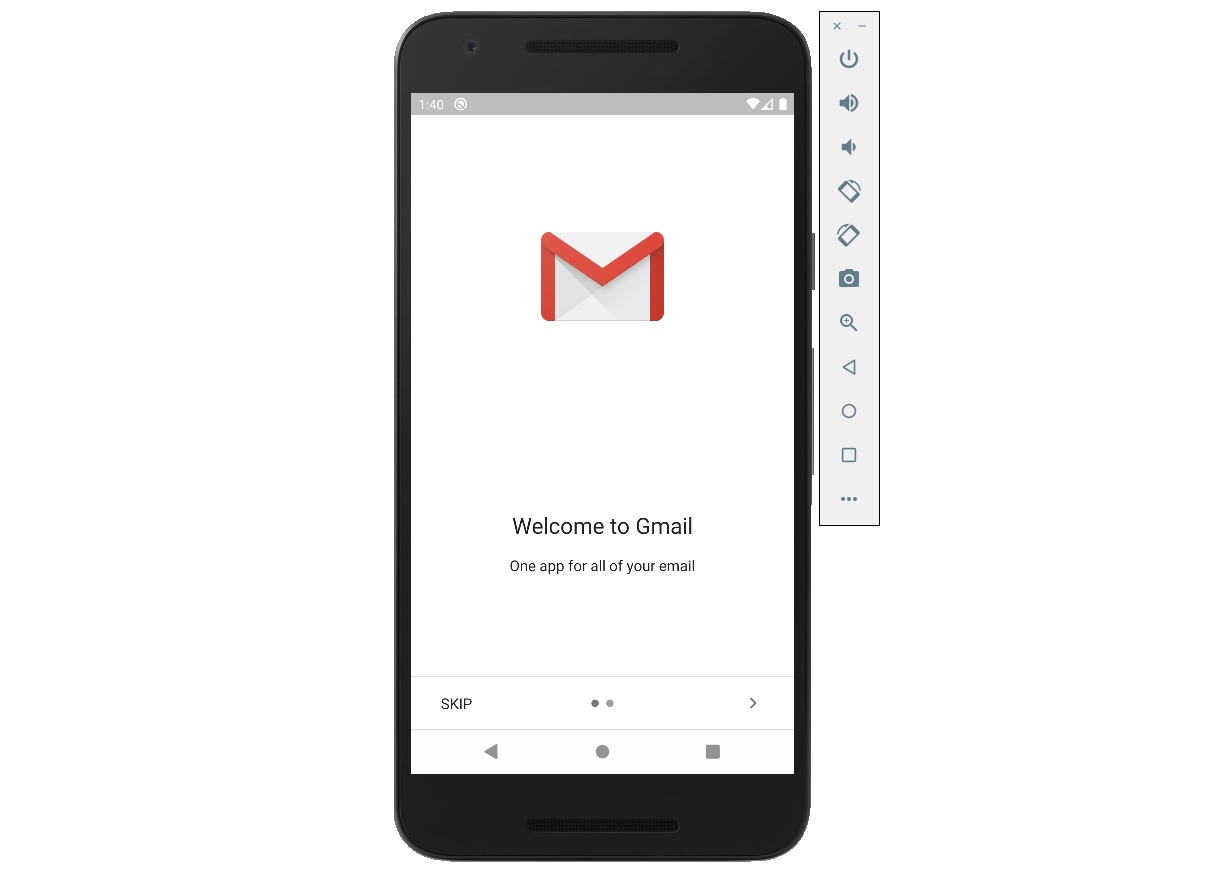
Mail toボタンを押すと次のようにメールアプリが起動されることが確認できます。
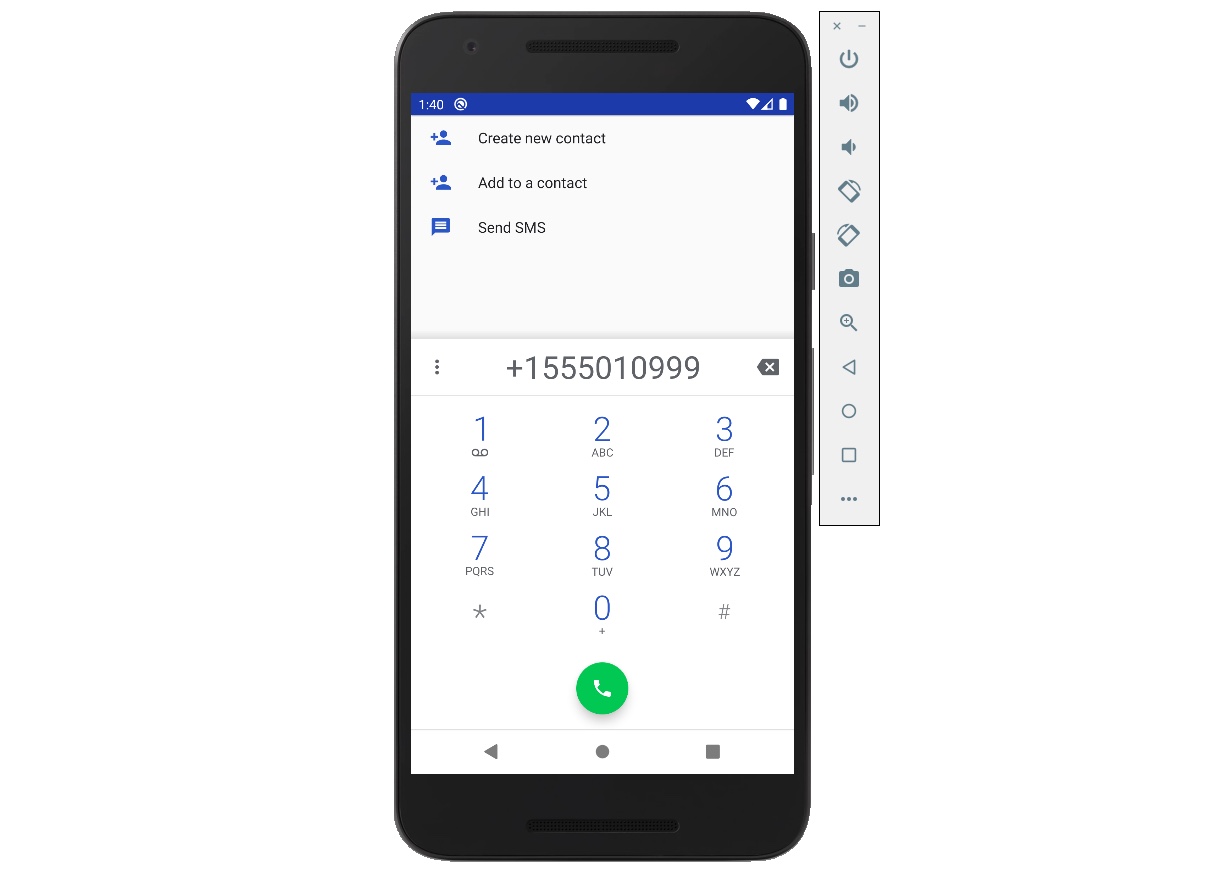
Telボタンを押すと電話アプリが起動されることが確認できます。
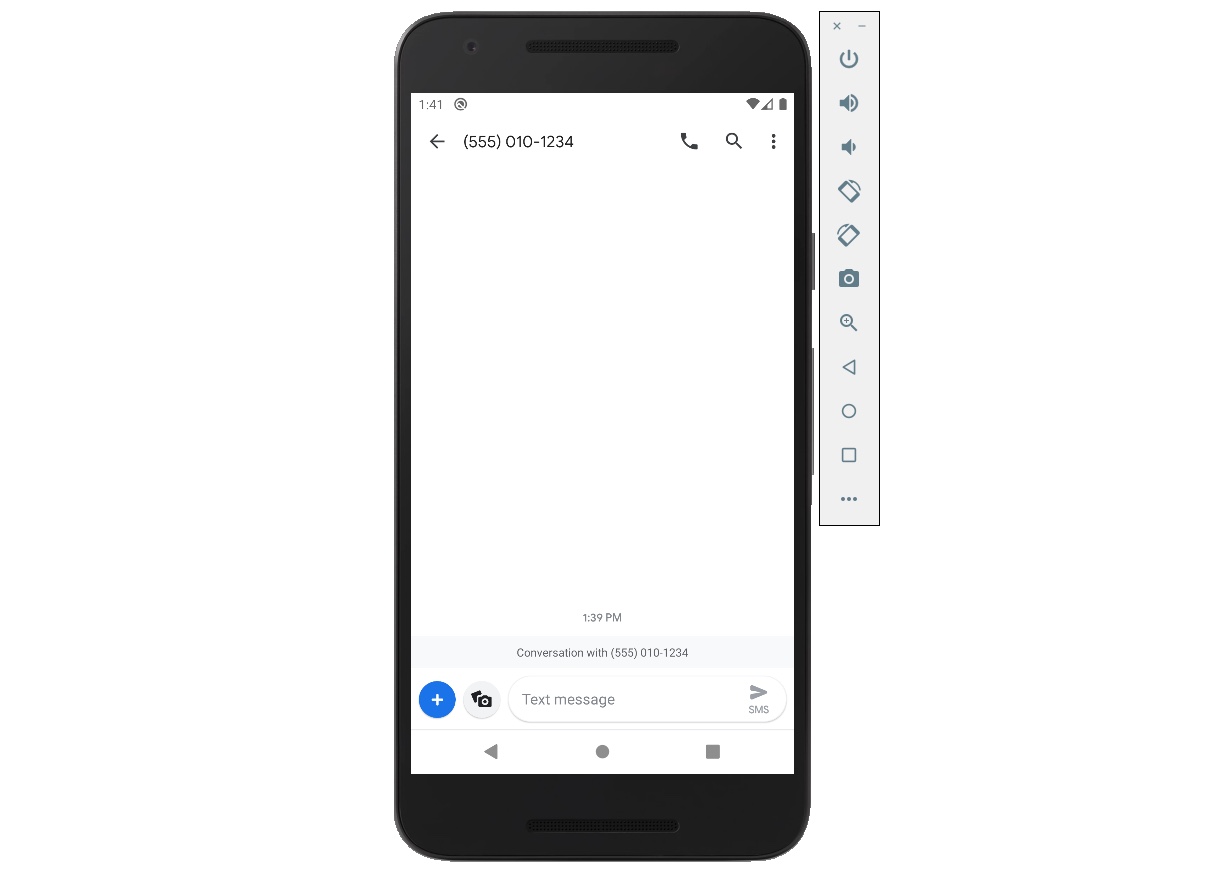
SMSボタンを押すと次のようにSMSアプリが実行されることが確認できます。
完了
これでurl_launcherを使ってURLでブラウザを開く方法についてみて見ました。また、メールや電話番号、SMSで設定したURLで当該アプリを実行する方法についても確認しました。
私のブログが役に立ちましたか?下にコメントを残してください。それは私にとって大きな大きな力になります!
アプリ広報
Dekuが開発したアプリを使ってみてください。Dekuが開発したアプリはFlutterで開発されています。興味がある方はアプリをダウンロードしてアプリを使ってくれると本当に助かります。


