目次
概要
今回のブログポストではhttpパッケージを使ってサーバのAPIを呼び出す方法について説明します。
今回のブログポストで紹介するソースコードは下記のリンクで確認できます。
httpのインストール
Flutterでhttpの使い方を確認するため次のコマンドを実行してFlutterの新しいプロジェクトを生成します。
flutter create http_exampleその後、次のコマンドを実行してhttpパッケージをインストールします。
flutter pub add httpこのようにインストールしたhttpを使う方法について説明します。
使い方
httpを使って次のようにGET/POSTの方法でサーバのAPIを呼び出すことができます。
- get
import 'package:http/http.dart' as http;

final url = Uri.parse('https://reqbin.com/sample/post/json');
final response = await http.post(url, body: {
  'key': 'value',
});

print('Response status: ${response.statusCode}');
print('Response body: ${response.body}');- post
import 'package:http/http.dart' as http;

final url = Uri.parse(
  'https://raw.githubusercontent.com/dev-yakuza/users/master/api.json',
);
final response = await http.get(url);

print('Response status: ${response.statusCode}');
print('Response body: ${response.body}');
例題
httpの使い方を確認するため、lib/main.dartファイルを開いて下記のように修正します。
// ignore_for_file: avoid_print

import 'package:flutter/material.dart';
import 'package:http/http.dart' as http;

void main() {
  runApp(const MyApp());
}

class MyApp extends StatelessWidget {
  const MyApp({Key? key}) : super(key: key);

  @override
  Widget build(BuildContext context) {
    return MaterialApp(
      title: 'Flutter Demo',
      theme: ThemeData(
        primarySwatch: Colors.blue,
      ),
      home: const MyHomePage(),
    );
  }
}

class MyHomePage extends StatelessWidget {
  const MyHomePage({Key? key}) : super(key: key);

  void _callAPI() async {
    var url = Uri.parse(
      'https://raw.githubusercontent.com/dev-yakuza/users/master/api.json',
    );
    var response = await http.get(url);
    print('Response status: ${response.statusCode}');
    print('Response body: ${response.body}');

    url = Uri.parse('https://reqbin.com/sample/post/json');
    response = await http.post(url, body: {
      'key': 'value',
    });
    print('Response status: ${response.statusCode}');
    print('Response body: ${response.body}');
  }

  @override
  Widget build(BuildContext context) {
    return Scaffold(
      appBar: AppBar(
        title: const Text('http Example'),
      ),
      body: Center(
        child: ElevatedButton(
          onPressed: _callAPI,
          child: const Text('Call API'),
        ),
      ),
    );
  }
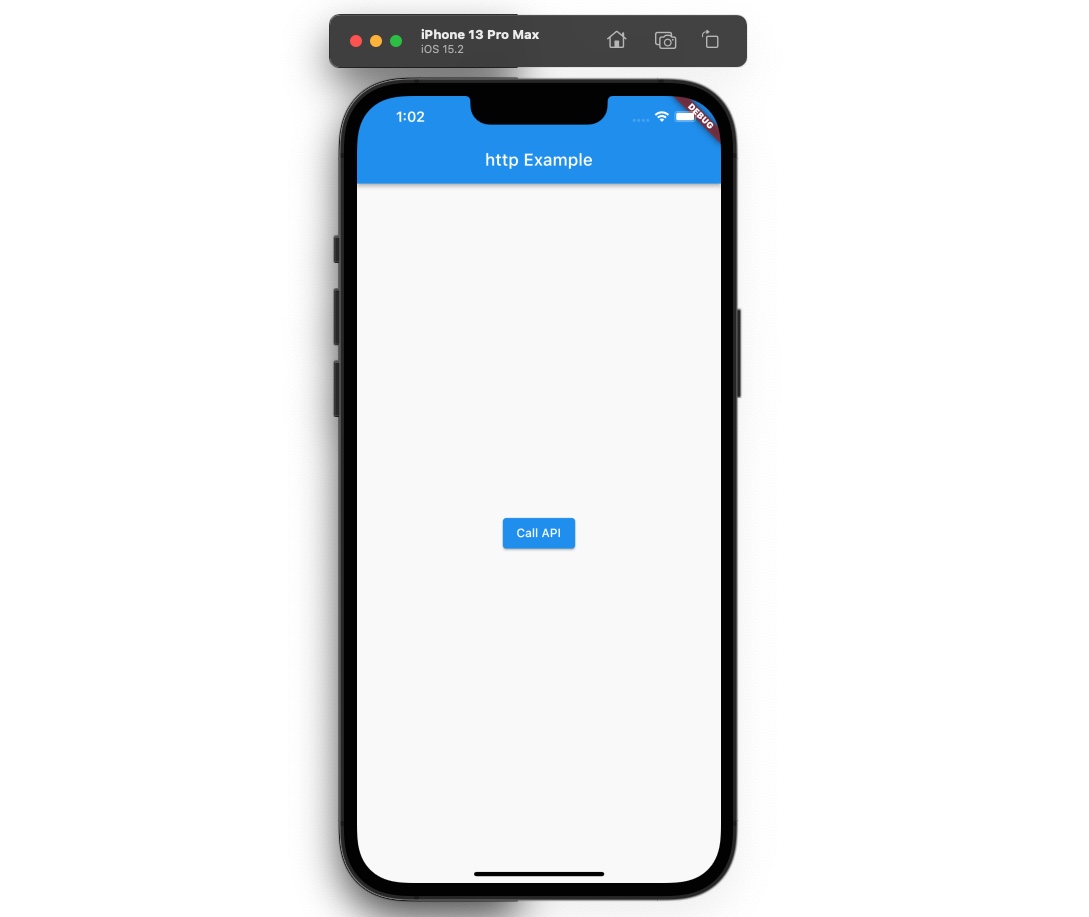
}例題を実行すると次のようにCall APIボタンが真ん中に表示されることが確認できます。

当該ボタンを押すと次のようにhttpパッケージを使ってAPIをコールします。
void _callAPI() async {
  var url = Uri.parse(
    'https://raw.githubusercontent.com/dev-yakuza/users/master/api.json',
  );
  var response = await http.get(url);
  print('Response status: ${response.statusCode}');
  print('Response body: ${response.body}');

  url = Uri.parse('https://reqbin.com/sample/post/json');
  response = await http.post(url, body: {
    'key': 'value',
  });
  print('Response status: ${response.statusCode}');
  print('Response body: ${response.body}');
}httpパッケージを使って問題なくAPIをコールしたら、Debug consoleに次のような結果が確認できます。
flutter: Response status: 200
flutter: Response body: [
  {
    "name": "Durand Thomas",
    "photo": "https://raw.githubusercontent.com/dev-yakuza/users/master/images/1.jpg"
  },
  {
    "name": "Petersen Simon",
    "photo": "https://raw.githubusercontent.com/dev-yakuza/users/master/images/5.jpg"
  },
  {
    "name": "Øglænd Helene",
    "photo": "https://raw.githubusercontent.com/dev-yakuza/users/master/images/6.jpg"
  },
  {
    "name": "Jean Olivia",
    "photo": "https://raw.githubusercontent.com/dev-yakuza/users/master/images/7.jpg"
  },
  {
    "name": "Owren Aras",
    "photo": "https://raw.githubusercontent.com/dev-yakuza/users/master/images/8.<…>
flutter: Response status: 200
flutter: Response body: {"success":"true"}
完了
これでFlutterでhttpを使ってAPIを呼び出す方法について見て見ました。皆さんもhttpパッケージを使ってサーバと通信して見てください。
私のブログが役に立ちましたか?下にコメントを残してください。それは私にとって大きな大きな力になります!
アプリ広報
今見てるブログを作成た
興味がある方はアプリをダウンロードしてアプリを使ってくれると本当に助かります。
Dekuが開発したアプリを使ってみてください。Dekuが開発したアプリはFlutterで開発されています。興味がある方はアプリをダウンロードしてアプリを使ってくれると本当に助かります。


