目次
概要
今回のブログポストではFlutterでfirebase_coreを使ってFirebaseを連動するつ方法について説明します。
ブログシリーズ
このブログはシリーズで作成されております。次のリンクを使って他のブログポストは下記のリンクで確認できます。
- [Flutter] Firebase Core
- [Flutter] Firebase Analytics
- [Flutter] Firebase Crashlytics
- [Flutter] Firebase App Check
- [Flutter] Firebase Performance
Firebaseプロジェクト生成
次はグーグルファイアベース(Google Firebase)でプロジェクトを生成する必要があります。下記のリンクを押してグーグルファイアベース(Google Firebase)へ移動します。
- グーグルファイアベース(Google Firebase): https://firebase.google.com
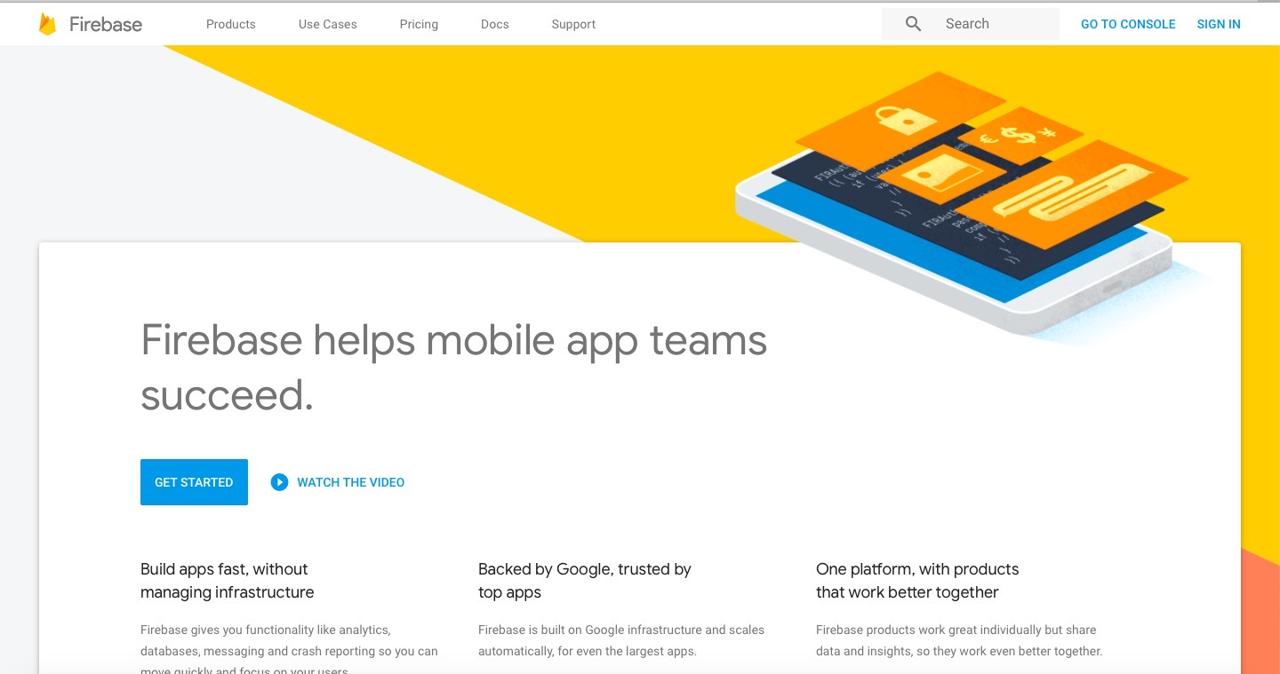
右上のSIGN INボタンを押してログインします。
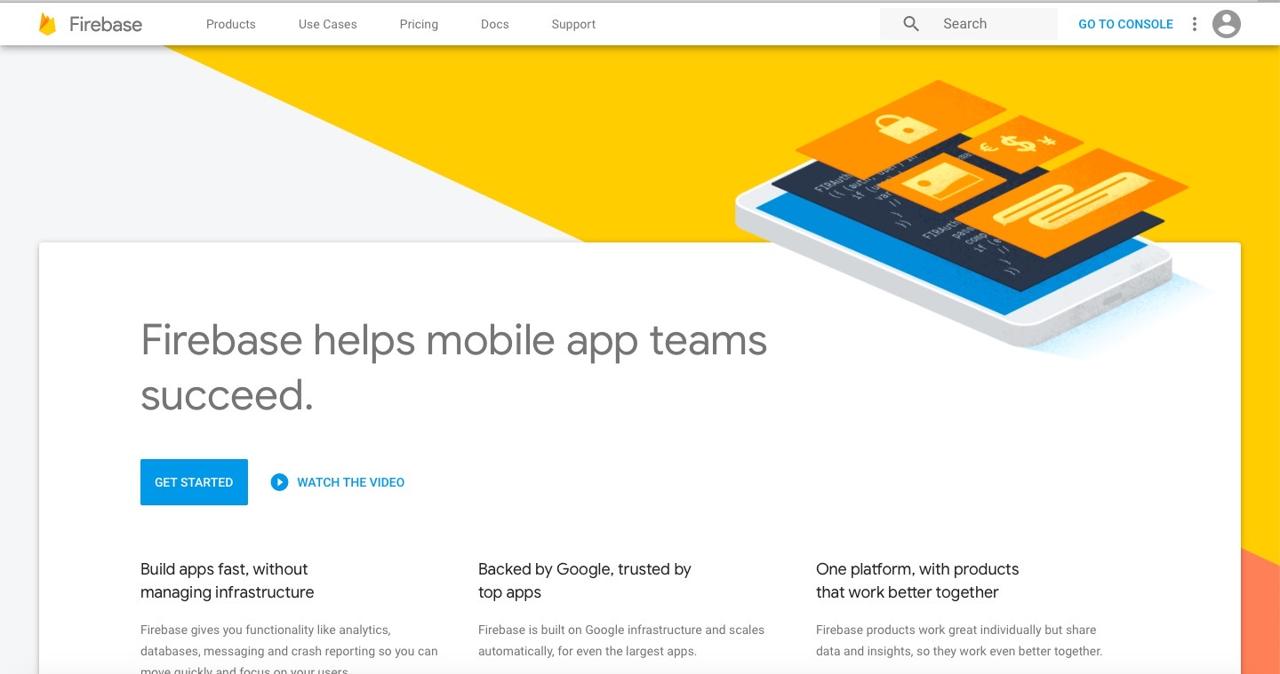
ログインしたら、右上のGO TO CONSOLEボタンを押してグーグルファイアベースコンソール(Google Firebase Console)へ移動します。
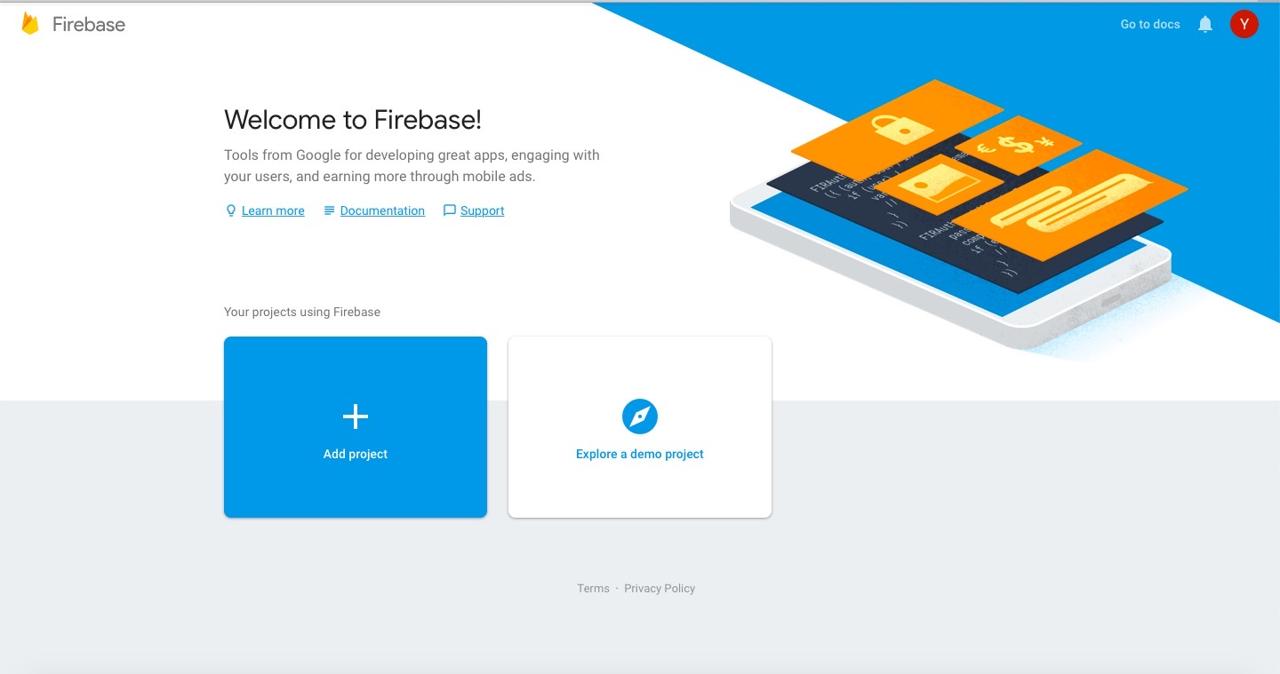
グーグルファイアベースコンソール(Google Firebase Console)で+ Add projectを押してプロジェクトを追加します。

上のような画面でEnter your project nameへ作りたいFirebaseプロジェクトの名前を入力します。入力が終わったら、下記にあるContinueボタンを押して次へ進めます。
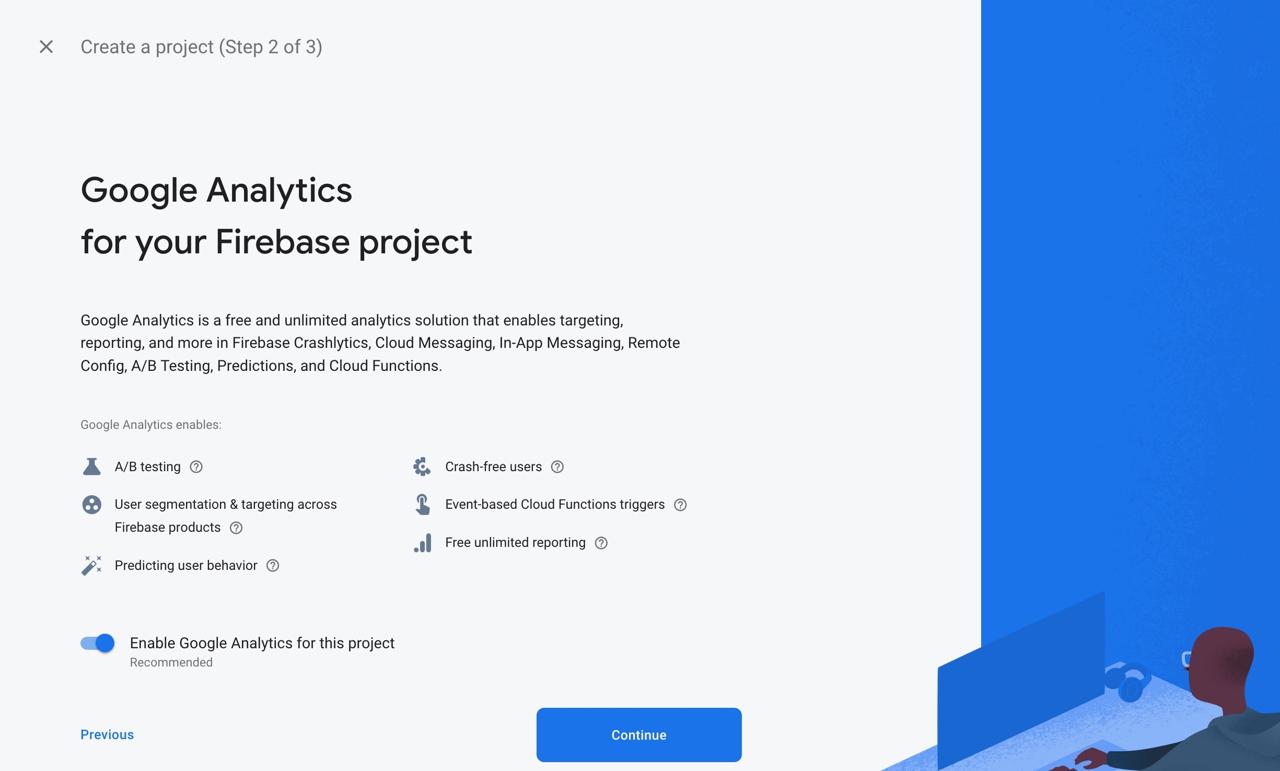
プロジェクト名を入力したら、上のようにGoogle Analyticsを連動する画面が表示されます。Google Analyticsと連動したくない場合、左下にあるボタンを押してDisableで変更してFirebaseプロジェクトを生成します。
Google Analyticsと連動したい方はContinueを押して進めます。
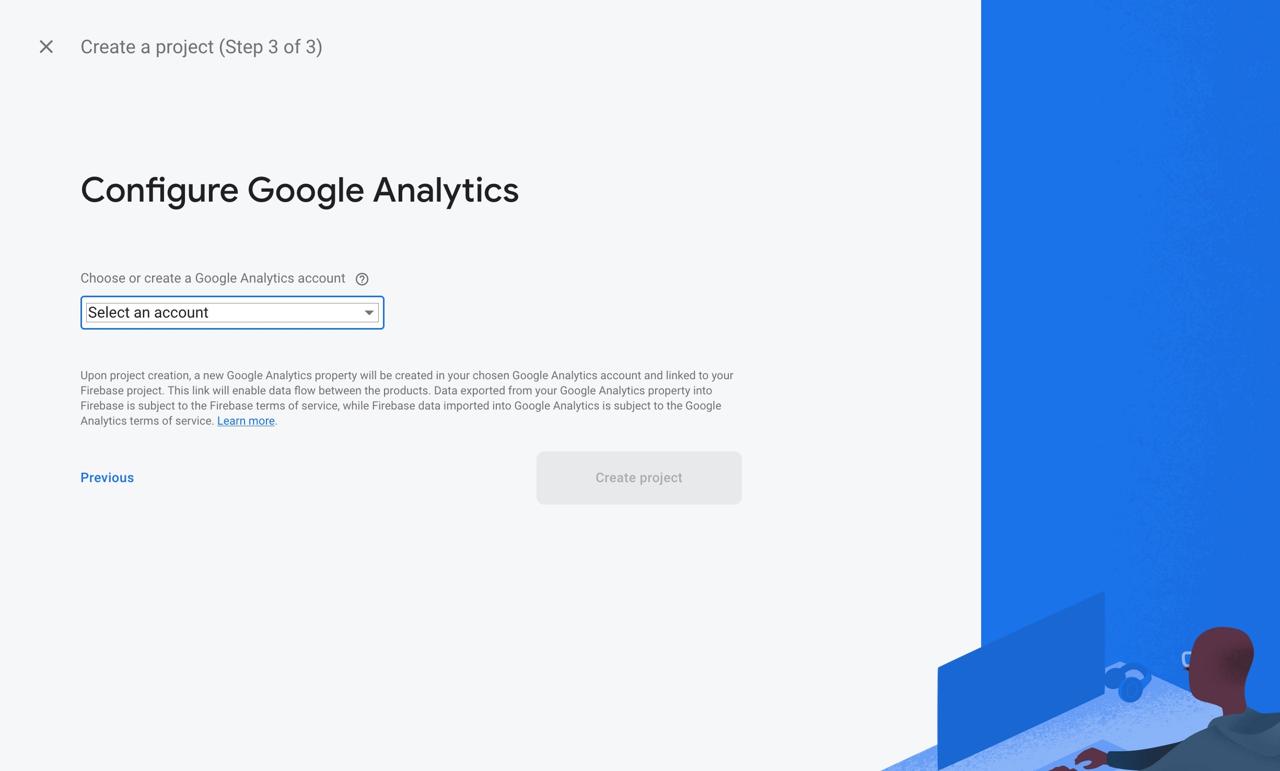
Google Analyticsのアカウントを選択して、Create projectボタンを押してFirebaseプロジェクトを生成します。
iOS設定
firebase_coreを使ってFlutterでFirebaseを使うためiOSを設定する方法について説明します。
Bundle identifier変更
FirebaseでiOSプロジェクトを生成する前、iOSのBundle identifierを変更する必要があります。ios/Runner.xcworkspaceファイルを実行してXcodeを実行します。
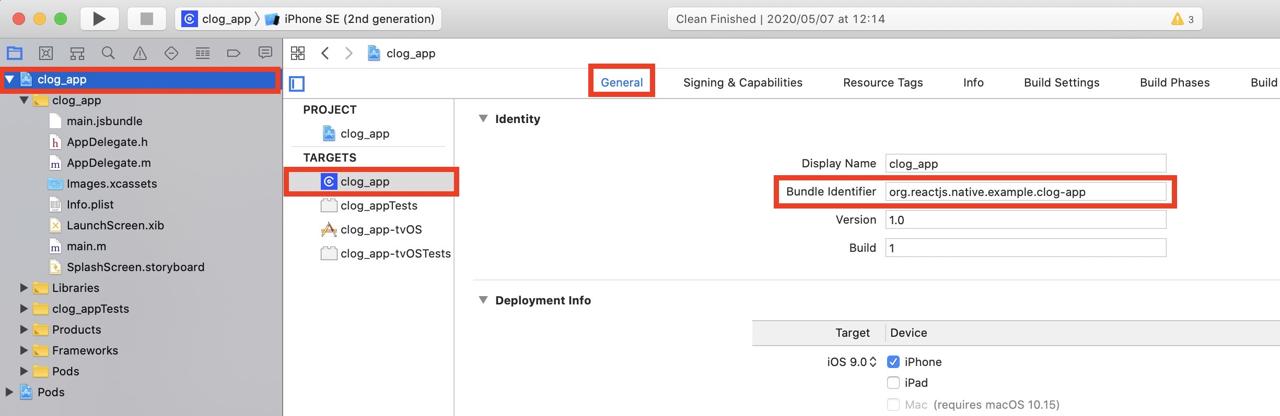
左上のプロジェクト名を選択してGeneralタブに移動すると、上にあるBundle Identifierを確認することができます。このBundle IDを自分のプロジェクトに合わせて変更します。
Firebase iOSプロジェクト設定
グーグルファイアベースコンソール(Google Firebase Console)でプロジェクトを選択すると次のような画面が見えます。
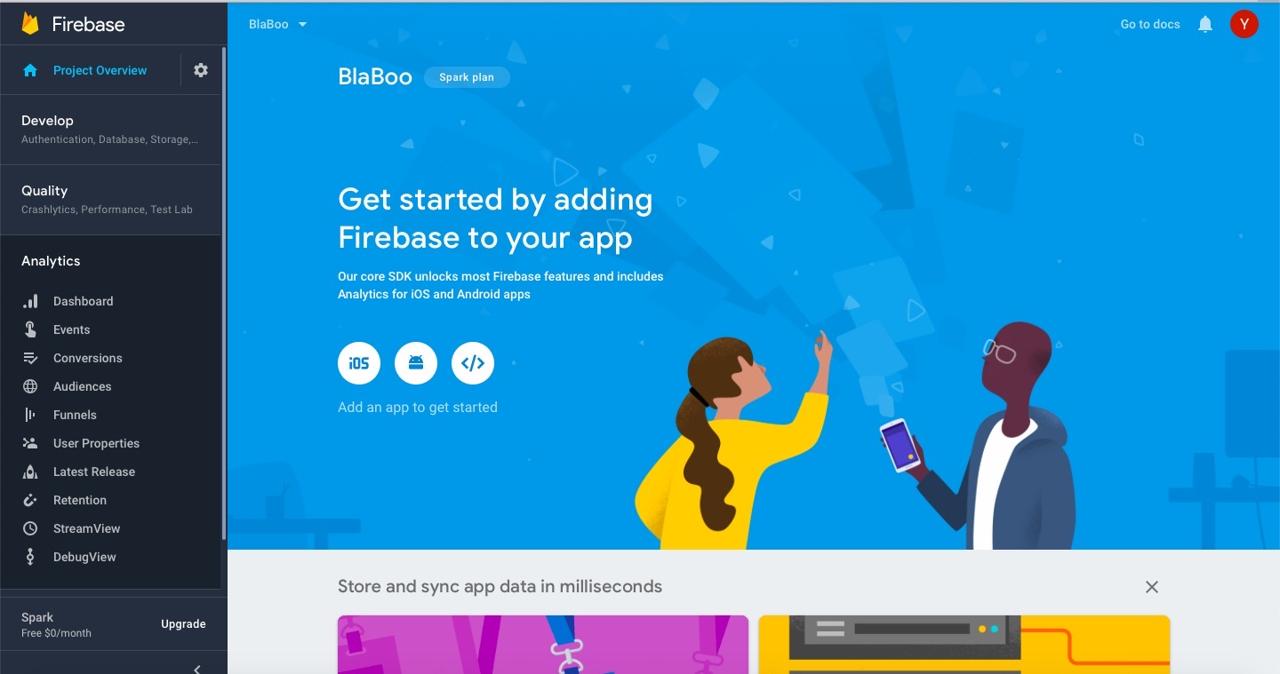
真ん中へiOSボタンを押してiOSの設定画面へ移動します。
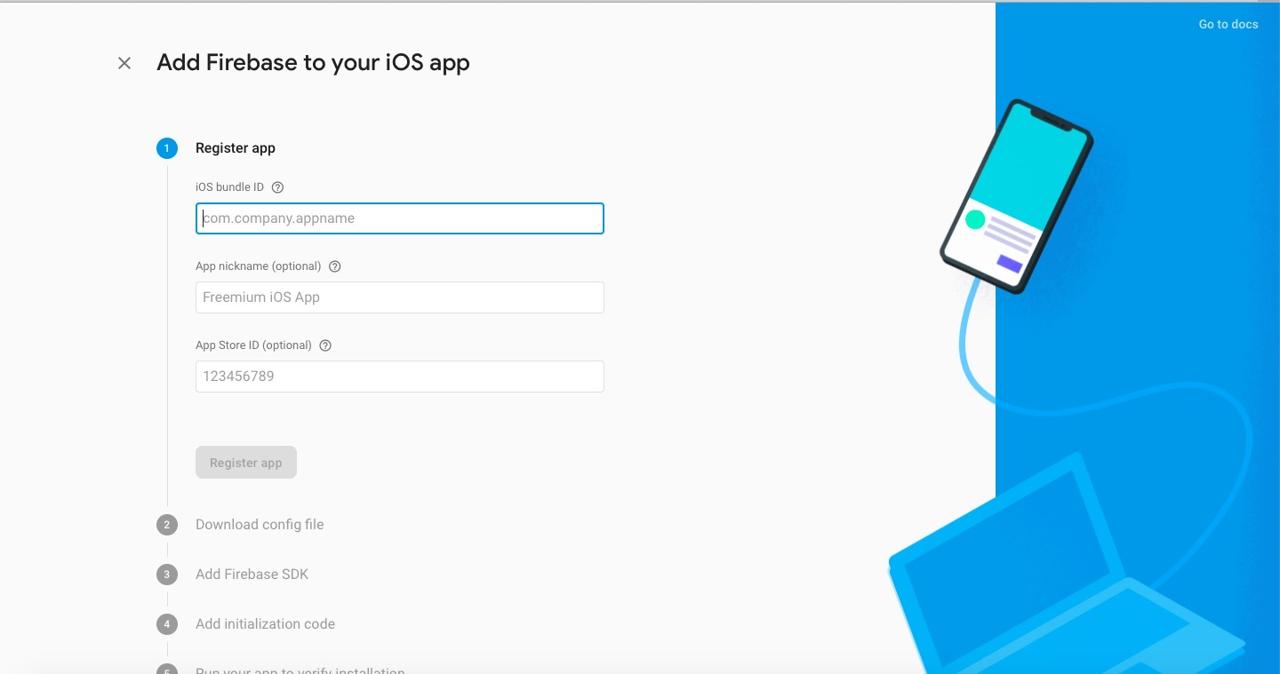
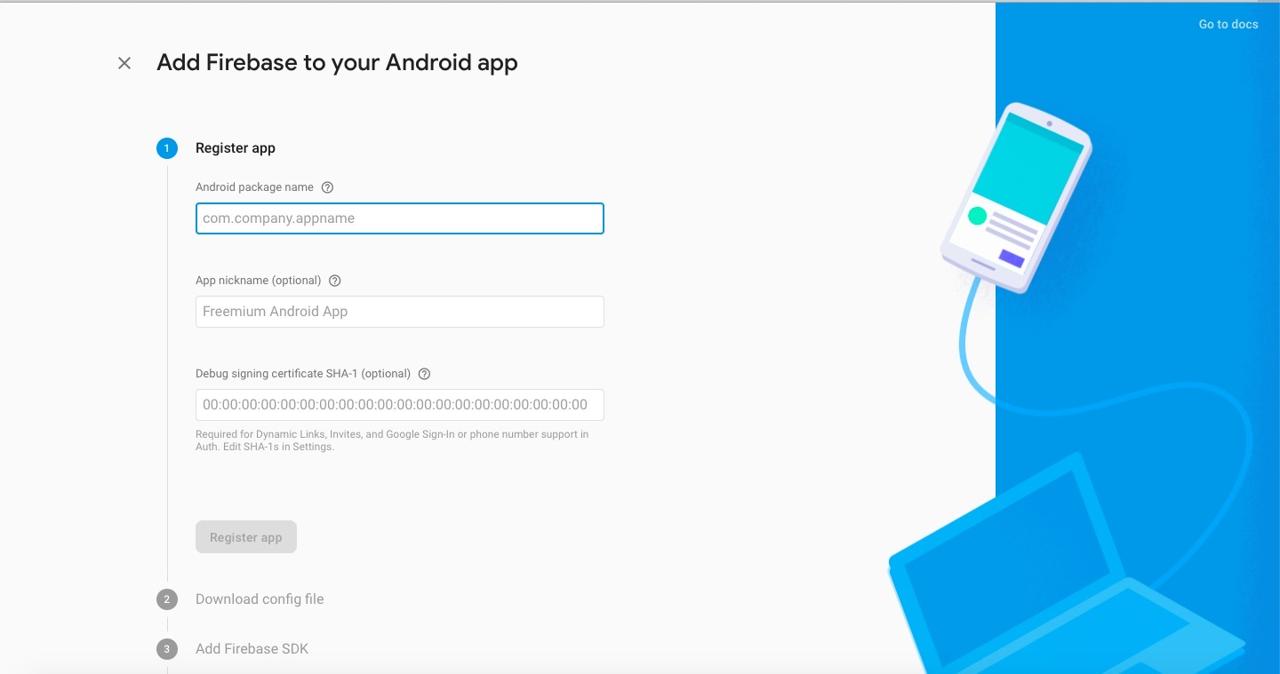
開発したアプリのID(bundle ID)を入力してRegister appボタンを選択します。
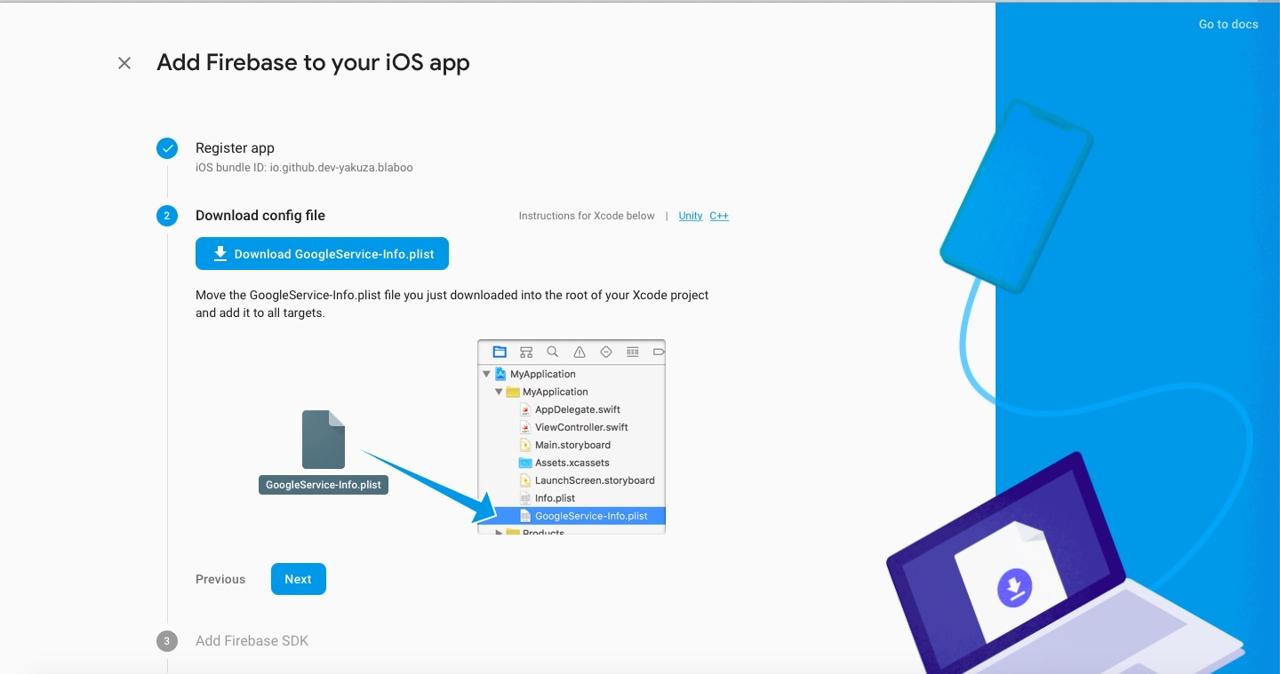
グーグルファイアベース(Google Firebase)が生成したGoogleService-Info.plistファイルをダウンロードしてXcodeを使ってRunner/Runnerフォルダへドラッグして当該ファイルを追加します。GoogleService-Info.plistファイルを追加したら、Nextボタンを押します。
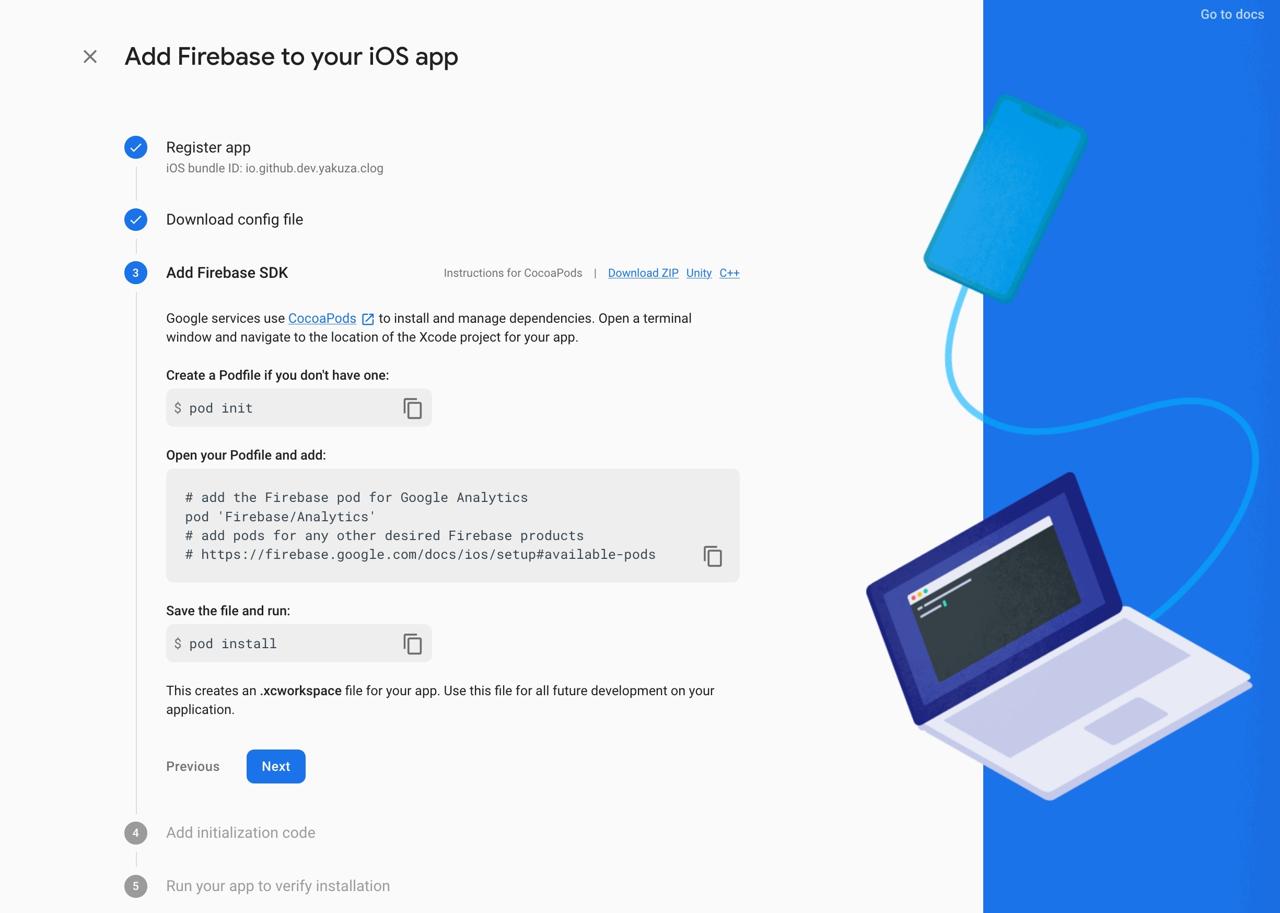
この画面が表示されたら、Nextボタンをクリックして次の画面に移動します。
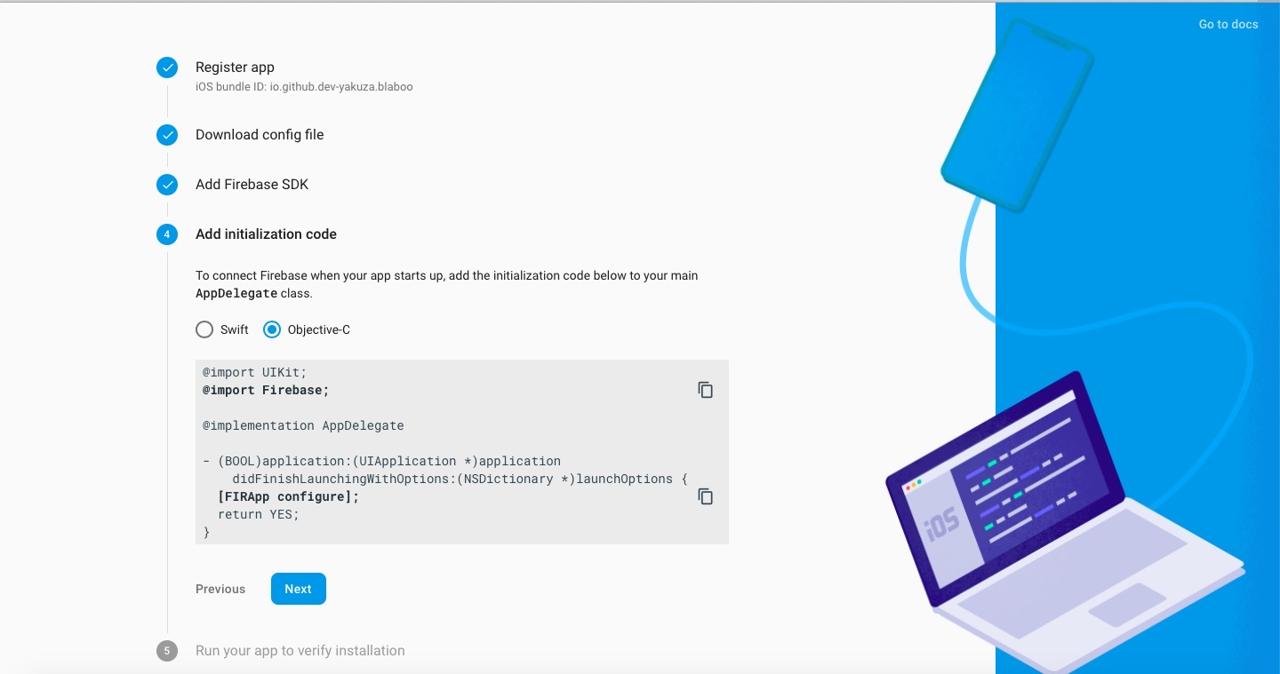
上のような画面でもNextボタンをクリックして次の画面へ移動します。
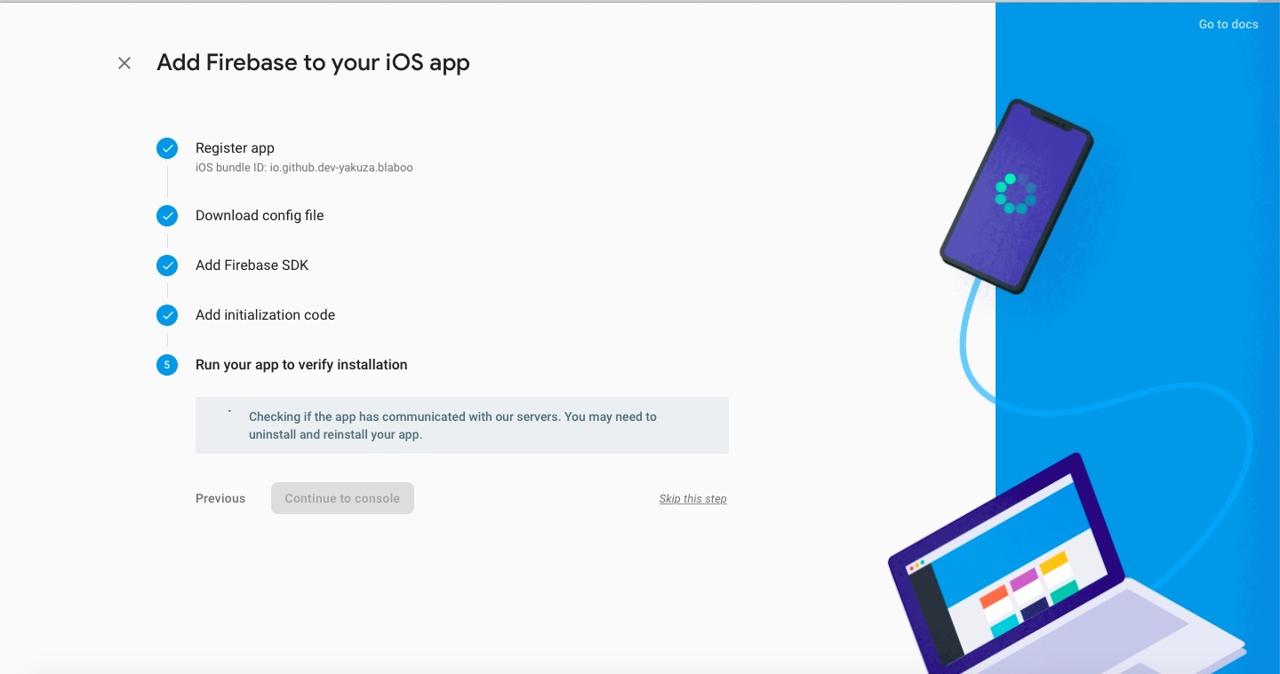
私はこの部分でSkip this stepを押してスキップしました。
アンドロイド設定
firebase_coreを使ってFlutterでFirebaseを使うためアンドロイドを設定する方法について説明します。
Firebaseのアンドロイドプロジェクト設定
グーグルファイアベースコンソール(Google Firebase Console)で左上のProject Overviewを選択します。
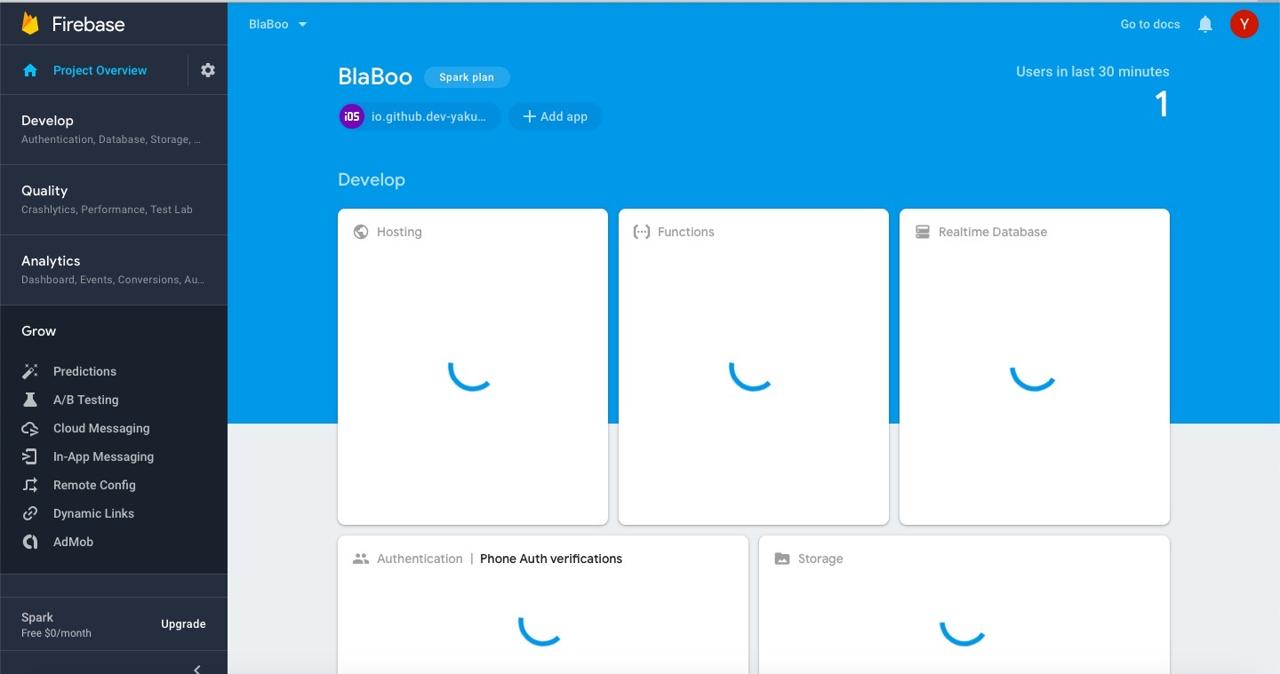
상단에 + Add app > 안드로이드(Android) 아이콘을 눌러 안드로이드(Android) 프로젝트 설정으로 이동합니다.
上にある+ Add app > アンドロイド(Android)アイコンを押してアンドロイド(Android)プロジェクトの設定へ移動します。
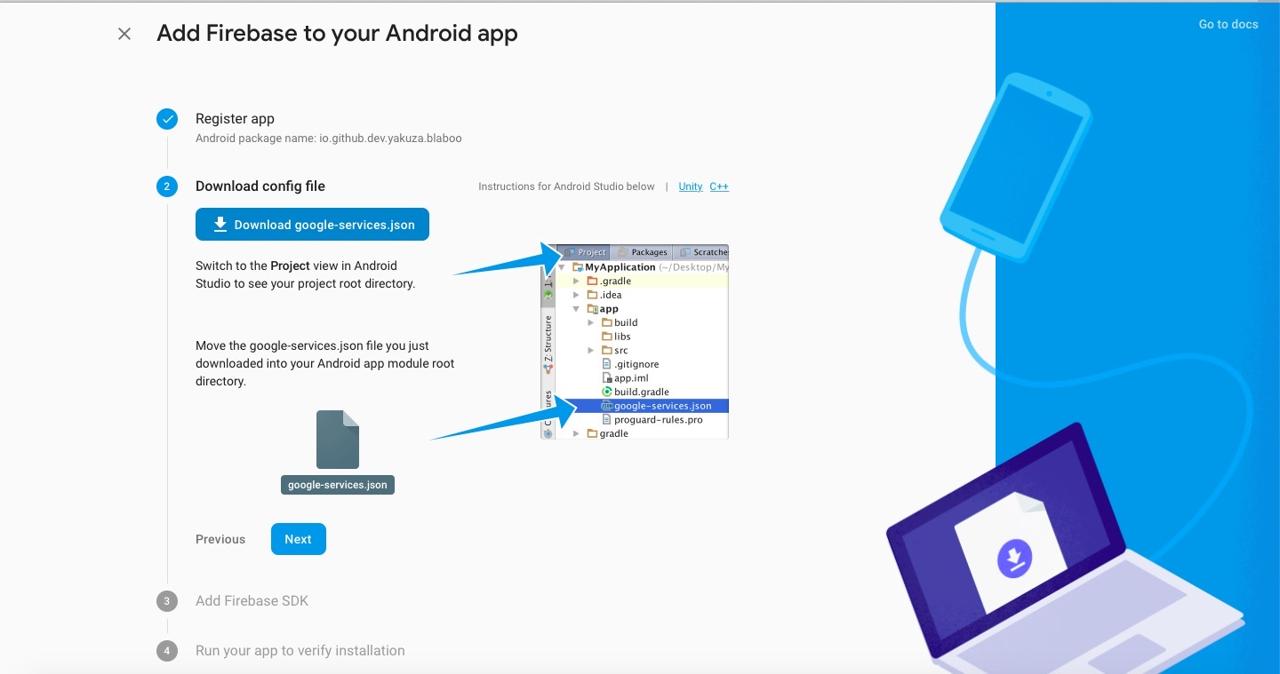
グーグルファイアベース(Google Firebase)が作ったgoogle-services.jsonファイルをFlutterプロジェクトのandroid/appフォルダへコピーします。そしてNextボタンを押して次へ進めます。
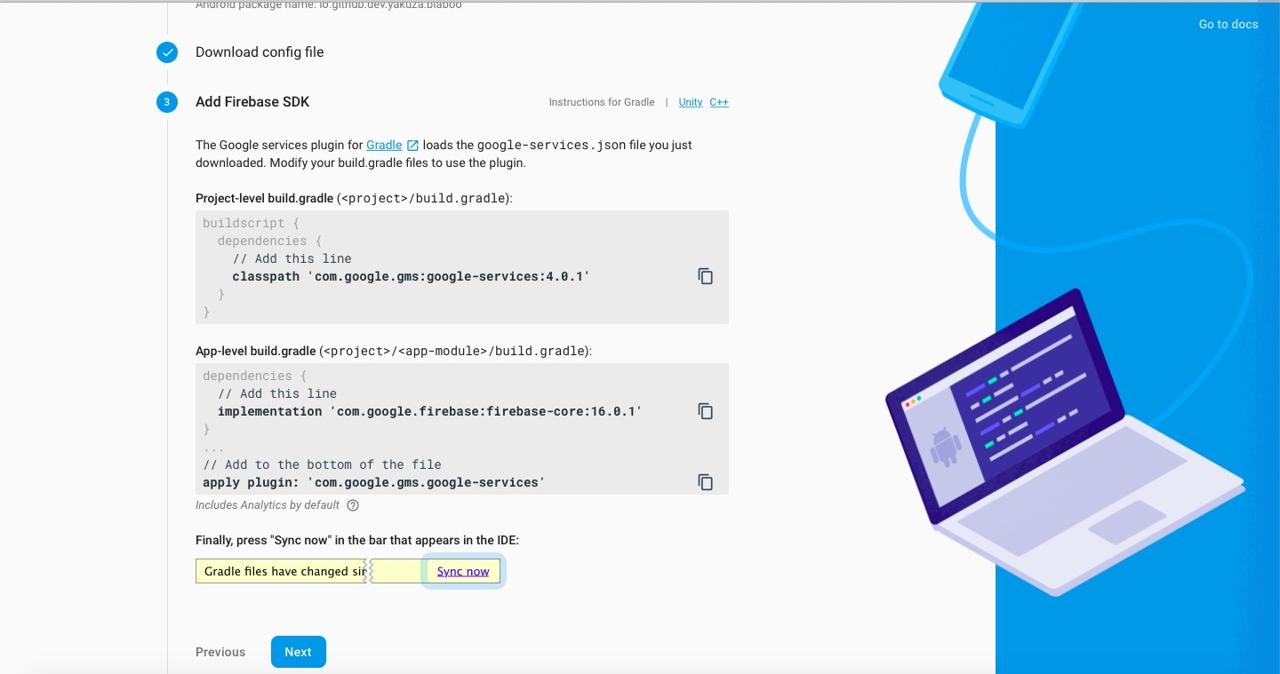
Firebaseの設定
Firebaseの設定のため、firebase-toolsをインストールする必要があります。
npm install -g firebase-toolsその後、次のコマンドを実行してFirebaseにログインします。
firebase loginログインした後、次のコマンドを実行してflutterfire_cliをインストールします。
dart pub global activate flutterfire_cliその後、次のコマンドを使ってFirebaseを設定します。
flutterfire configurefirebase_coreインストール
FlutterでFirebaseを使うためには、firebase_coreパッケージをインストールする必要があります。次のコマンドを実行してfirebase_coreをインストールします。
flutter pub add firebase_coreiOSのインストール
iOSでfirebase_coreを使うためには./ios/Podfileを修正して、必要なライブラリをインストールする必要があります。firebase_coreはiOSのバージョン11を要求してるので、./ios/Podfileファイルを開いて下記のように修正します。
# Uncomment this line to define a global platform for your project
platform :ios, '13.0'
...
そして下記のコマンドを実行して必要なライブラリをインストールします。
# cd ios
pod install
Firebase初期化
このようにfirebase_coreパッケージをインストールしたら、次は当該パッケージを使ってFirebaseを初期化する必要があります。main.dartファイルを開いて下記のように修正してFirebaseを初期化します。
import 'package:firebase_core/firebase_core.dart';

Future<void> main() async {
  WidgetsFlutterBinding.ensureInitialized();
  await Firebase.initializeApp(
    options: DefaultFirebaseOptions.currentPlatform,
  );

  runApp(MyApp());
}
テストコード
FirebaseCoreについてテストコードを作成するためにはmockitoと言うパッケージのインストールが必要です。
- mockito: https://pub.dev/packages/mockito
次のコマンドを実行してmockitoをインストールします。
flutter pub add mockitoその後、次のようにFirebaseCoreのmockを作る必要があります。
import 'package:firebase_core_platform_interface/firebase_core_platform_interface.dart';
import 'package:flutter_test/flutter_test.dart';
import 'package:mockito/mockito.dart';
import 'package:plugin_platform_interface/plugin_platform_interface.dart';

class MockFirebaseCore extends Mock
    with
        // ignore: prefer_mixin, plugin_platform_interface needs to migrate to use `mixin`
        MockPlatformInterfaceMixin
    implements
        FirebasePlatform {
  @override
  FirebaseAppPlatform app([String name = defaultFirebaseAppName]) {
    return super.noSuchMethod(
      Invocation.method(#app, [name]),
      returnValue: FakeFirebaseAppPlatform(),
      returnValueForMissingStub: FakeFirebaseAppPlatform(),
    );
  }

  @override
  Future<FirebaseAppPlatform> initializeApp({
    String? name,
    FirebaseOptions? options,
  }) {
    return super.noSuchMethod(
      Invocation.method(
        #initializeApp,
        const [],
        {
          #name: name,
          #options: options,
        },
      ),
      returnValue: Future.value(FakeFirebaseAppPlatform()),
      returnValueForMissingStub: Future.value(FakeFirebaseAppPlatform()),
    );
  }

  @override
  List<FirebaseAppPlatform> get apps {
    return super.noSuchMethod(
      Invocation.getter(#apps),
      returnValue: <FirebaseAppPlatform>[],
      returnValueForMissingStub: <FirebaseAppPlatform>[],
    );
  }
}

class FakeFirebaseAppPlatform extends Fake implements FirebaseAppPlatform {}このコードはFirebaseCoreのGitHubから持ってきました。
- FirebaseCore mock: firebase_core_test.dart
この内容をmocks/mock_firebase_core.dartファイルを生成してコピペーしました。その後、次のようにテストコードを作成します。
import 'package:firebase_core/firebase_core.dart';
import 'package:flutter_test/flutter_test.dart';
import 'package:mockito/mockito.dart';
import 'mocks/firebase.mocks.dart';
import 'package:firebase_core_platform_interface/firebase_core_platform_interface.dart';
import 'package:my_app/main.dart' as app;

void main() {
  TestWidgetsFlutterBinding.ensureInitialized();

  const testAppName = 'testApp';
  const FirebaseOptions testOptions = FirebaseOptions(
    apiKey: 'apiKey',
    appId: 'appId',
    messagingSenderId: 'messagingSenderId',
    projectId: 'projectId',
  );
  final mockFirebaseCore = MockFirebaseCore();

  setUp(() {
    clearInteractions(mockFirebaseCore);
    Firebase.delegatePackingProperty = mockFirebaseCore;
    final FirebaseAppPlatform platformApp =
        FirebaseAppPlatform(testAppName, testOptions);

    when(mockFirebaseCore.initializeApp(
      options: anyNamed('options'),
    )).thenAnswer((_) {
      return Future.value(platformApp);
    });
  });

  testWidgets('FirebaseCore is initialized', (WidgetTester tester) async {
    await app.main();

    verify(mockFirebaseCore.initializeApp(
      options: anyNamed('options'),
    )).called(1);
  });
}テストコードではFirebaseCoreのinitializeApp関数がコールされるかどうかを検査しました。
完了
これでFlutterでFirebaseを使うためFlutterプロジェクトとFirebaseプロジェクトを準備して、firebase_coreを設定する方法についてみてみました。次はFirebaseの他の機能を使うため、他のブログポストも確認してみてください。
私のブログが役に立ちましたか?下にコメントを残してください。それは私にとって大きな大きな力になります!
アプリ広報
Dekuが開発したアプリを使ってみてください。Dekuが開発したアプリはFlutterで開発されています。興味がある方はアプリをダウンロードしてアプリを使ってくれると本当に助かります。